Power BI is a tool developed by Microsoft for creating Reports and Dashboards by importing the data-set into it. We can have many data sources for connecting the Power BI. Hence, today I will be discussing the following topics listed below:-
- What are Power BI Gateways?
- Types of Gateways
- How do Gateways work?
- Gateway Installation
- Manage Gateway
What are Power BI Gateways?
Power BI Gateways are the software that we install in the on-premises network that enables us to access the data from the network. It behaves or works like a watchman that watches every connection request sent by the user that wants access to the data. It only allows the user to access the data when the user meets the certain criteria.
Hence, This allows the organization to keep their databases secure by accessing the on-premises data to create the reports or dashboard in Power BI desktop.
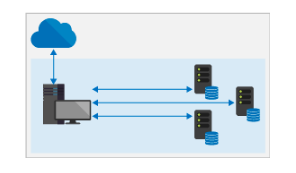
As you can see in the above picture that computer makes a connection request to the cloud or On-premises network.
Jump to Section
Types of Gateways
Power BI provides two types of Gateways connection each have different meanings or purposes.
On-premises data Gateways ( Personal Mode ) :
- This allows a single user to connect with the single data source and can not be shared with others
- It can only be used with Power BI.
- It is very helpful If only a single user has to create the report.
- This connection is used when you don’t need to share the data sources with any other person within the organization.
On-premises data Gateways:
- This allows multiple users to connect with the multiple On-premises data sources.
- It can be used with power BI, Azure Analysis Services or Power BI Apps with only one installation and don’t need to install multiple Gateways.
- It is very useful when we need to create data using multiple On-premises data sources.
How do Gateways work?
Once you install the Gateways, then it will work as a windows service, On-premises data gateway. This windows service is then registered with the Gateway Cloud service using Azure Service Bus. Below is the complete diagram of how Gateways works.
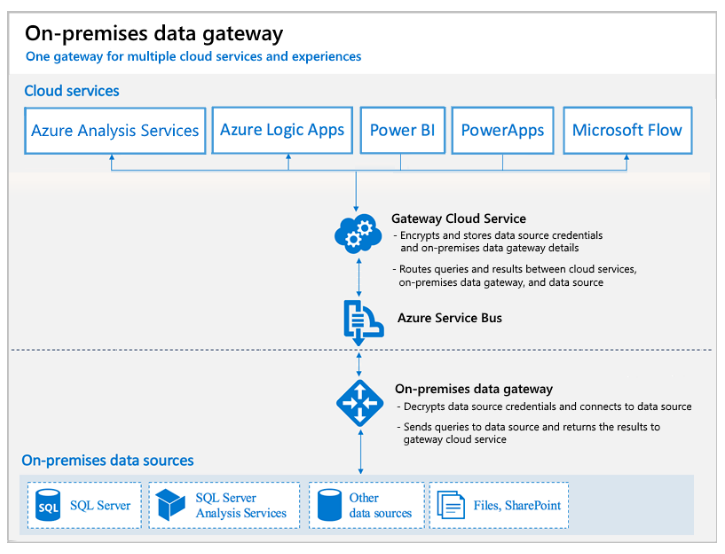
- The first query is generated from the cloud services with encrypted credentials and then it is sent to the Gateway cloud services for further operations.
- The query from the cloud services is then analyzed and move to the Azure Service bus for further process.
- The On-premises data gateway decrypts data source credentials and connects to the data source, also it sends queries to the data source and returns the results to the gateways cloud service.
Gateway Installation
While installing Gateways the computer should always be turned on. For better performance and reliability I suggest you use a wired network connection. Below are the steps to install the Gateway.
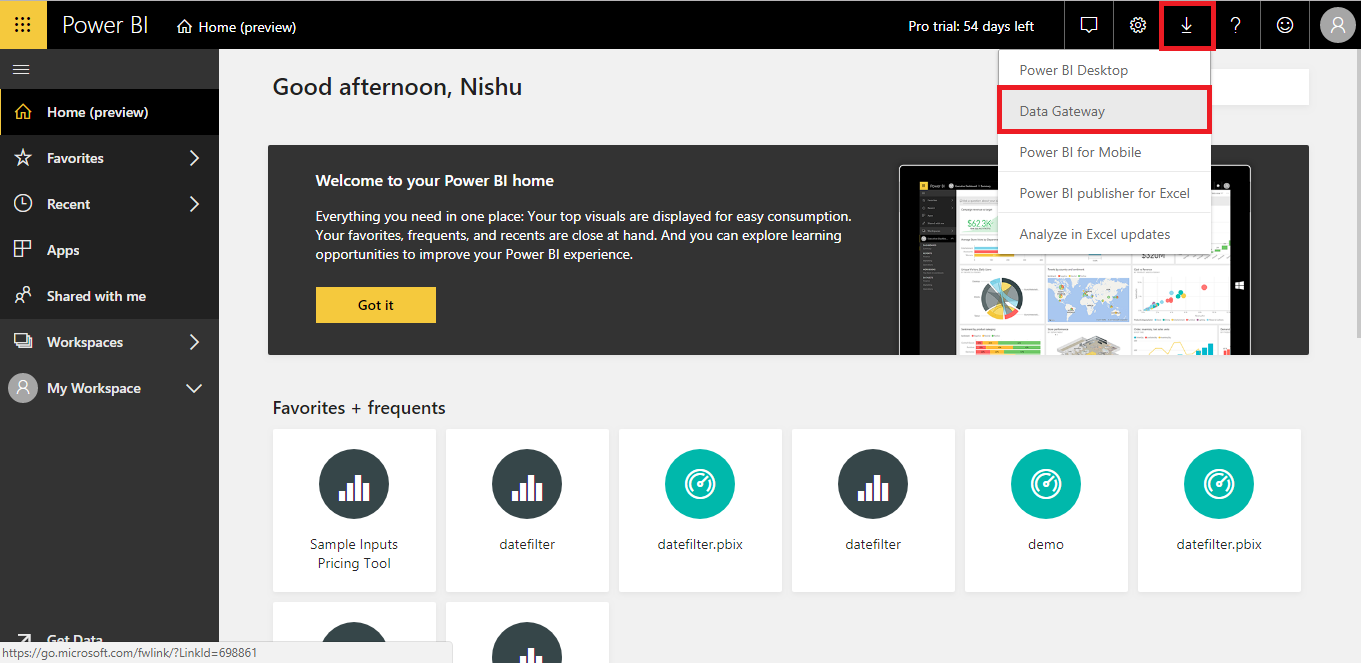
- Open Power BI service into the browser, then click on the download button as highlighted in the picture below. Then, click on the Data gateway option highlighted by a red rectangle as shown below.

- Once you select the option ‘Data gateway’, it will redirect you to the download link from there click on the ‘download Gateway’ button.
- Now, once you download the file then click on ‘open’, you can now see the new pop-up window has opened.
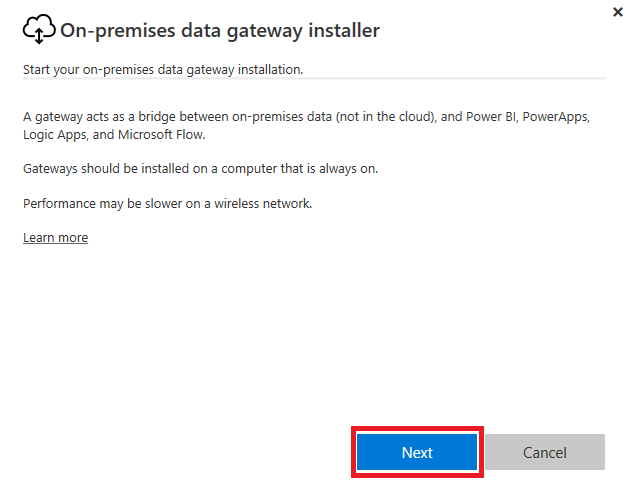
Then, click on the ‘next’ button highlighted at the bottom of the window as shown below

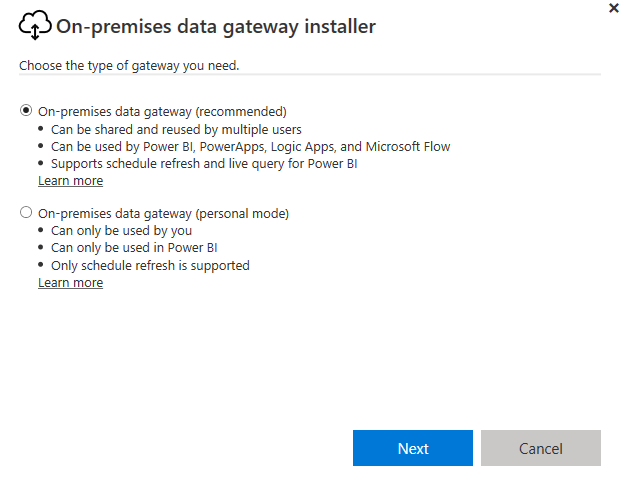
- Select ‘On-premises data gateway'(recommended) and then click on the ‘next’ button.

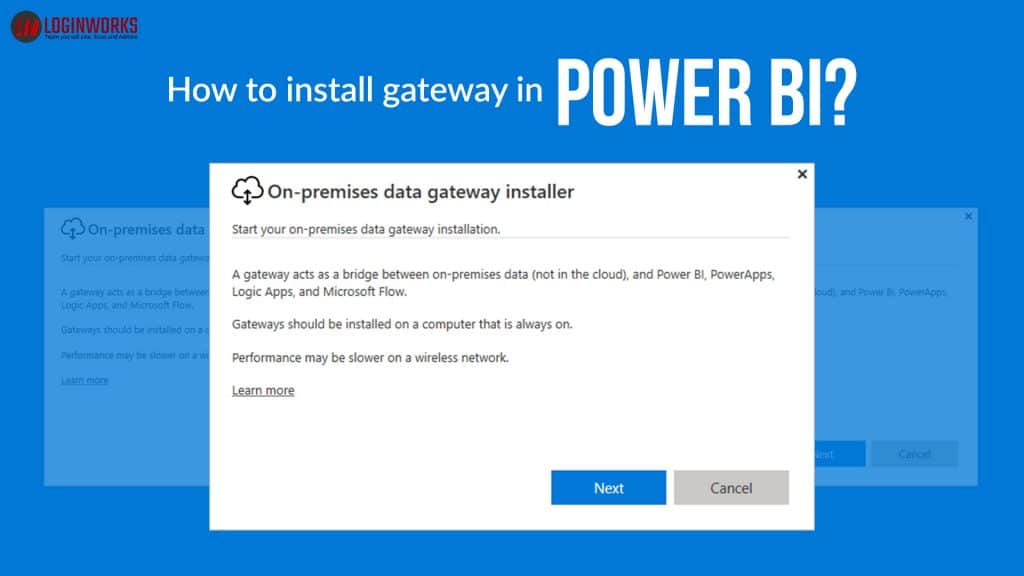
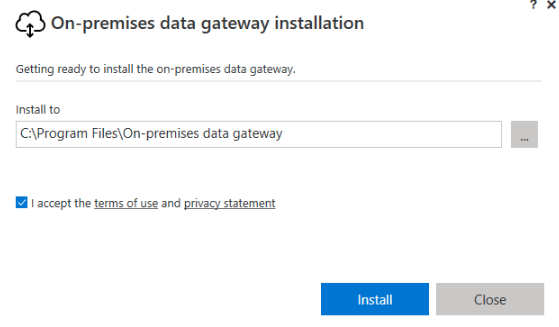
- After clicking on the ‘ next’ button you will get the ‘on-premises data gateway installer’ screen as shown below in the image

- Once the installation process is complete then, click on the ‘next’ button as shown above. Now, The screen will show the default path to install the gateway, so, click on the install button.

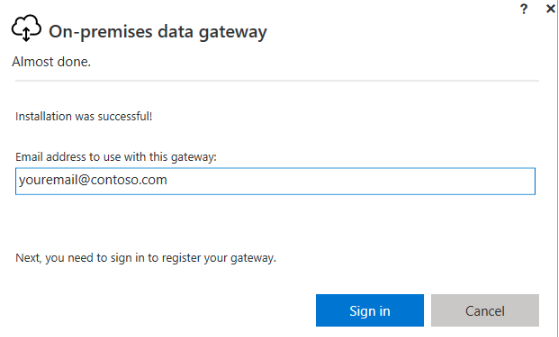
- Now, enter the power BI account credentials as a gateway is connected to the Power BI account user and is also managed by the Account holder in the Power Bi Service.

- Select’ Register a new gateway on this computer’ then click on the ‘next’ button.

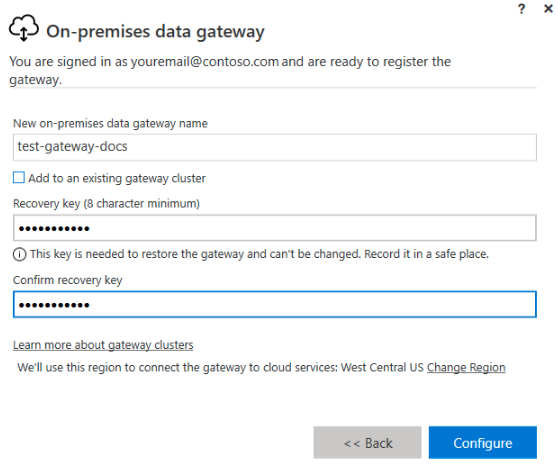
- Then, enter the name of the new gateway.
- Next, we need to enter a new ‘Recover key’ as its very important if in case we need to recover or move the Gateway
- Then, click on the ‘configure’ button.

- You will then see the alert pop-up window that confirms the installation has been done as shown in the image given below.


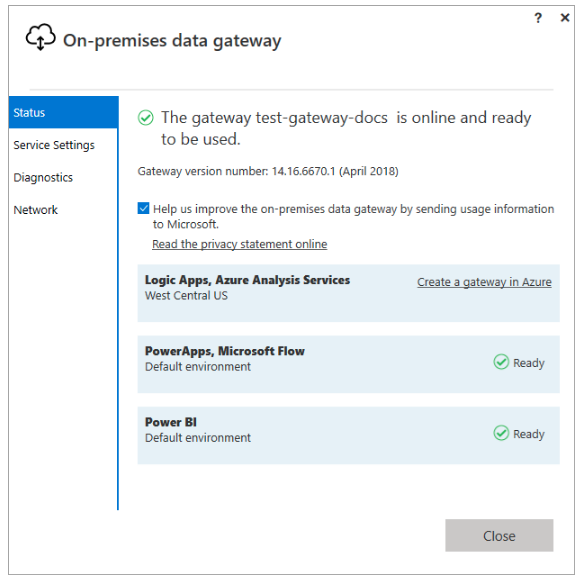
Congratulations you have successfully installed the Gateway.
Conclusion
In the above article, we have discussed the Gateways in Power BI, types of Gateways, the functionality of gateways along with the installation of gateways in Power BI with the help of images demonstrating the same. However, your suggestions or queries are always welcome. Please feel free to write in the comment box.
Thank You for learning.
- What Products Should You Sell on Amazon? - November 18, 2020
- 10 Reasons Why You Should Start Selling on Amazon - October 22, 2020
- Comparative Study of Top 6 Web Scraping Tools - September 3, 2020