Hey everyone, recently in our previous tutorial we have learned so many different things using the iOS default libraries like – UIKit, AVFoundation etc.
As we know that since the introduction of the new iOS 7 there are a lot of new libraries, API’s and frameworks have been exposed to developers which enabled them to create even more attractive and effective applications in iOS.
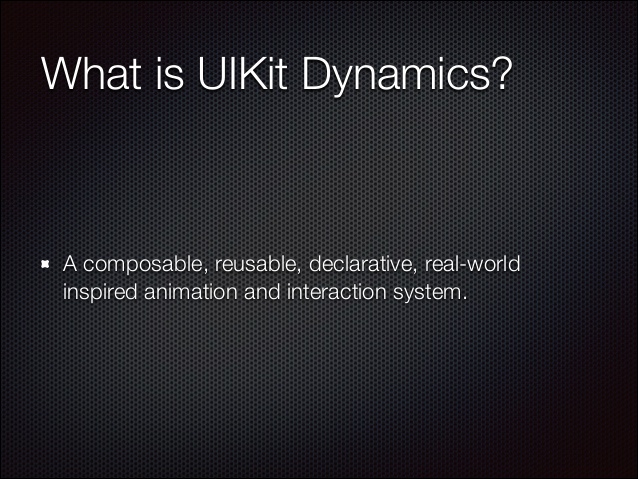
One of them is UIKit Dynamics which allows us to make use of the simple physics in our application. Let us first learn more about UIKit Dynamics.
This library was introduced when the iOS 7 was launched. It’s quite easy and useful library which we will be going to use today to develop a sample application without even making use of physical, math and libraries like core animation and I’ll try to make it as simple as I can.
Jump to Section
Things Required
We will be going to use some of the necessary stuff to create the perfect tutorial. Let’ s first see what the UIKit class provides us through which we can make use of it to create some cool stuff.
So, Let me tell you that the UIKit Dynamics is the part of the UIKit framework, and there is no need to add any extra framework in order to use it. It can be used at any time when the UIKit is imported into a project. We can add them to any of the view objects, or a subclass of it either it is a UIButton or UILabel.
As we know that the most important part of this library is the UIDynamicAnimator class, and inside it, there is hidden a physics engine, implemented and built right into the UIKit framework.
However, we know that the UIDynamicAnimator class is the core of the UIKit Dynamics, it does not do anything on its own. As we know that UIKit Dynamics behavior helps us to understand physical behavior of the real world in the programming world, and also to recognize the realistic effects provided by UIKit Dynamics to developers. Let us discuss the behavior of their class objects one by one below
UIGravityBehavior
It helps us to gain the gravity attributes in the application.
UICollisionBehavior
We can use this class to make the two or more views collides with each other, hence will help to make even more interactive applications.
UIPushBehavior
It helps to add the force to any of the directions to one or more views in the application.
UIAttachmentBehavior
We can use it to attach a view object to another view object.
UISnapBehavior
We can use this class to animate a view like a magnetized object, which is invisible magnet existed in a particular place.
Apart from all the class defined earlier, there is one more class present UIDynamicItemBehavior.
Properties According to Behaviour
- density: This property tells us the mass of an object. The more the value, the bigger the mass of the object.
- elasticity: It has the value range from 0.0 to 1.0 and it tells that how much bounce rate of an object will be.
- friction: Through this, we can set the friction between two objects.
- resistance: Through this, we can update the damping of an object’s velocity
- allowsRotation: This tells us whether the object will be going to rotate or not.
Yes, I know it seems strange to you. But believe me, as soon as we move forward in this tutorial, you will find that the use of the dynamic behaviors is easy enough and just a matter of a few lines of code.
Now let’s end our discussion about the UIKit and start working on the practical thing now as we are here to make an application so that we can understand the use of these kits in real life rather than getting knowledge from theory only.
Demo Application
Let’s now head into the development section where we will be going to use the simple methods to create our first application.
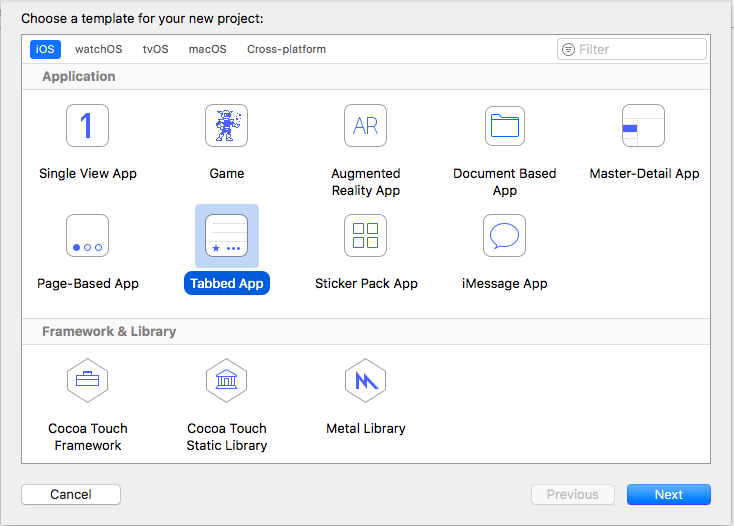
We can make use of the tabbed application to create our first demo application.
So let’s get started now.
Initial Setup
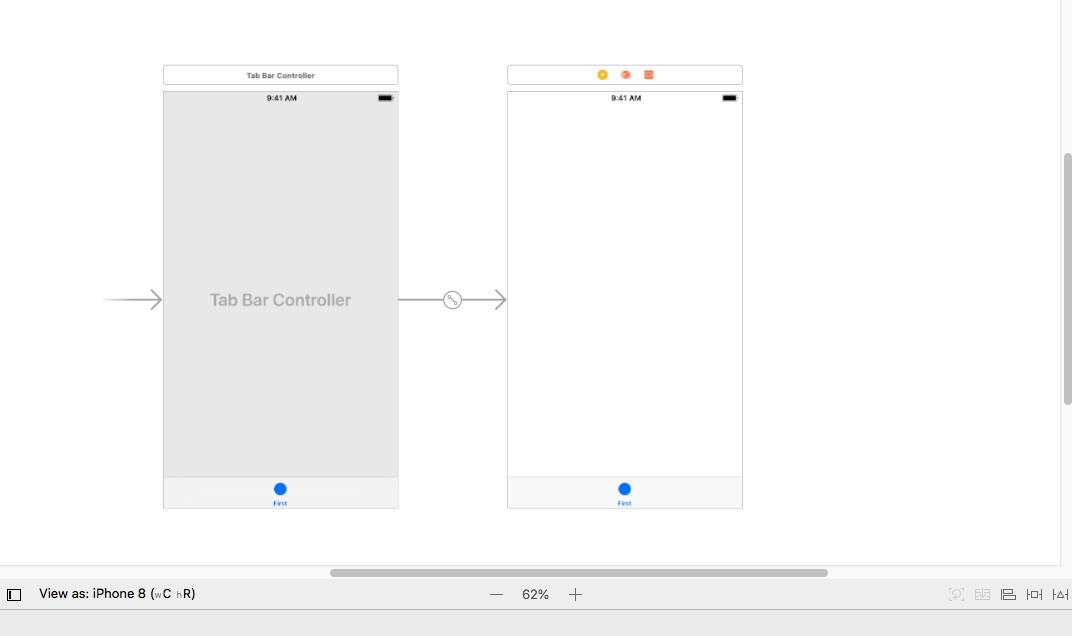
Head into the Xcode application and click on the ‘create a new application’ and from there select the ‘tabbed application’ to create a tab bar enabled application as shown below.
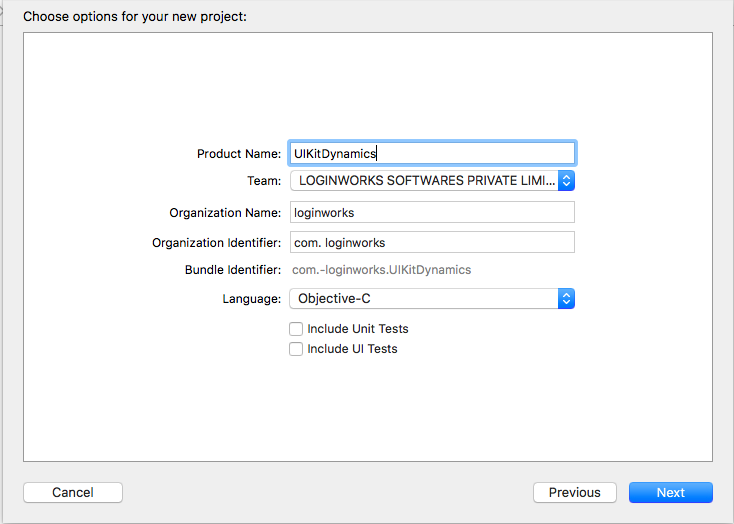
In the next step after doing this, give a new name to your application and click on next to save it on a particular location so that you can access it later for some changes as shown below.
Adding Gravity Effect
Let’s now head to the first view controller file and do some changes in it with the Interface Builder. Here we need to first remove the predefined label from the view and later we will add a small ball inside it which we can use to play around later.
So head into the FirstViewController.h file and add the quartz core framework to it.
#import <QuartzCore/QuartzCore.h>
And after doing this add the following code to your same file.
@property (nonatomic, strong) UIDynamicAnimator *animator;

@property (nonatomic, strong) UIView *blackBall;
As you can see there is the first object which is an animator from the UIDynamicAnimator class, now this will be going to work for the required animation in the application. But we need to add some animation style to it as it will not perform the animation itself unless we tell it how to behave in a particular situation.
Next is a UIView object which is a black ball through which we are going to create a rounded black color view that will behave like a ball later on.
Designing the Ball
Yup, here we will be going to give some cool design and color to our view which later will look like a ball. Add the following code to your firstviewcontroller.m file inside the view did load method as shown.
    self.blackBall = [[UIView alloc] initWithFrame:CGRectMake(100.0, 100.0, 50.0, 50.0)];

    self.blackBall.backgroundColor = [UIColor blackColor];

    self.blackBall.layer.cornerRadius = 25.0;

    self.blackBall.layer.borderColor = [UIColor blackColor].CGColor;

    self.blackBall.layer.borderWidth = 0.0;

    [self.view addSubview:self.blackBall];

    // Initialize the animator.

    self.animator = [[UIDynamicAnimator alloc] initWithReferenceView:self.view];
If you take a look at the given code then you will find that the view is first initialized and later we are adding the shape to it through CGRectMake.
Later, we are adding the color to it and giving the corner radius to it to make it round in shape and also a border width to it.
Finally, we are initializing the animator which we have added previously.
Gravity Behaviour
We can make use of this class object to add the function where the gravity will be adjusted according to the direction of the ball. In case we have so many views which are similar to the one in black color which is with us right now, then the same code can handle multiple balls gravity easily with the help of only two line of code I am going to mention it below.
-(void)demoGravity{

    UIGravityBehavior *gravityBehavior = [[UIGravityBehavior alloc] initWithItems:@[self.blackBall]];

    [self.animator addBehavior:gravityBehavior];

}
As you can see we can easily get the behavior of the ball through these two codes.
Now, all we need to do is to call the method in our viewDidLoad method
[self demoGravity];
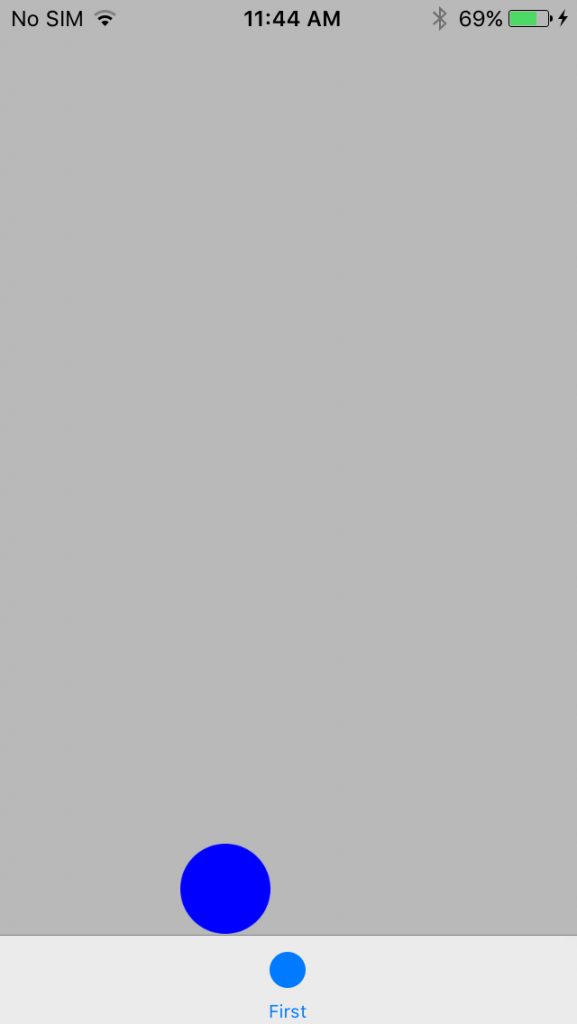
Now if you run the code in an iPhone simulator then you will see a ball falling from the top to bottom through gravity pull.

But you will notice one thing here i.e. the ball will fall again and again outside the visible area of the screen. Hence we can check this by adding a simple line of code in the method which will call all the time during the fall of a ball in the view.
gravityBehavior.action = ^{

        NSLog(@"%f", self.blackBall.center.y);

    };
This will be going to print the y coordinate of the ball to the debugger.
Adding a Collision
We have done the gravity behavior part in the previous section in the tutorial, Also we can add the collision of the view so that the ball can stop at the bottom and bounce back until it gets stopped.
We can use UICollisionBehaviour object to handle such situation where we want our object to stop and behave like a real ball, Which bounces back after hitting the ground. In our application, Tab bar top will behave like the surface which is at the bottom of the view controller where the ball will hit and bounce back until it gets stopped.
Add the following line of code in the method which we have created earlier.
UICollisionBehavior *collisionBehavior = [[UICollisionBehavior alloc] initWithItems:@[self.blackBall]];

  [collisionBehavior addBoundaryWithIdentifier:@"tabbar"

                                       fromPoint:self.tabBarController.tabBar.frame.origin

                                         toPoint:CGPointMake(self.tabBarController.tabBar.frame.origin.x + self.tabBarController.tabBar.frame.size.width, self.tabBarController.tabBar.frame.origin.y)];

    [self.animator addBehavior:collisionBehavior];
Now, later on, we can use the UIDynamicItemBehaviour through which we can alter the behavior of our object and can add the elasticity to the object.
Add the following line of code inside the demoGravity method:
    UIDynamicItemBehavior *ballBehavior = [[UIDynamicItemBehavior alloc] initWithItems:@[self.blackBall]];

    ballBehavior.elasticity = 0.75;

    [self.animator addBehavior:ballBehavior];
Through elastic behavior, we can set the amount of bounce of ball we want in our application and it will be range between 0.0 to 1.0 where 0.0 means no elasticity and 1.0 means fully elastic.
Collision Behaviour
Now, all we need to do is to make some changes to the view or we can say to our ball which will stop after bouncing on the floor.
Here, collision behavior responds us when the object will hit the surface of an object.
To do this we first need to add the delegate inside our FirstViewController.h file.
@interface FirstViewController : UIViewController <UICollisionBehaviorDelegate>
Now after doing this add the collision behavior to our animator which is our dynamic animator.
Add the following line inside your demoGravity method
[self.animator addBehavior:collisionBehavior];
Later, after doing this add the delegate to self inside the same method
collisionBehavior.collisionDelegate = self;
Calling the Delegate Methods
Let’s use these delegate methods through which we can perform some action when the object gets hit to the floor and collision gets started.
When the collision begins then we can change the color of the ball and when the collision gets stop then later we can completely change the color of the ball.
-(void)collisionBehavior:(UICollisionBehavior *)behavior beganContactForItem:(id)item withBoundaryIdentifier:(id)identifier atPoint:(CGPoint)p{

    self.blackBall.backgroundColor = [UIColor blueColor];

}

-(void)collisionBehavior:(UICollisionBehavior *)behavior endedContactForItem:(id)item withBoundaryIdentifier:(id)identifier{

      self.blackBall.backgroundColor = [UIColor blackColor];

}
Run the Project
Now if you run the project, then you will find the bouncing ball as expected, it will change the color later on when it gets collide with the surface of the tab bar.
I hope you will find this tutorial useful as this was a quite easy way to create an application using the UIKitDynamics and you can enhance your skills more. There is a lot more to learn from this library and you can create more interactive applications using the same kit present with the UIKit itself. Thank you!
- LinkedIn Scraper | LinkedIn Data Extractor Software Tool - February 22, 2021
- Is Web Scraping Legal? - February 15, 2021
- What Is Data Scraping? - February 10, 2021