Hey everyone, in our previous tutorial we developed a sample application to make an image circular and we used Objective-C. Today, in this tutorial we will be going to make use of Swift technology to make the same demo application in some different way. So that we can understand the syntax for the Swift technology at the very basic level also.
First of all, we need to create an application using swift technology and for now, we will be going to use the Swift syntax only. Swift technology is becoming an advanced technology these days. So, let’s proceed to develop a circular image sample app.
Jump to Section
Initial Launch
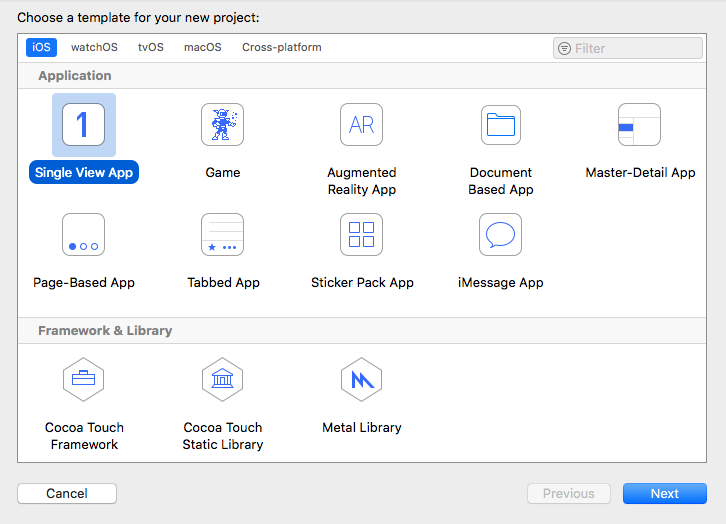
Let’s first head into the Xcode and click on the ‘create a new application’. And after doing this click on the ‘single view application’ as shown below.
Now after doing this, give a name to your application and select Swift from the Language preference as shown below. As we are going to use Swift language this time to make this app.
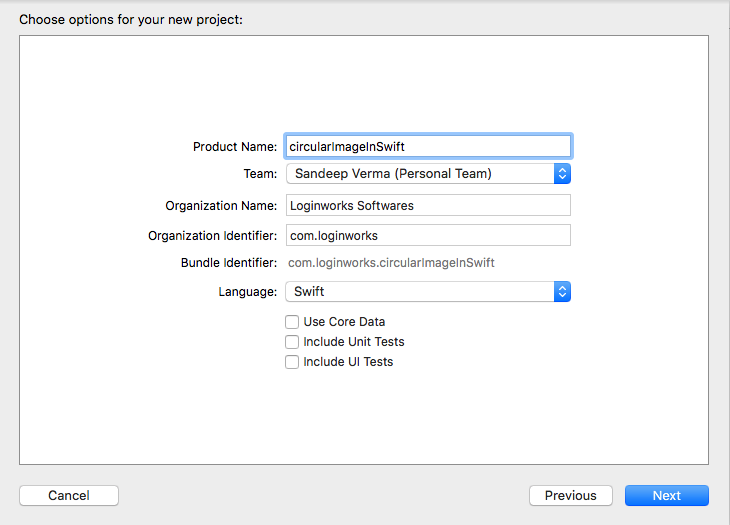
Now, save your application to a particular place and click on next, and there you go. Your application environment is now ready for you to work in Swift. You will see a change in the application i.e there is only one file for the app delegate and for the view controller only which is finish with the .swift format in it. It means that swift has only one file and does not have two files like objective-c which gives us two files .h and .m
Designing the User Interface
Now, we can move ahead and can design our interface for the application. There is one good news for us which is that the designing of the application could be same like we used to do in objective-c until and unless we set the view programmatically.
If you are using the storyboard to design the interface then we do not need to learn new thing for this.
Let us add an imageview and a button in our design through which we can add some code to our button and also can change the image to round image later in the application programmatically.
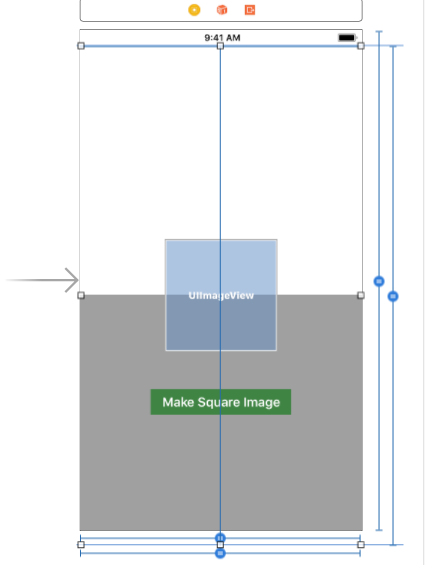
As you can see that I am adding the image view in the center of the screen and below that, I have a button which has a title of “Make Square Image” in it.
You can set the constraints in a way so that the image view will lie in the center and then give the button top layout guide to the image view. This will be going to make the button appear just below the image view as expected by us in the design shown above.
Connecting the Outlets with Objects
Now using the assistant editor we can connect the objects with their view controller. To do this, drag and drop the image view to the viewcontroller.swift as shown below.
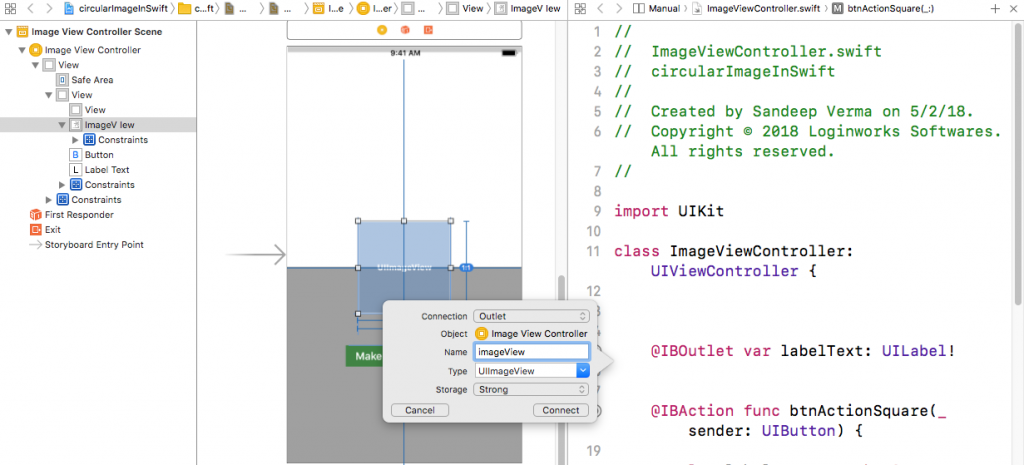
Later after doing this connect your button to the same view controller and give it an action and also outlet, as we need to change the name of the button in the future to “Make Circular Image”.
Implementing the Round Image Section
We can now move ahead and can add the functionality to perform the round image in our application. To do this, first add the viewWillAppear method inside the viewcontroller.swift file as shown below.
  override func viewWillAppear(_ animated: Bool) {

            }
after doing it, we will first call the image with its name and then later we can set the corner radius and also the cliptobound to true to make the round image as shown below.
override func viewWillAppear(_ animated: Bool) {

        super .viewWillAppear(true)

        imageVIew.image =  imageLiteral(resourceName: "apple.jpg")

        self.imageVIew.layer.cornerRadius = self.imageVIew.frame.size.width / 2

        self.imageVIew.clipsToBounds = true

        self.imageVIew.layer.borderColor = UIColor.white.cgColor

        self.imageVIew.layer.borderWidth = 5

            }
Now, as you notice in the code above that I am using one more thing here which is border width and also border color. This will be going to add the border with white color in our image view so that our image could look more improved according to the user experience. You can set the color of your choice in this code.
Change the Image Shape on Button Click
Now we are going to use the action where we can change the image to a square on the button click and if the user clicks on the same button again then the image will turn into the round image again.
To do this, head into the action of the button which is btnActionSquare and set the label name to “Make Square Image” in the first click and later change the corner radius to zero and cliptobound to no as these two properties are responsible to make the image round.
And later to make the image round again, add the same code which we have set in the viewWillAppear method above in the blog.
    @IBAction func btnActionSquare(_ sender: UIButton) {

    let labelData = "Make Square Image"

        if labelText.text == labelData  {

            self.imageVIew.layer.cornerRadius = 0

            self.imageVIew.clipsToBounds = false

            labelText.text = "Make Circular Image"

        }

        else {

                self.imageVIew.layer.cornerRadius = self.imageVIew.frame.size.width / 2

            self.imageVIew.clipsToBounds = true

        labelText.text = "Make Square Image"

        }

       }
Running the Application
That’s it, we can now launch the application and check whether it is working fine or not.
Now in the initial launch, you will find that the image is shown as round image and the text below it will show “Make Square Image”, now if you click on the button then it will change the image to square and also text to “Make Circular Image” as expected by us.
You can see in the image above which has changed its shape according to the button action.
Summing Up
I hope you will find this tutorial useful as it’s our first application in the Swift language. We will come up with more tutorials in the same language very soon. Till then, keep browsing our various blogs on Loginworks blogs section. So stay tuned and let us know your suggestions and queries if any in the comments section below.
- LinkedIn Scraper | LinkedIn Data Extractor Software Tool - February 22, 2021
- Is Web Scraping Legal? - February 15, 2021
- What Is Data Scraping? - February 10, 2021