
Hey Android lovers! You all must be aware of what exciting new features Google is bringing in its latest Android version: Android P. If you are not aware of then check my previous blog on top features of Android P.
For your information, I would like to let you know that Google has announced in the starting of March-2018, that it is going to release the next OS named Android P. Android P is coming with a number of changes in Android that will make Android more efficient, powerful and secure than ever before.
As per now, the preview version of this OS is released for Google Pixel users and if you do not have a pixel device then you can download the system image on an emulator in Android studio.
This post is for Android enthusiasts who cannot wait for the official release of the version and want to take a try of the preview version. In this post, I’ll be guiding you step by step process to download the preview version and set up an Android emulator.
Jump to Section
Step 1: Get Android Studio 3.2 canary
Android P preview SDK includes changes that are not compatible with Android Studio 3.0. Hence, it is the first step to get a higher version of Android Studio. You can download Android Studio 3.1 also, but there may be Gradle sync failure and no developer would like to get in that solution.
So, visit the Android developer official site and download the Android studio 3.2 canary(under construction). Or click here to redirect to the download page and then follow the below steps:
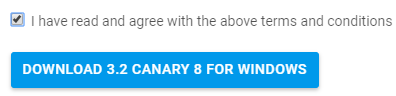
- Click on the download 3.2 canary button

- Then a term and condition pop up will open, check on the agreement and click on download button.
- A zip file of the android studio will start downloading.
Note: you can run the canary version along with your stable version of Android Studio. Both can run simultaneously on your device. Hence, do not worry about your previous version of Android Studio. - For Windows users:
1. Firstly, unpack the zip file.
2. Then, install Android studio on your device.
3. Go to the installed location and inside the bin folder, launch studio.exe (for a 64-bit machine, launch studio64.exe). - For Mac users:
1. First of all, unpack the zip file.
2. Then, drag the app file in your Applications folder.
3. Launch Android Studio. - For Linux users:
1. Unzip the zip file.
2. Rename the resulting folder to “android-studio-canary” or anything unique you like.
3. Open a terminal and navigate into android-studio-canry/bin/ and execute studio.sh to launch Android Studio.
Step 2: Install the Android P preview SDK
The Android Studio will launch like this:
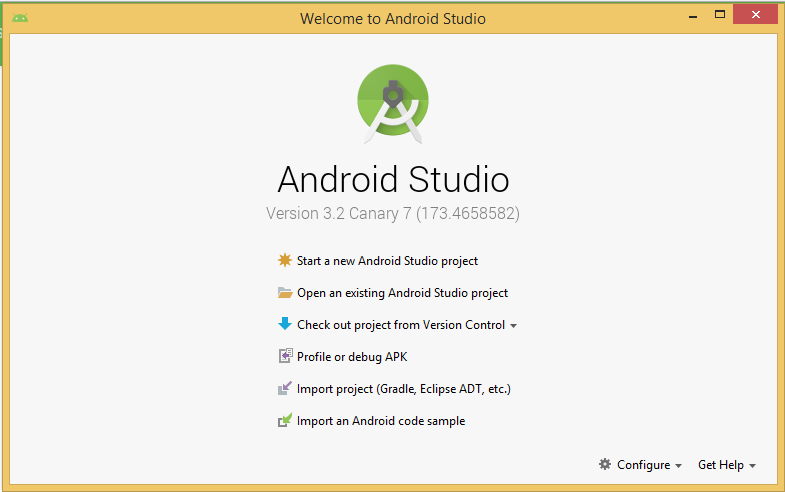
Now, you have to download the SDK of Android P:
- Click on the Configure button at the bottom of the Android studio and click SDK manager in the drop-down menu. This will open the SDK manager.
- In the SDK Platform tab check on Android P preview.
- Click on SDK Tools tab and select Android SDK Build-Tools 28-rc1 (or higher).
- Click OK to begin the installation.
- A confirmation pop up will come with the list of components that will be installed. Click OK on that pop up also.
- The installation will start and you will see the following download screen on your computer.
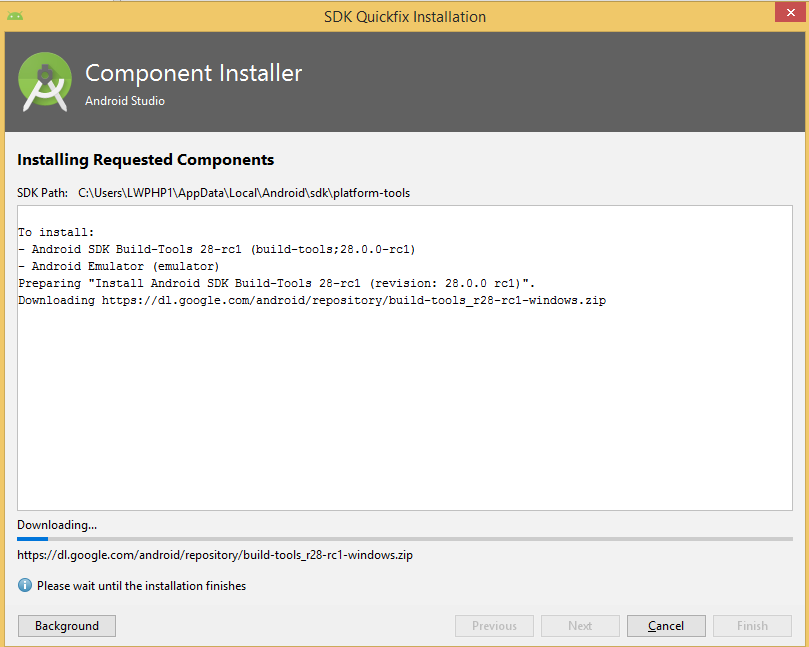
- After the download completes, Finish button becomes clickable. Click Finish to close the window.
Step 3: Open a sample project in the Android Studio
You have to now open the complete Android studio for further settings
- Click on Start a new Android Studio project
- Give your application a name or leave it as MyApplication
- click next and choose Target android device.
- next, choose an empty activity to keep things simple.
- next, name your Activity or leave it as it is and click finish to build the project.
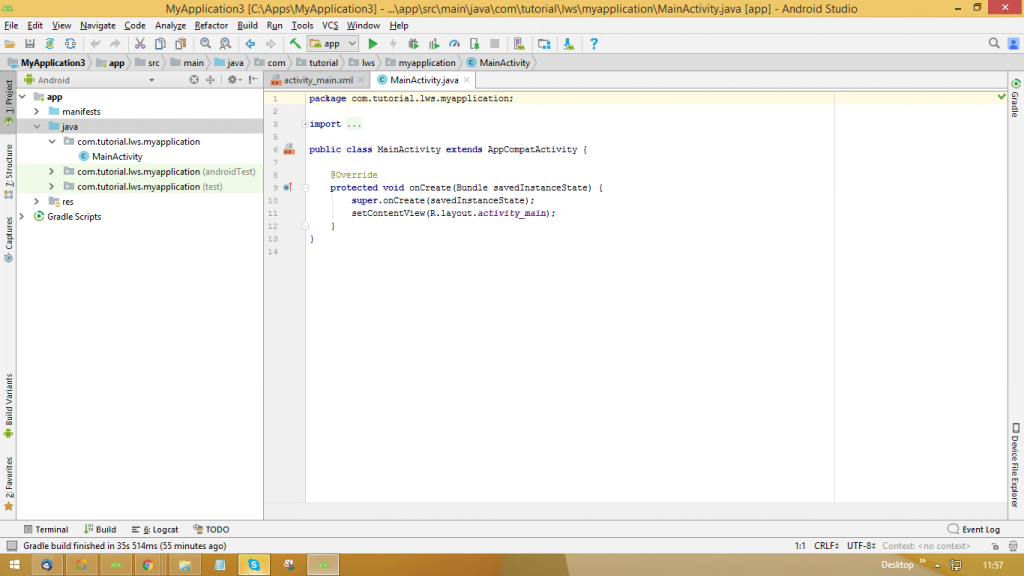
- Let the Gradle build.
- After this, your screen will look like this
Step 4: Update your build configuration
Now, you’ll have to update the Gradle file of the application for Android P. In project pane, click on Gradle Scripts> open project level build.gradle file.
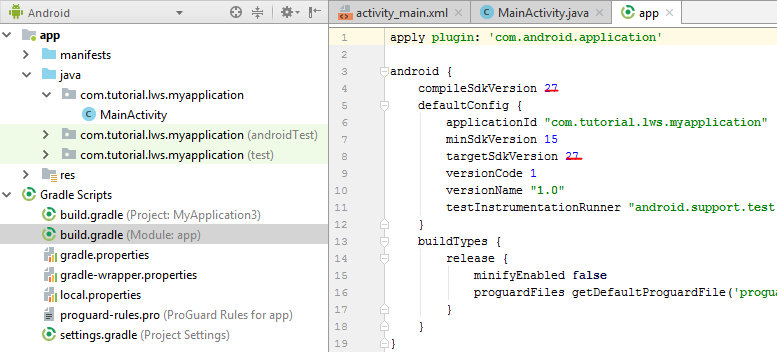
Now, change the compileSdkVersion to ‘android-P’ and targetSdkVersion to ‘P’ and click on sync now.
android {
    compileSdkVersion 'android-P'

    defaultConfig {
        targetSdkVersion 'P'
    }
    ...
}
Step 5: Setup Emulator
To set up the emulator you have to install the latest system image and then you’ll create an emulator.
- Click on Tools > SDK Manager.
- In the SDK Platform tab of SDK manager, check show package details at the bottom of the window.
Then, below Android P Preview, check Google APIs Intel x86 Atom System Image.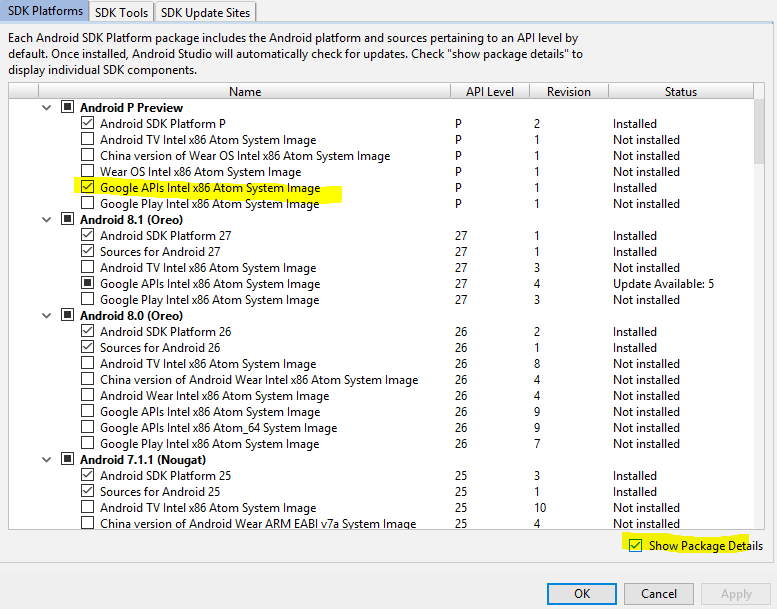
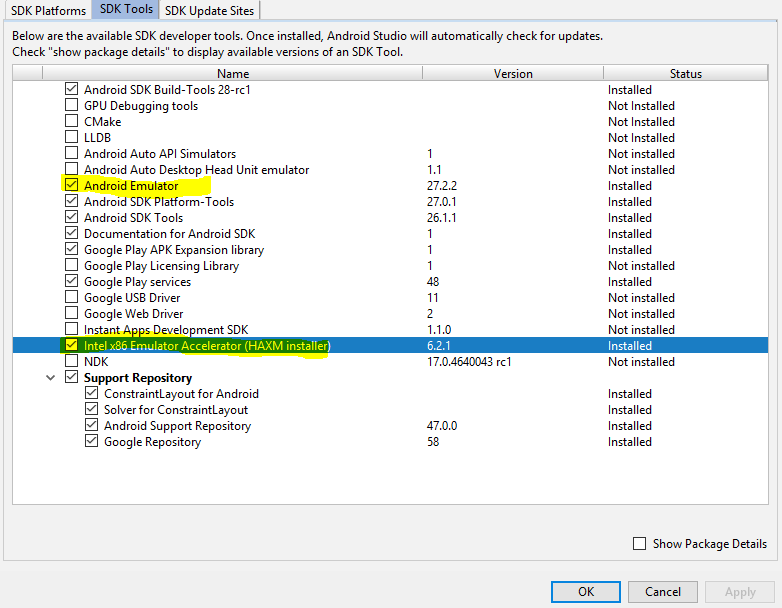
- In SDK Tools tab, select the Android Emulator and Emulator Accelerator and click OK to start the installation.
- Once the installation is done, click on Tools> AVD Manager. This will pop up a window to create an Emulator.
- Click on create virtual device button at the bottom left of the window.

- Choose Nexus 6P as the device definition and click next (you may select any other but it should not have google play store included).
- Select P as system image and click next.
- Now, in verify configuration window you can change the name of your emulator, when it’s done, click on Finish button.
- Now the device you created must appear in AVD manager window from where we started creating our virtual device.
Step 6: Run Emulator
Up to previous 5 steps we have configured everything and now we can launch our emulator. To start the Emulator click on launch button in Actions tab in AVD Manager at the end of the device description.

Be patient and wait for a while, the emulator window will open on your computer screen. And, then it will boot like a new device is turned on the first time.
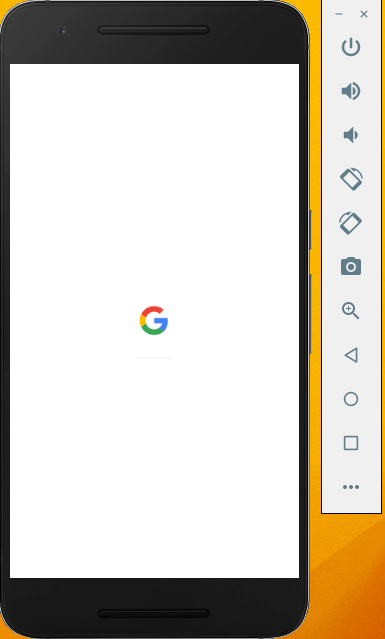
Emulators consume many resources on your computer. So, it is advised to close other applications when turning on the Emulator. But not in every case, if you have a powerful system with 8GB RAM, i5 processor, 3.0+ GHz clock speed then you can go ahead. Now, this is how the emulator looks after booting.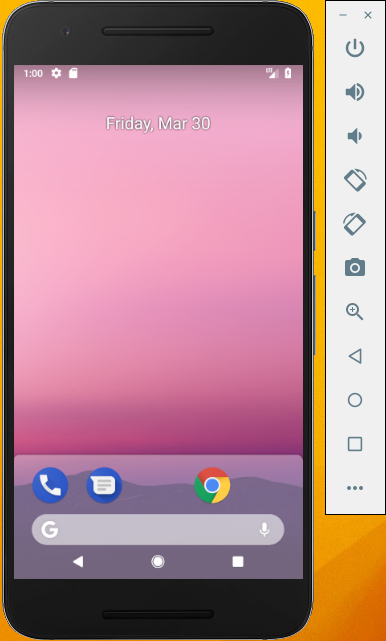
Summing up
In just 6 steps you have the latest Android OS, yes not in your hand but on your computer. This is much safe than flashing the preview version on your device where there is a risk of phone dead.
Guys, Go through every corner of the emulator, check out the differences and added features by yourself. Check the features of Android P in my other blog and verify yourself.
Also, do update in the comment box below if you find something that I missed. Meanwhile, like and share the post. Thank you!
I excel when it comes to making bespoke data dashboards and visualizations that users and clients absolutely love. Sharing about things I enjoy doing is my hobby, whether it's about a project, collaboration, feedback, or just simple how-to guides about visualization.
If you have something to ask or share, I'd love to hear from you!
- Business Intelligence Vs Data Analytics: What’s the Difference? - December 10, 2020
- Effective Ways Data Analytics Helps Improve Business Growth - July 28, 2020
- How the Automotive Industry is Benefitting From Web Scraping - July 23, 2020
At the time of setting up the Android Studio application, it is showing the error code 0xc000000f
and stopped at the middle of the installation, and it has started to install from the beginning.