With the Introduction to iOS 7 apple gives us the ability to make an image circular or round with the help of CA Layer. Every view in the UIKit (e.g. UIView, UIImageView) is backed by an instance of the CALayer class (i.e. layer object). This layer helps you to manage the backup design for the view and handles view-related animations.
The layer object provides us the various attributes that can be set to control the visual content of the view such as:
- Background color
- Border and border width
- Shadow color, width, etc
- Opacity
- Corner radius
The corner radius is the attribute that we’ll use to draw rounded corner and circular image. We will be going to create a simple imageview with a circular profile photo.
Jump to Section
A Glance at Demo Project
The demo project is very simple. The only class you need to know is the ImageViewController that is associated with the view in the storyboard.
We also link up the profile image (UIImageView) with the imageView property in the ImageViewController.h.
Before doing it we need to understand the use of UIImageView in iOS:
UIImageView is an object which lets you display an image within the view by using the image class of iOS. Also, we will be gonna use UILabel Class which will define a name just below the image view class so that our profile section could look more attractive at the moment.
Initial Setup
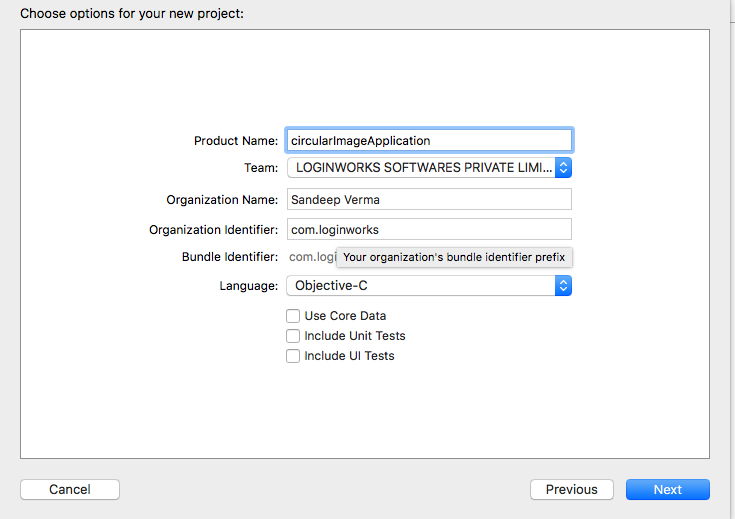
Let’s start it with creating the project with a unique name and to do this head into the create new application section and select single view application from it.
Name it as circularImageApplication as mentioned in image below,
Now head into the Main storyboard section in the XCode and in the interface builder add a view and an image view to it.
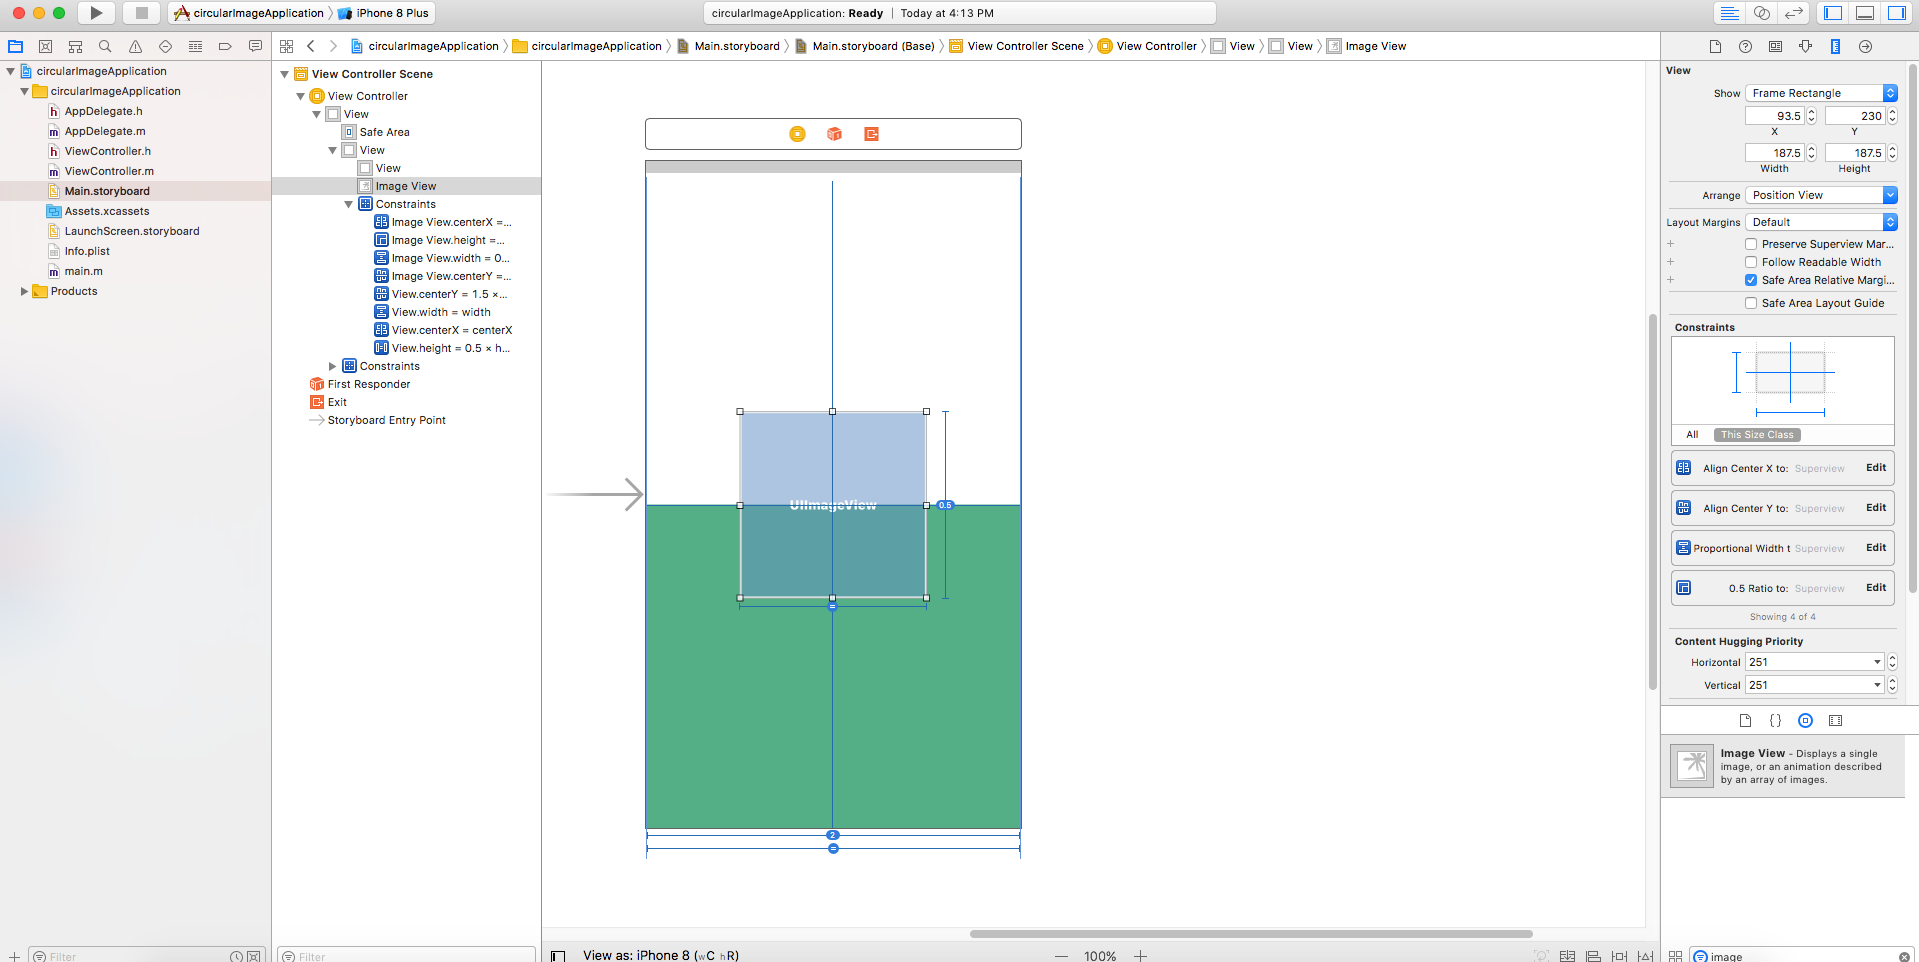
One more thing we will be using here is a UILabel.
Set the constraints according to the design as you can see that in my case I am using the top layout, button layout, center horizontally, center vertically constraints for my main view.
To design the imageview constraints I am using center horizontally, center vertically, equal width, equal height constraints. Last but not the least to design my Label I am using top constraint, center horizontally, equal width, equal height.
Creating Connection to Outlet
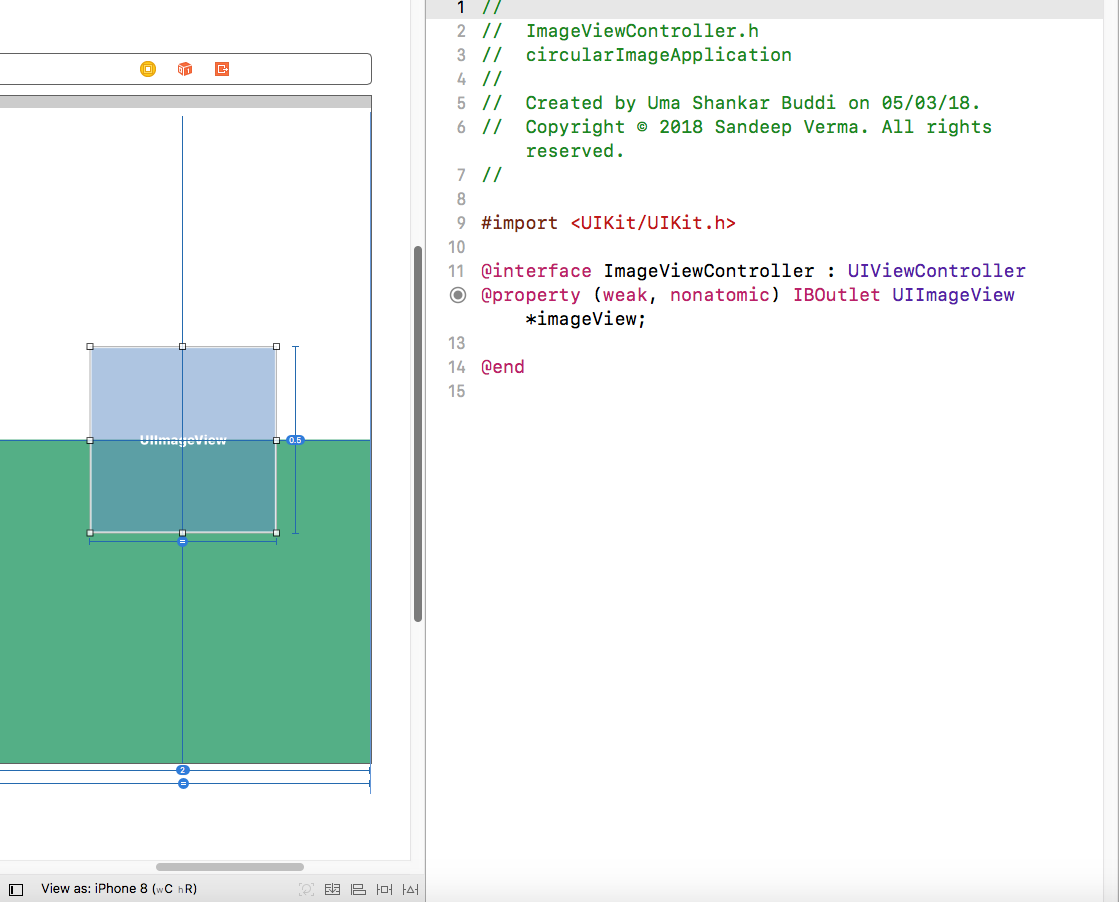
Now head into your imageViewController.h file and create an outlet connection of image view to it. After this, you can give a color to your background view so that it can give a unique design to your application.
#import <UIKit/UIKit.h>

@interface ImageViewController : UIViewController

@property (weak, nonatomic) IBOutlet UIImageView *imageView;

@end
Creating Round Corner Image
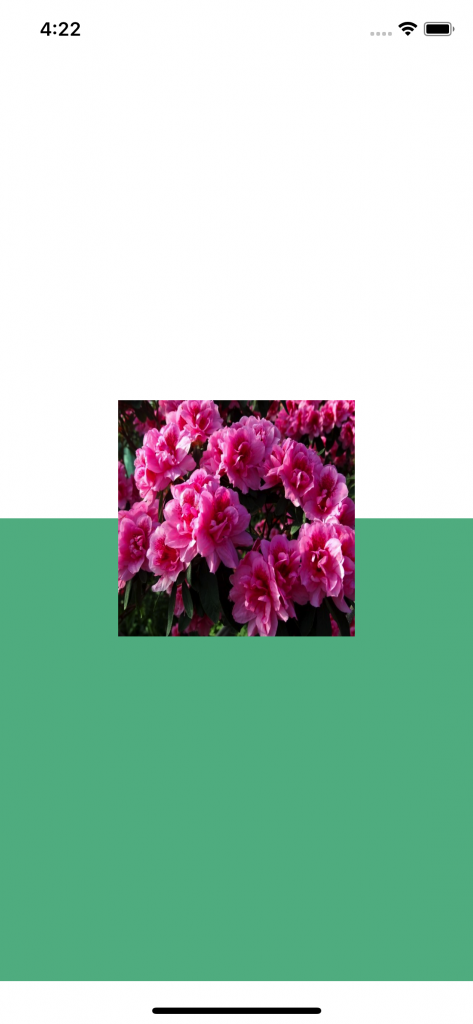
Moving to the application, now we are going to the main instance of the code which is implementing the round corner image. But before that, we will be going to run the application and see what happened.
As you can see the image view is square in size right now and not in circular shape, it is because we haven’t implemented the code to handle the corner radius of the image.
Step 1
Now head to ImageViewController.m file and add the following code to your view did load method as shown below.
- (void)viewDidLoad {

    self.imageView.image = [UIImage imageNamed:@"flower.jpg"];

    self.imageView.layer.cornerRadius  = self.imageView.frame.size.width/2;

    self.imageView.clipsToBounds = YES;

}
If you want to add an image from the particular URL then you can do it with the help of NSURL and NSData which can fetch the image and can show it to the image view just like the static image.
  NSString *imageUrl = @"";

    NSURL  *url = [NSURL URLWithString:imageUrl];

    NSData *urlData = [NSData dataWithContentsOfURL:url];

    UIImage *image = [UIImage imageWithData:urlData];

    self.imageView.image = image;
As you can see here I am adding an image using image name to set an image into the image view. After this, I am giving the corner radius to my square image view so that I can make it round from corners (i.e. an instance of CALayer class).
For every view, there is a particular bundled layer property exist. To make a circular image from a squared image, we need to use the radius and set it to the half of the width of UIImageView.
If the width of your squared image is 200 pixels. The radius is set to 100 pixels i.e half of the width. Later, you need to set the clipsToBounds property to YES in order to make the layer works.
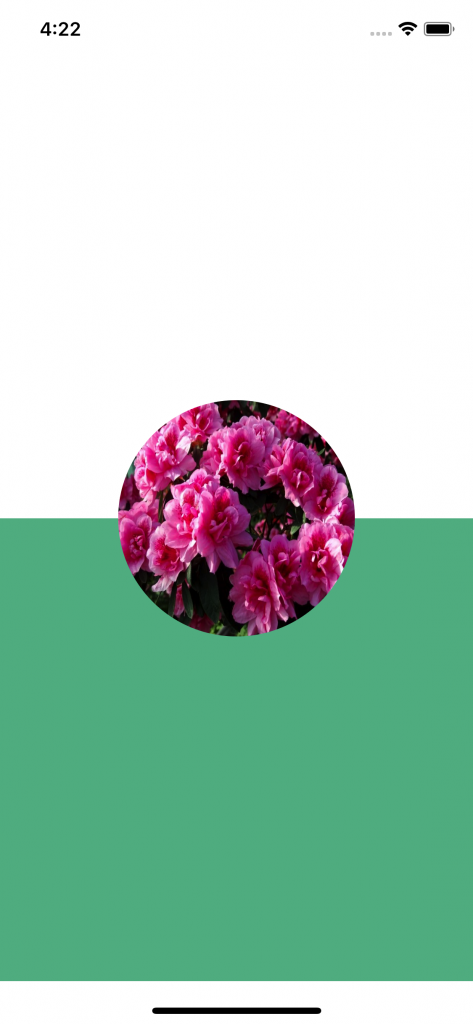
Now, if you compile and run the application then you will be able to see the circular image inside the view as shown below.
Adding Round Corner
Now, let’s make our application looks even better by applying corner to it, and to do this we will be going to use border width and border color feature of the image view. Through this, we can add a custom color to our border of the image which looks amazing from the user point of view and enhance the application User Interface.
Add the given line of code to your view did load method.
    self.imageView.layer.borderWidth = 3.0f;

    self.imageView.layer.borderColor = [UIColor whiteColor].CGColor;
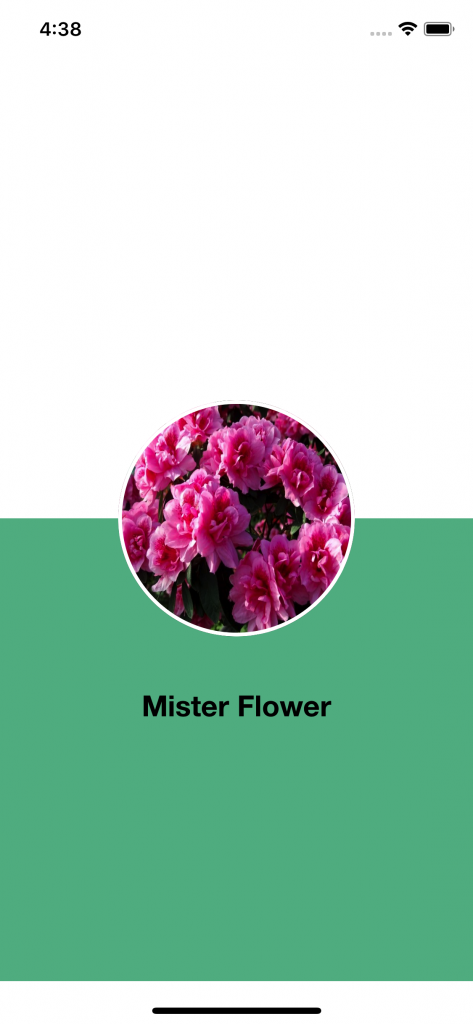
Here you can choose the border thickness and also the color of your choice, I am going to use white color as the border color.
Compile and run the application again and now you should see the border with white color around the image.
You can run the sample project using the simulator present within the Xcode tool or you can also use the real device i.e. an iPhone to check whether the image is getting round or not.
Conclusion
In this tutorial, we have learned that how we can convert the simple square image into a round circular image using a few coding skills. Due to the presence of iOS 7 Support, we can easily perform this functionality using UIImageView and CLLayer feature.
I hope you like this tutorial and will find it useful for your application as well, and if you want more tutorials like this, then let me know in comments below and till then keep coding..!!
- LinkedIn Scraper | LinkedIn Data Extractor Software Tool - February 22, 2021
- Is Web Scraping Legal? - February 15, 2021
- What Is Data Scraping? - February 10, 2021
1 thought on “How to add Circular Image with Objective-C in iOS Application?”