Hey folks, I hope you all understand the title itself that what we will be going to do today. Yes, we are going to integrate the google sign in feature in our ios application,
But here the twist is that we will do it with the help of firebase.
Before getting started we need to understand the use of firebase and its uses.
Let us discuss some benefits of firebase:
- If your application contains some database then you can store and retrieve the data easily using the firebase in build database tool.
- If you want to use some free services like sending free notifications to the user, verification through phone number then you can get everything free with firebase tool.
- It has all the instructions present on its website which comes handy sometimes.
- Implementation of the services is quite easy and you can perform all the functionality by following the process as mentioned on it.
Let’s directly jump into the application development now without wasting any time.
Jump to Section
Step 1
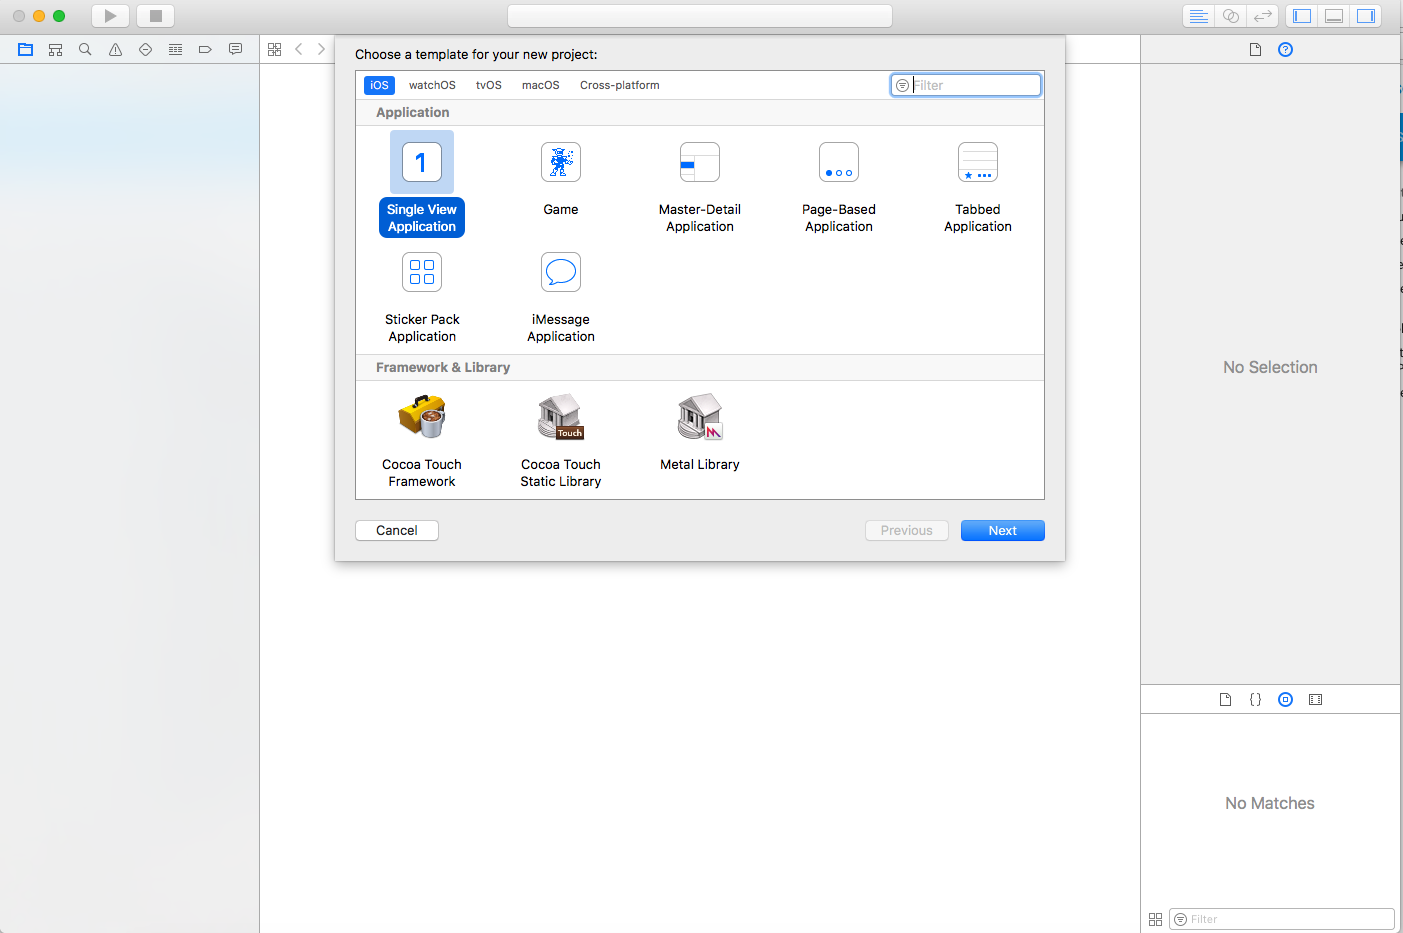
Open XCode and click on the create a new application and select Single View Application as mentioned in the snapshot below.
Step 2
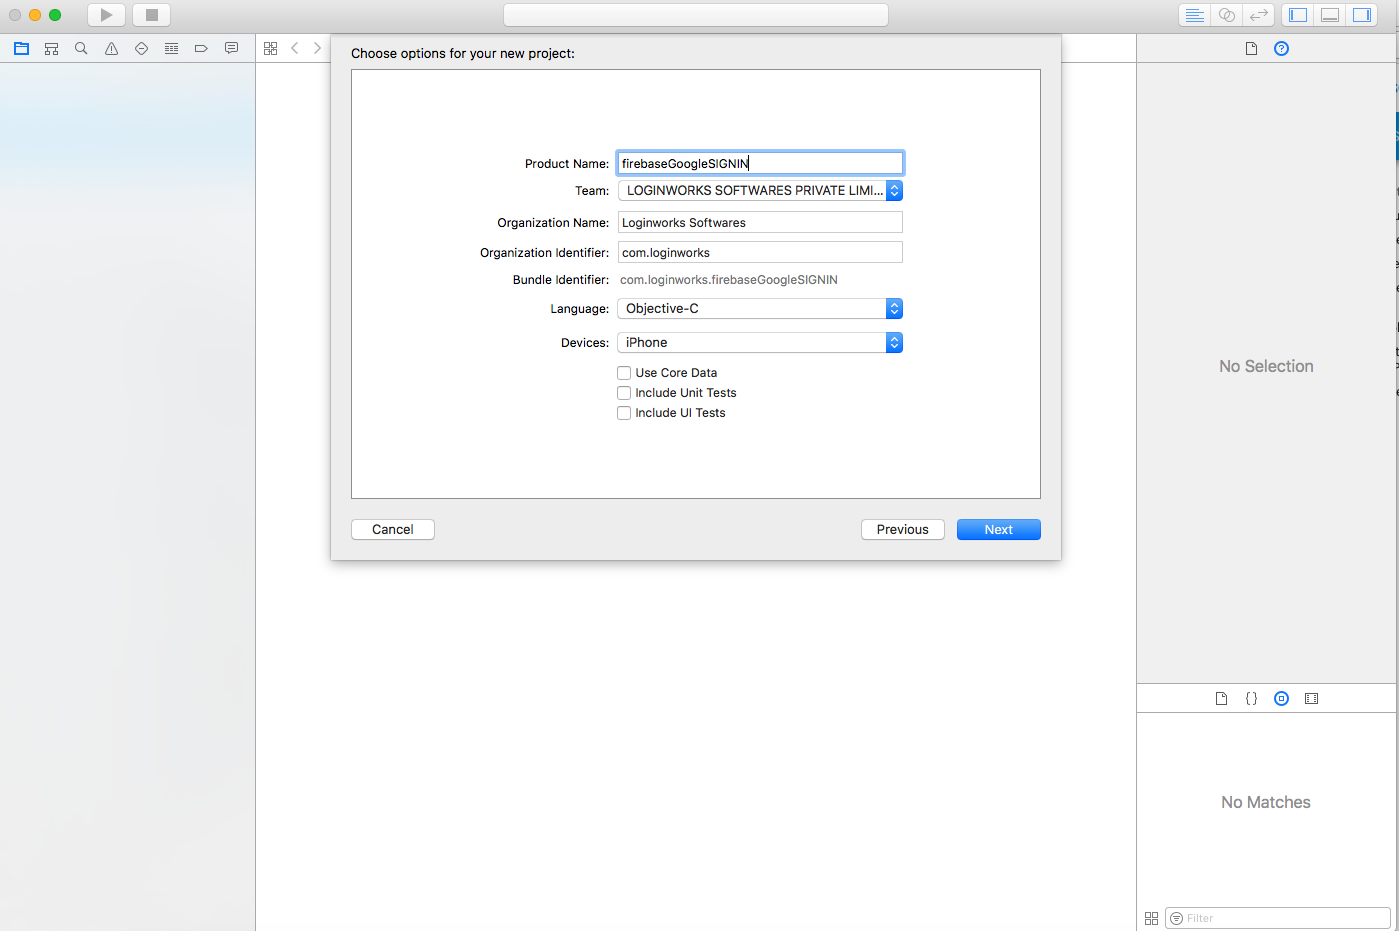
Now at this point, you need to give a name to your application so that it can be easily differentiated from other apps as mentioned below.
Step 3
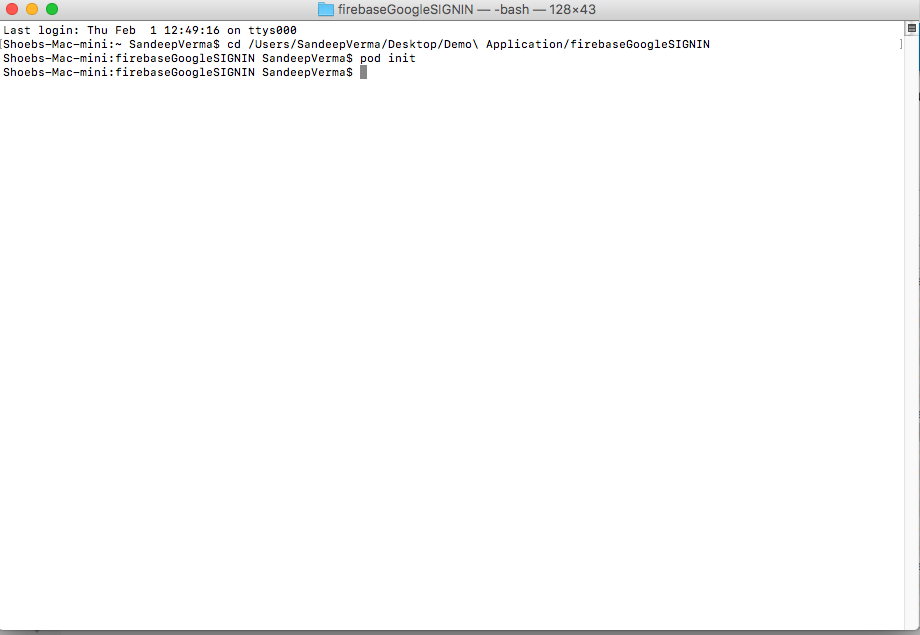
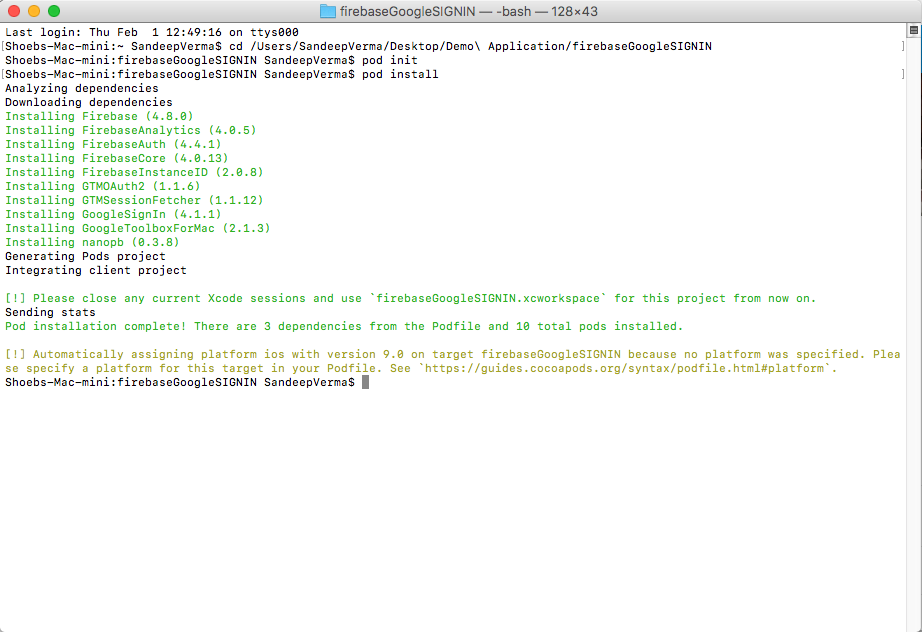
Now we need to create a pod file which will be going to integrate all the required frameworks into our application easily.
To do this just open terminal on your mac and add the location of your project into it after adding cd as mentioned in the snapshot.
After doing this initialize the pod file by using the command pod init.
Step 4
Now after creating the pod file, you need to open it with an editor. I am using the sublime text editor to edit the file you can use anything like text editor etc of your choice.
Then add the following frameworks into the pod file.
pod ‘Firebase/Core’ – which is used to get core data of firebase.
pod ‘Firebase/Auth’ – which will be going to get the authorization process data.
pod ‘GoogleSignIn’ – which will be going to get the google sign in features.
After doing this just save the pod file and enter the command into your terminal window which is pod install and then hit the enter button.
That’s it, at this point we have integrated all the required frameworks into the application.
Step 5
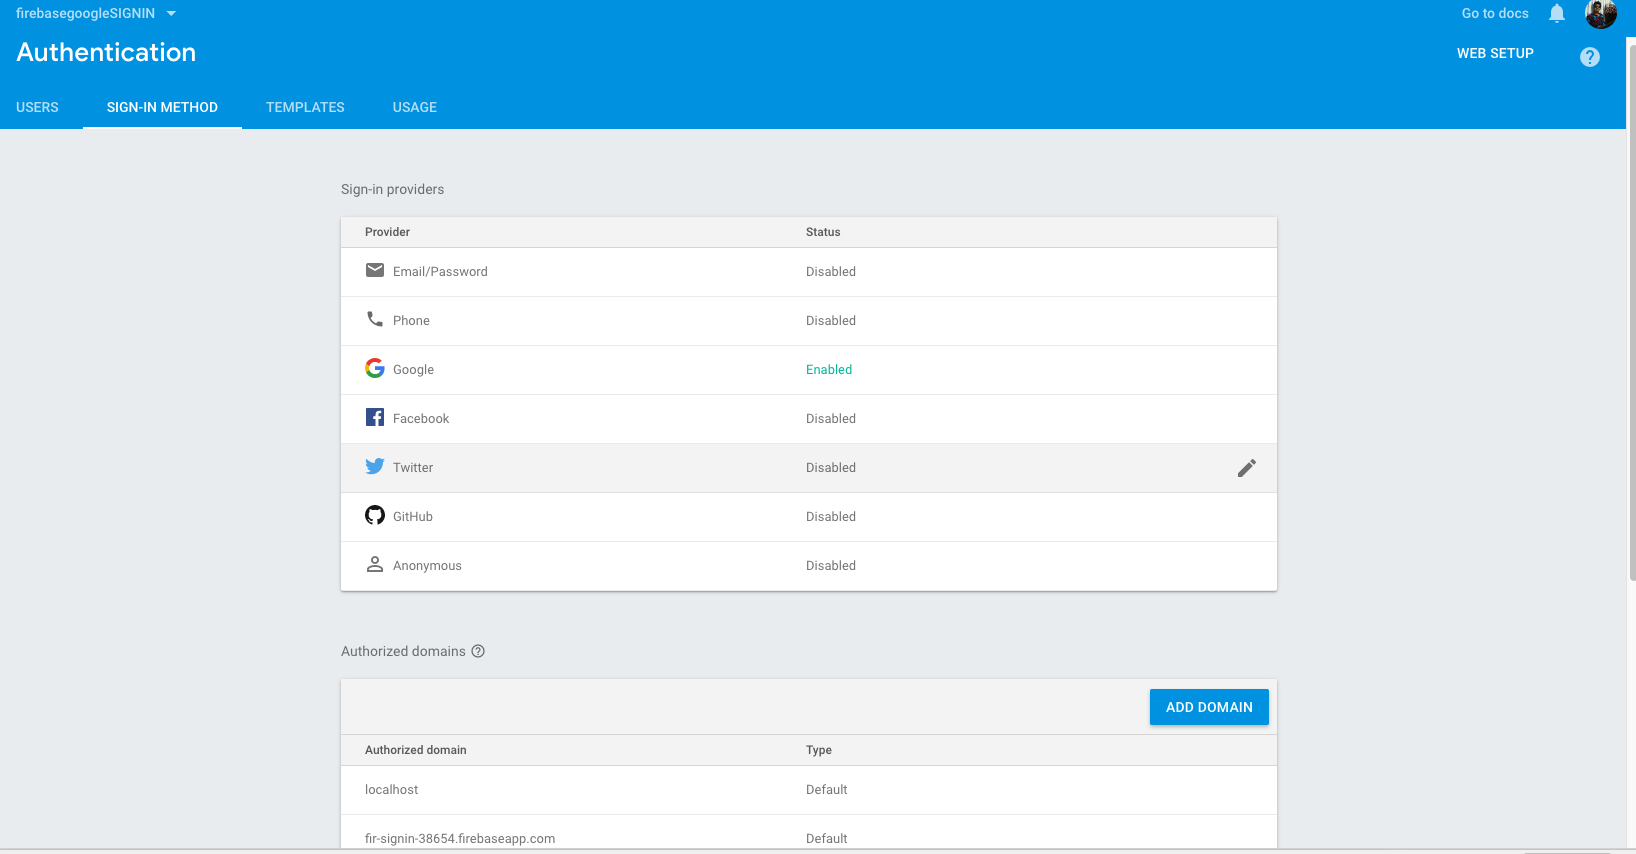
Now we need to initialize the firebase console, to do this follow the link as mentioned here. Then click on the create a new project and name it. After this step just head into the SIGN-IN METHOD and select the google from the list, and enable it as mentioned below in snapshot.
Step 6
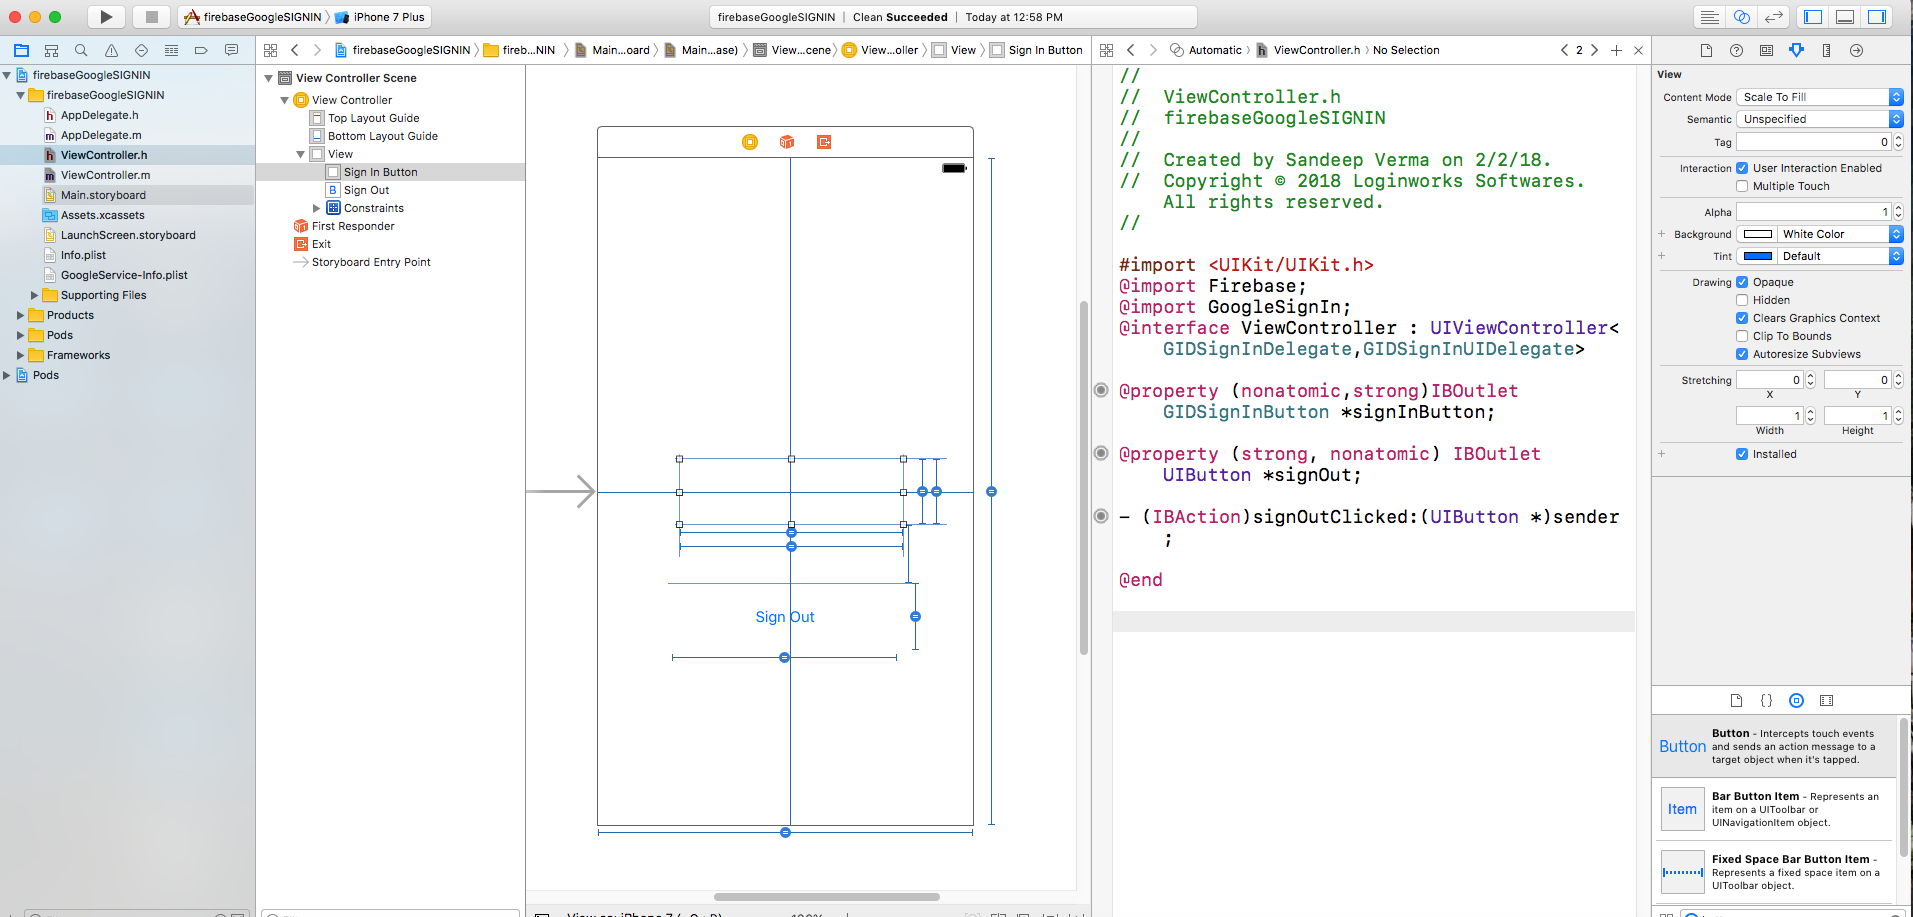
Now head back to the view controller and go to the Main.Storyboard, and add two objects i.e – View and Button as mentioned below and then connect them to the view controller to perform some action.
I am adding the code below so that it can reduce some development time from your side.
Add this code to your viewcontroller .h file
@import Firebase;

@import FirebaseAuth;

@import GoogleSignIn;

@interface ViewController : UIViewController<GIDSignInDelegate,GIDSignInUIDelegate>

@property (nonatomic,strong)IBOutlet GIDSignInButton *signInButton;

@property (strong, nonatomic) IBOutlet UIButton *signOut;

- (IBAction)signOutClicked:(UIButton *)sender;
Step 7
We need to initialize the firebase services through app delegates, so to do this head into the appdelegates.m file and import the frameworks which are –
@import Firebase;
@import GoogleSignIn;
@import FirebaseAuth;
After performing this action head into the didFinishLaunchingWithOptions method and add the line as mentioned below to it.
- (BOOL)application:(UIApplication *)application didFinishLaunchingWithOptions:(NSDictionary *)launchOptions {

    // Override point for customization after application launch.

     [FIRApp configure];

    return YES;

}
This will configure the firebase console into the application so that you can make use of the framework into your app.
Step 8
Now we need to do some code to make our application working, so head into the viewcontroller.m file.
Within the viewdidload method and add the code as mentioned below.
- (void)viewDidLoad {

    [super viewDidLoad];

    // Do any additional setup after loading the view, typically from a nib.

    [GIDSignIn sharedInstance].clientID = [FIRApp defaultApp].options.clientID;

    [GIDSignIn sharedInstance].delegate = self;

    [GIDSignIn sharedInstance].uiDelegate = self;

    _signOut.enabled = false;

}
Step 9
Now we need to handle the functionality which will be going to open the URL, which will call the google sign in method, hence to do this add the line of code into your viewcontroller.m file.
- (BOOL)application:(nonnull UIApplication *)application

            openURL:(nonnull NSURL *)url

            options:(nonnull NSDictionary<NSString *, id> *)options {

    return [[GIDSignIn sharedInstance] handleURL:url

                               sourceApplication:options[UIApplicationOpenURLOptionsSourceApplicationKey]

                                      annotation:options[UIApplicationOpenURLOptionsAnnotationKey]];

}

- (BOOL)application:(UIApplication *)application

            openURL:(NSURL *)url

  sourceApplication:(NSString *)sourceApplication

         annotation:(id)annotation {

    return [[GIDSignIn sharedInstance] handleURL:url

                               sourceApplication:sourceApplication

                                      annotation:annotation];

}
Step 10
We are almost done at this point we need to handle that what happened when sign in action will take place.
To do this enter the line of code next to the code you have added earlier.
- (void)signIn:(GIDSignIn *)signIn

didSignInForUser:(GIDGoogleUser *)user

     withError:(NSError *)error {

    // ...

    if (error == nil) {

        GIDAuthentication *authentication = user.authentication;

        FIRAuthCredential *credential =

        [FIRGoogleAuthProvider credentialWithIDToken:authentication.idToken

                                         accessToken:authentication.accessToken];


        [[FIRAuth auth]signInWithCredential:credential completion:^(FIRUser * _Nullable user, NSError * _Nullable error) {

            if (user) {

                NSString *welcome = [NSString stringWithFormat:@"%@ welcome to the application",user.displayName];

                //create alert message//

                UIAlertController *alert = [UIAlertController alertControllerWithTitle:@"Hello" message:welcome preferredStyle:UIAlertControllerStyleAlert];


                UIAlertAction *action = [UIAlertAction actionWithTitle:@"Okay" style:UIAlertActionStyleDefault handler:^(UIAlertAction * _Nonnull action) {

                }];

                [alert addAction:action];

                [self presentViewController:alert animated:YES completion:nil]; // 6

                _signInButton.enabled =false;

                _signOut.enabled = true;


            }

        }];

        // ...

    } else {

        // ...

        NSLog(@"%@",error.localizedDescription);

    }

}
This will be going to show an alert message when the user gets successfully signed in with Google.
If something went wrong then it will enter into the else clause and will show some error through error.localDescriptions.
After Successfully signed in what will you do if the user wants to sign out from the application.
To perform this action we need to call the signoutbutton method which will be going to show the status of the button as signout,
With this, the user can click on it and gets signed out of the application successfully.
- (IBAction)signOutClicked:(UIButton *)sender {

    FIRAuth *auth = [FIRAuth auth];

    NSError *signOutError;

    BOOL status = [auth signOut:&signOutError];

    if (!status) {

        NSLog(@"%@ error sining out",signOutError.description);

        return;

    }

    _signInButton.enabled =true;

    _signOut.enabled = false;

}
Final Output:
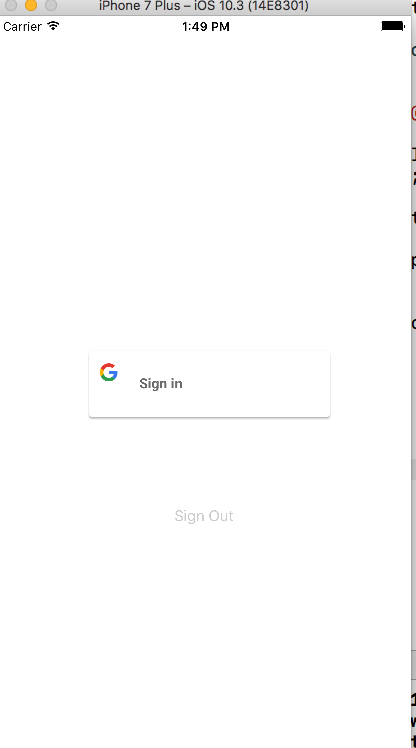
If you have implemented all the steps mentioned earlier then you will end up with a screen.
This will show the login button with google sign in feature as mentioned in the snapshot below:
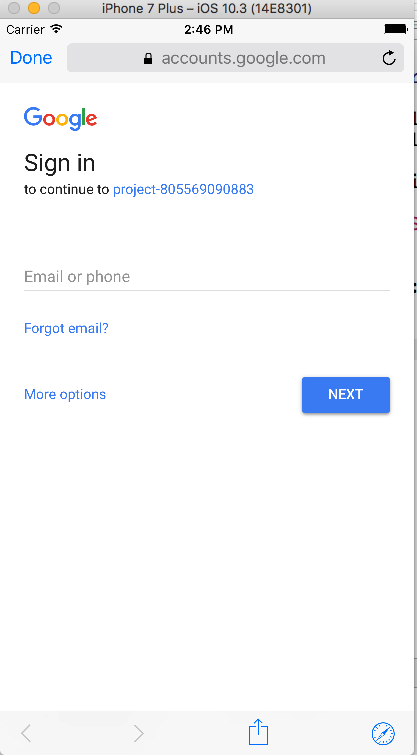
After Clicking on the Sign in button it will redirect you to the Google Sign in Page.
This will handle the further process to get you sign in successfully into the application as shown.
Conclusion:
I hope this application helps you to understand the use of firebase and its features.
We will be going to learn more about firebase in the future tutorials.
I will try to make them as simple as this one.Till then enjoy being a developer and happy coding..!!
- LinkedIn Scraper | LinkedIn Data Extractor Software Tool - February 22, 2021
- Is Web Scraping Legal? - February 15, 2021
- What Is Data Scraping? - February 10, 2021

