Hey everyone if you are following my previous posts then you will see that we have already implemented things like – building camera application, QR code scanner etc using the camera of the iPhone.
But now in this tutorial, we will be going to make use of the video feature present in the iPhone to capture the video and will save it to the user’s gallery similar to its default camera User Interface.
Jump to Section
Initial Setup
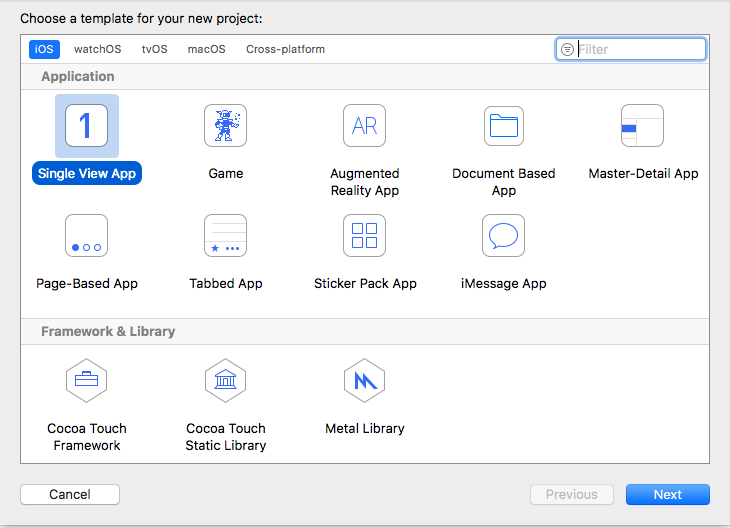
We will first be going to work on the initial setup of the application and to do this head into the XCode application on your mac and click on create a new application. Later after doing this click on the single view application as shown below.
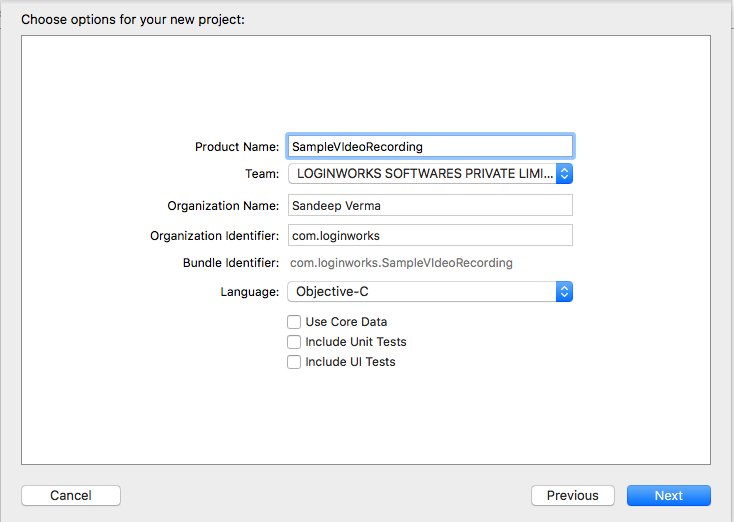
Now after this you need to give a name to your iOS application and I will be using “SampleVideoRecording” name for my application so that I can access it in future if required and later save it to a particular location.
Interface Building
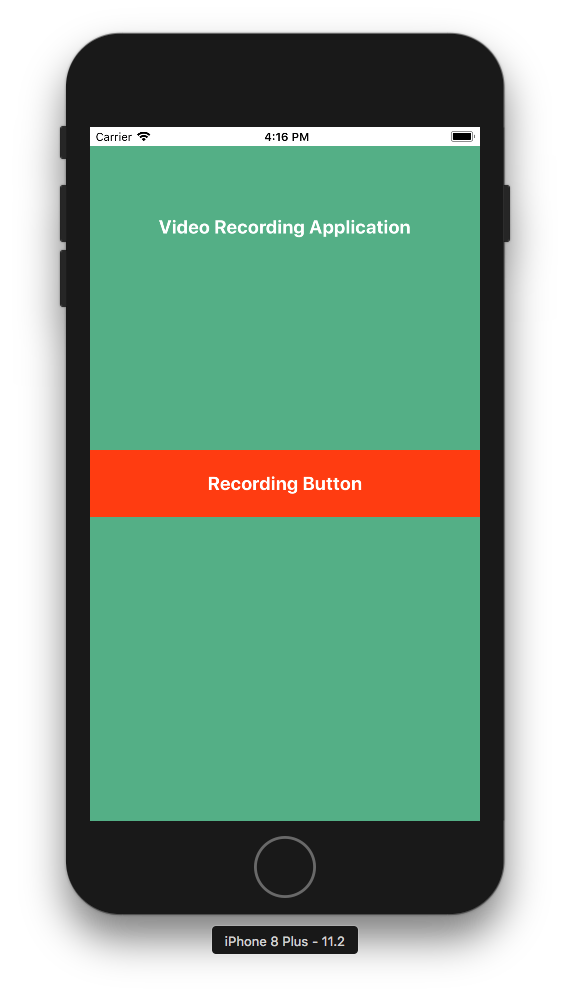
We can now move to the second step which is to design a simple interface for our application. Here we will be going to use three things to design the Interface:
- A View which will be our main view and will cover the whole screen and later give it a color according to your choice.
- UILabel on top of the view on which there is a static text written as “Video Recording Application”. Give it constraints top layout from view, the center horizontal, equal width and equal height.
- An Action Button at the center of the application through which we will going to launch the camera of the app. Set the constraints as center horizontal, center vertical, equal width and equal height to the main view.
After doing all this the UI will look similar to this as shown:
Creating Connections with Outlets
Now it’s time to create the connections of objects with their outlets and to do this you need to create a new view controller file from the Xcode toolbar. Later after doing this assign the file to your view controller. The file I am using is CameraViewController.
Head into the CameraViewController.h file and add the following code to it by using the outlet connection:
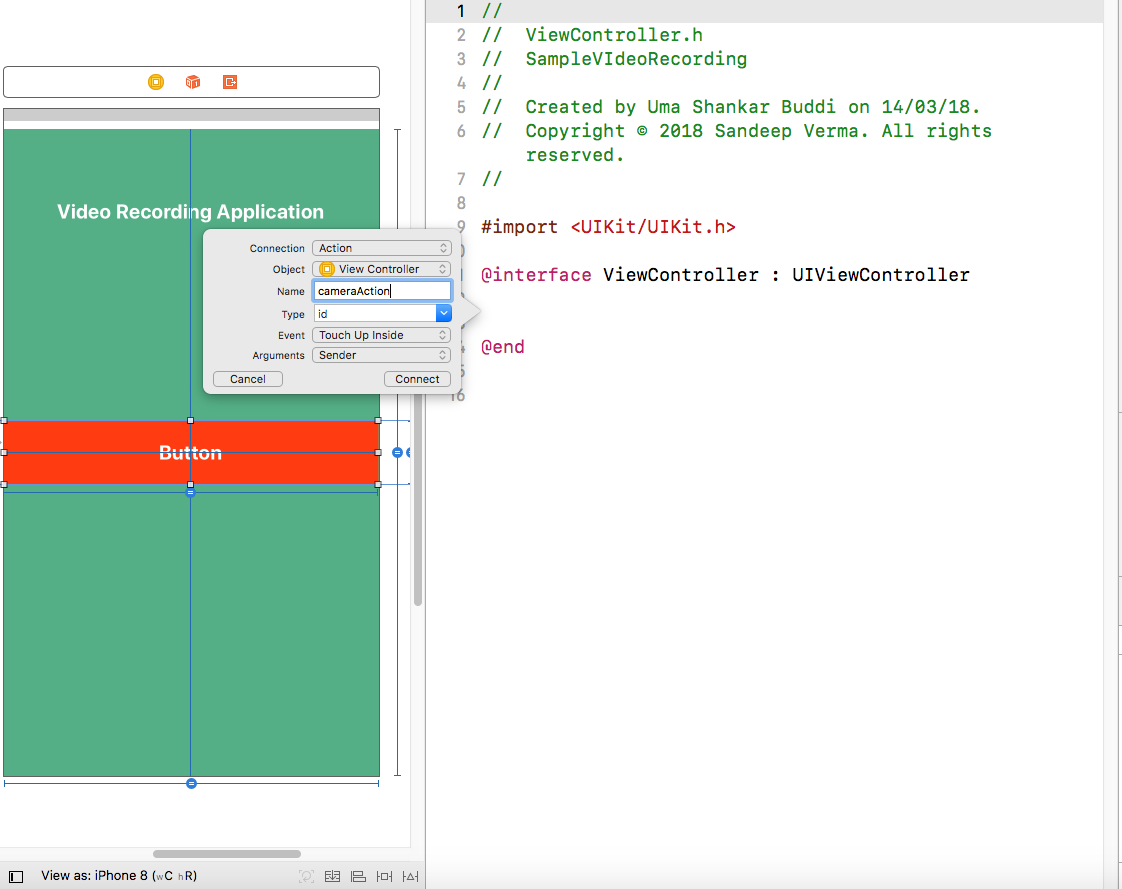
We only need to create the connection of button with the viewcontroller file. Drag and drop the button by using the mouse left key with control key and assign a name to the button which is cameraAction as shown in the picture above. Add the two frameworks which is MediaPlayer and MobileCoreServices to your .h file as shown:
#import <UIKit/UIKit.h>

#import <MediaPlayer/MediaPlayer.h>

#import <MobileCoreServices/MobileCoreServices.h>

@interface CameraViewController : UIViewController<UIImagePickerControllerDelegate, UINavigationControllerDelegate>

- (IBAction)cameraAction:(id)sender;

@property (strong, nonatomic) NSURL *videoURL;

@end
Adding the Video Recording Feature
At this time as we are done with our button connection, we only need to add the code to perform an action when the user will be going to press the video recording button. To do this, we need to implement the UIImagePickerController which will identify whether the camera is present inside the device or not and if not then it will show an alert message to the user if there is no camera present.
- (IBAction)cameraAction:(id)sender {

    if ([UIImagePickerController isSourceTypeAvailable:UIImagePickerControllerSourceTypeCamera]) {

        UIImagePickerController *videoRecorder = [[UIImagePickerController alloc]init];

        NSArray *sourceTypes = [UIImagePickerController availableMediaTypesForSourceType:videoRecorder.sourceType];

        NSLog(@"Available types for source as camera = %@", sourceTypes);

        if (![sourceTypes containsObject: (NSString*)kUTTypeMovie] ) {

         UIAlertController *controller = [UIAlertController alertControllerWithTitle:@"OOPS.." message:@"Device Not Supported for video Recording." preferredStyle:UIAlertControllerStyleAlert];

            UIAlertAction *action = [UIAlertAction actionWithTitle:@"Okay" style:UIAlertActionStyleCancel handler:nil];

            [controller addAction:action];

            [self presentViewController:controller animated:YES completion:nil];

            }

        videoRecorder.sourceType = UIImagePickerControllerSourceTypeCamera;

        videoRecorder.mediaTypes = [NSArray arrayWithObject: (NSString*)kUTTypeMovie];

        //videoRecorder.videoQuality = UIImagePickerControllerQualityTypeLow;

        videoRecorder.cameraDevice = UIImagePickerControllerCameraDeviceFront;

        videoRecorder.videoMaximumDuration = 120;

        videoRecorder.delegate = self;

                [self presentViewController:videoRecorder animated:YES completion:nil];

    }

    else {

        UIAlertController *controller = [UIAlertController alertControllerWithTitle:@"OOPS.." message:@"It seems that it is not a physical device" preferredStyle:UIAlertControllerStyleAlert];

        UIAlertAction *action = [UIAlertAction actionWithTitle:@"Okay" style:UIAlertActionStyleCancel handler:nil];

        [controller addAction:action];

        [self presentViewController:controller animated:YES completion:nil];

    }

}
Here the picker will check if the device has a camera type or not and will respond back according to the condition.
Handling the Video Saving Feature
Now we need to handle the part of the application where the user can perform or save the recording in the default gallery of the same application through which he can see it later in the future.
Add the following method below the button action as shown:
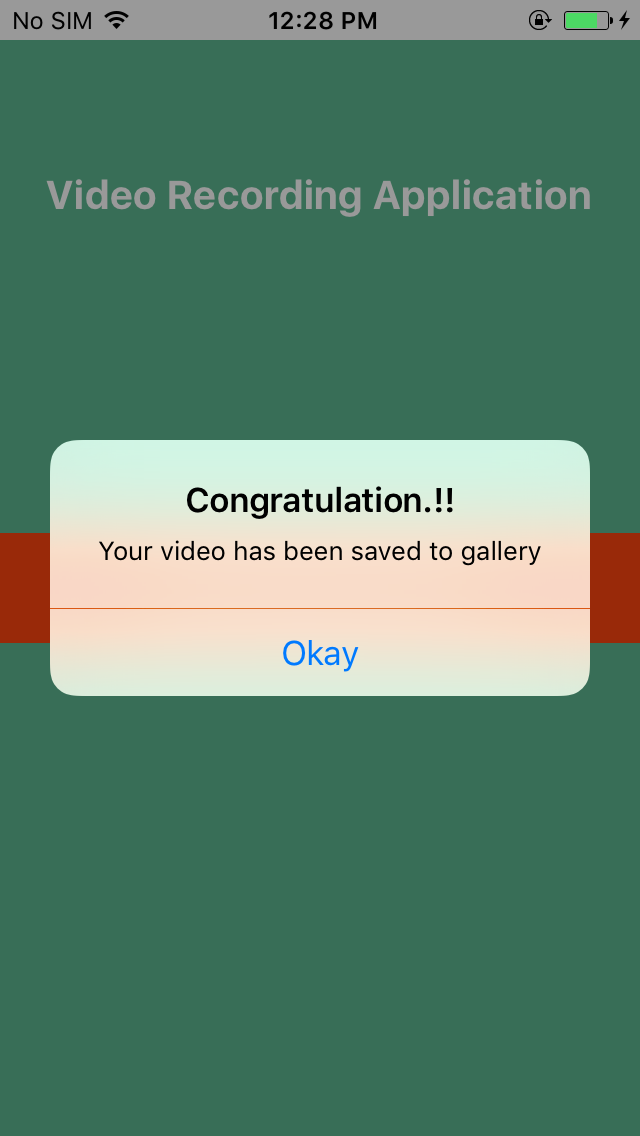
-(void)imagePickerController:(UIImagePickerController *)picker didFinishPickingMediaWithInfo:(NSDictionary *)info {

    NSString *type = [info objectForKey:UIImagePickerControllerMediaType];

    if ([type isEqualToString: (NSString *)kUTTypeVideo] ||

        [type isEqualToString: (NSString *)kUTTypeMovie]) { // movie != video

        NSURL *videoURL = [info objectForKey:UIImagePickerControllerMediaURL];

        NSData *videoData = [NSData dataWithContentsOfURL:videoURL];

        NSString *videoStoragePath;//Set your video storage path to this variable

        [videoData writeToFile:videoStoragePath atomically:YES];

        // save the video to gallery of the iPhone

        UISaveVideoAtPathToSavedPhotosAlbum([videoURL path], nil, nil, nil);

         //You can also save the video to server using the sqlite or json services

        [self dismissViewControllerAnimated:YES completion:nil];

//This will show an alert when the video will save into the gallery

        UIAlertController *saveAction = [UIAlertController alertControllerWithTitle:@"Congratulation.!!" message:@"Your video has been saved to gallery" preferredStyle:UIAlertControllerStyleAlert];

        UIAlertAction *actionSave   = [UIAlertAction actionWithTitle:@"Okay" style:UIAlertActionStyleDefault handler:nil];

        [saveAction addAction:actionSave];

        [self presentViewController:saveAction animated:YES completion:nil];

    }

}
Compile and Run Build
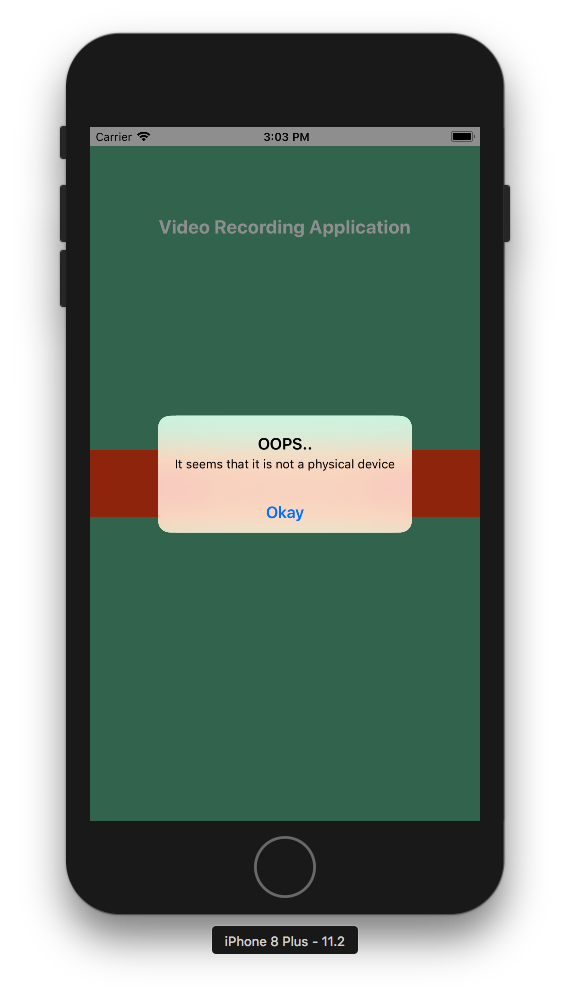
Now if you will run the project initially using the iOS Simulator then you will see an alert which will say that “It is not a physical device” as we are here checking if its real device or not.
You can see the snapshot below as simulator do not have an inbuilt camera in it.
Running on Real Device
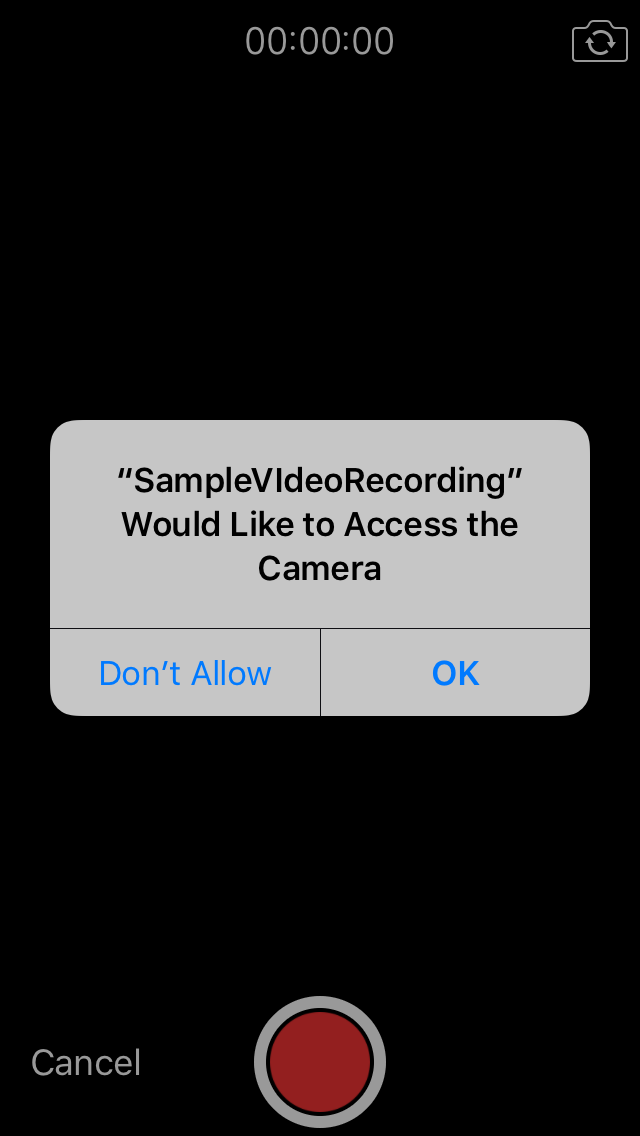
Try again to run it on a real device and you will see the action happened at this point.
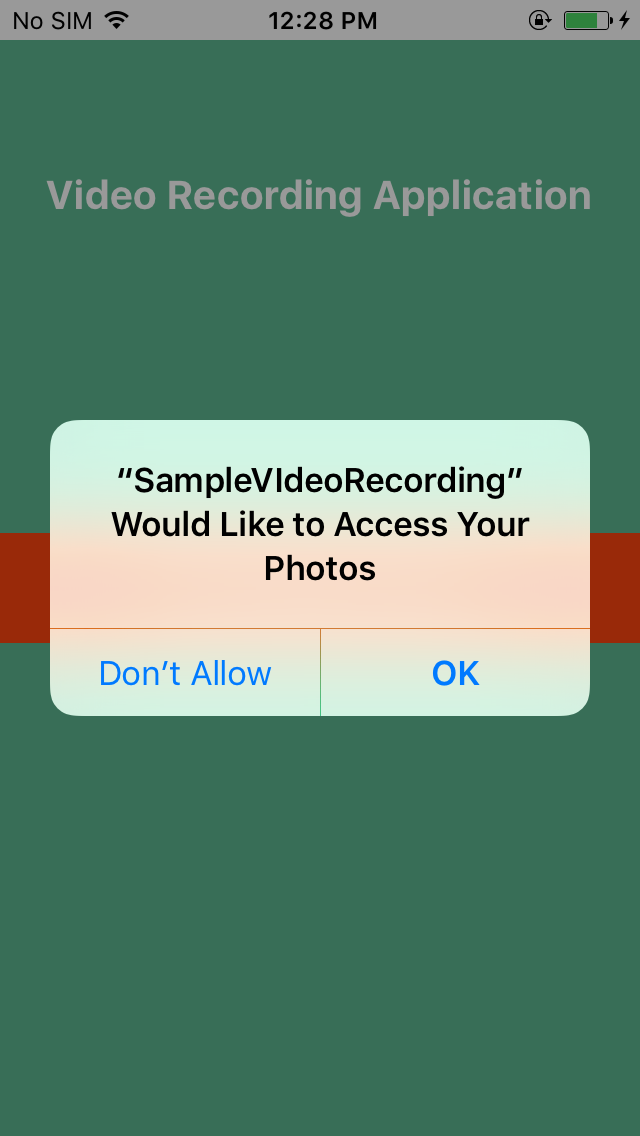
After you click on the recording button it will ask you to give the permission to access the device camera.
On successful action, it will start to record the video as shown.
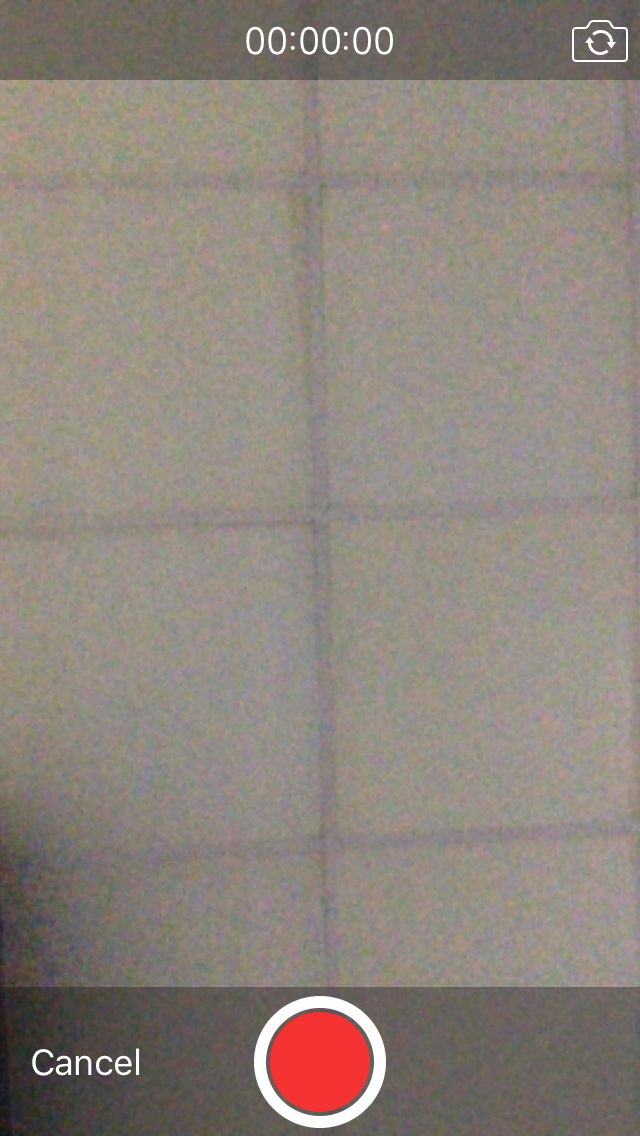
Later when you will stop the recording and will save the video then it will be going to save the video to the device gallery after asking the permission to access the gallery.
Summing Up
That’s it.!! We have successfully implemented the video recording feature in our iOS application which is similar to the default video recording feature. I hope you will find this tutorial useful and will implement this feature into your applications as well.
- LinkedIn Scraper | LinkedIn Data Extractor Software Tool - February 22, 2021
- Is Web Scraping Legal? - February 15, 2021
- What Is Data Scraping? - February 10, 2021