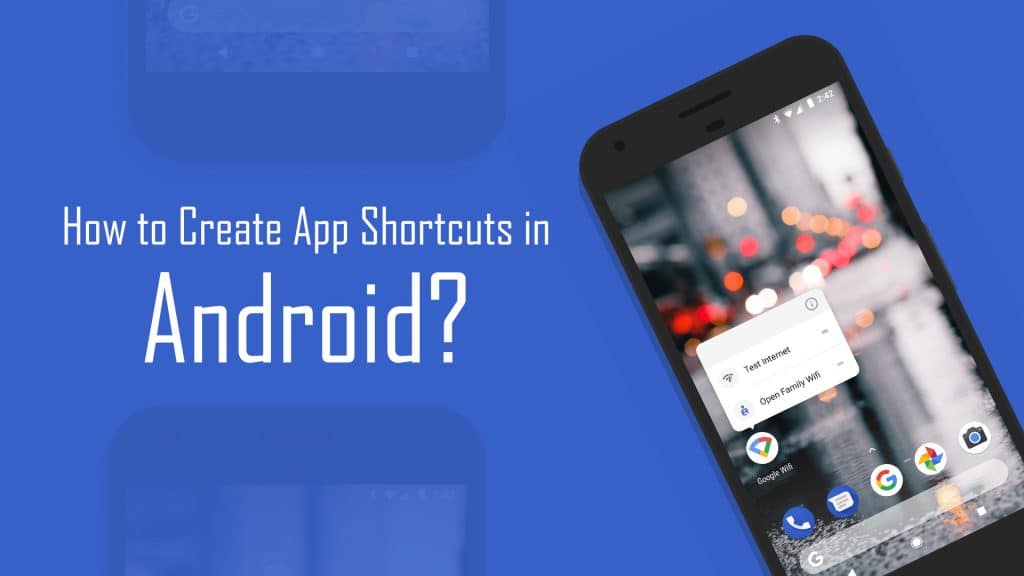
In this post, we are discussing one of the features of Android Nougat 7.1, namely the App Shortcuts feature. The App shortcuts will allow the users to access primary actions straight from their launcher by long-pressing the app icon.
It’s very helpful for users to access those actions very quickly and complete their tasks outside of the app without entering into it. Users can also pin these shortcuts to the home screen for quick navigation.
In this tutorial, I will describe you to create both static and dynamic App shortcuts. To do that, just follow the things which I am going to explain here.
Let’s start, shall we?
Jump to Section
Types of Shortcuts in App Shortcuts
We have 3 types of Shortcuts in the API.
1. Static Shortcuts
These shortcuts are predefined generated from the XML file that you create. These shortcuts are only changeable until updating the new version of the app because they come together with your .apk.
2. Dynamic Shortcuts
The name implies that they are changeable at any time(runtime). They can be created or destroyed at runtime, no need to wait until the new update of the app.
3. Pinned Shortcuts
These are generated completely at runtime, the user can create itself by copying the static or dynamic shortcuts onto the launcher.
We are allowed only to publish 5 shortcuts (a combination of static and dynamic shortcuts) at a time for the app. There is no limitation for Pinned shortcuts.
Note: The app must have a minimum SDK version set to API 25.
Create a New Android Project
Follow the sequence of steps to create an Android Project.
1. First, open Android Studio on your pc.
2. Go to File menu->New->New Project
3. Application name: AppShortcutsDemo.
4. Company domain: Your package name.
5. Then click on the Next button.
6. Minimum SDK: Android 7.1.1 (Nougat).
7. Then again click on the Next button.
8. Choose the Activity type to be Empty Activity. Afterward, click on the Next button.
9. Activity Name: MainActivity.
10. Finally, click on the Finish button.
Now, this will create your Android application Project named as AppShortcutsDemo.
Build.Gradle
The app-level build.gradle file of my app shows here.
apply plugin: 'com.android.application'
android {
    compileSdkVersion 25
    buildToolsVersion '25.0.0'

    defaultConfig {
        applicationId "com.appshortcutsdemo"
        minSdkVersion 25
        targetSdkVersion 25
        versionCode 1
        versionName "1.0"
    }
    buildTypes {
        release {
            minifyEnabled false
            proguardFiles getDefaultProguardFile('proguard-android.txt'), 'proguard-rules.pro'
        }
    }
}

dependencies {
    compile fileTree(dir: 'libs', include: ['*.jar'])
    compile 'com.android.support:appcompat-v7:25.1.1'
    compile 'com.android.support.constraint:constraint-layout:1.0.2'
    testCompile 'junit:junit:4.12'
}
Static Shortcuts
To create Static Shortcuts first we need to make changes in Android Manifest file.
Add a <meta-data> tag in your MainActivity which is the launcher activity in my case name attribute as android.app.shortcuts
<manifest xmlns:android="http://schemas.android.com/apk/res/android"
    package="com.loginworks.appshortcutsdemo" >
    <application
        android:allowBackup="true"
        android:icon="@mipmap/ic_launcher"
        android:label="@string/app_name"
        android:roundIcon="@mipmap/ic_launcher_round"
        android:supportsRtl="true"
        android:theme="@style/AppTheme" >
        <activity android:name=".MainActivity" >
            <intent-filter>
                <action android:name="android.intent.action.MAIN" />
                <category android:name="android.intent.category.LAUNCHER" />
                <meta-data
                    android:name="android.app.shortcuts"
                    android:resource="@xml/shortcuts"/>
            </intent-filter>
        </activity>
    </application>
</manifest>
Now, we need to create the resource file where res/xml/shortcuts.xml the shortcuts are defined.
After the creation is done, open the file and copy the below code.
shortcuts.xml
We are creating two Static Shortcuts here one is for Contact Us and the other is About.
<shortcuts xmlns:android="http://schemas.android.com/apk/res/android"
    xmlns:tools="http://schemas.android.com/tools"
    tools:targetApi="25">
    <shortcut
        android:shortcutId="contact"
        android:enabled="true"
        android:icon="@mipmap/ic_launcher"
        android:shortcutLongLabel="@string/contact_short"
        android:shortcutShortLabel="@string/contact_long"
        android:shortcutDisabledMessage="@string/shortcut_contact_disabled_msg">
        <intent
            android:action="android.intent.action.VIEW"
            android:targetClass=".ContactUs"
            android:targetPackage="com.loginworks.appshortcutsdemo">
        </intent>
        <categories android:name="android.shortcut.conversation" />
    </shortcut>
    <shortcut
        android:shortcutId="about"
        android:enabled="true"
        android:icon="@mipmap/ic_launcher"
        android:shortcutLongLabel="@string/about_short"
        android:shortcutShortLabel="@string/about_long"
        android:shortcutDisabledMessage="@string/shortcut_about_disabled_msg">
        <intent
            android:action="android.intent.action.VIEW"
            android:targetClass=".AboutUs"
            android:targetPackage="com.loginworks.appshortcutsdemo">
        </intent>
        <categories android:name="android.shortcut.conversation" />
    </shortcut>
</shortcuts>
Let’s understand the attributes used in the shortcut tag one by one.
a) shortcutId
This attribute serves as the ID for the shortcut and it should be unique.
b) enabled
It describes to enable or disable the shortcut. If enabled=”false” the shortcut will not show in the App Shortcuts list when the user long presses the app icon.
c) icon
This attribute is used to set the icon for the App Shortcut.
d) shortcutShortLabel
It is used for displaying the name of the shortcut but there is one limitation with this, It allows only less than or equal to 10 characters.
e) shortcutLongLabel
To overcome the above-mentioned problem we use this attribute but this also allows less than or equal to 25 characters only.
f) shortcutDisabledMessage
The message, which is shown to the user when a disabled pinned shortcut was selected
g) intent
The intent will be invoked when the user will click the shortcut icon.
Each <shortcut> tag needs at least one <intent> tag specifying which activity has to be open when the user clicks on the shortcut. Without at least one <intent>, the app will crash.
Dynamic Shortcuts
As I said earlier, dynamic shortcuts can be created or deleted at any time while running the application.
We will need to use the ShortcutManager API to perform add, update, and delete at runtime.
- setDynamicShortcuts() is used to redefine the dynamic shortcuts.
- updateShortcuts() exactly it performs the update of dynamic shortcuts.
- removeDynamicShortcuts() It removes the existed shortcuts.
MainActivity.java
Here we are creating two dynamic shortcuts – one is opening for the Google site, and the other is used to open the SettingsActivity screen
1. Open the MainActivity file and paste the below code in onCreate() method.
2. ShortcutInfo.Builder() is used to define the properties of the App Shortcut
package com.loginworks.appshortcutsdemo;
import android.content.Intent;
import android.content.pm.ShortcutInfo;
import android.content.pm.ShortcutManager;
import android.graphics.drawable.Icon;
import android.net.Uri;
import android.support.v7.app.AppCompatActivity;
import android.os.Bundle;
import java.util.Arrays;

public class MainActivity extends AppCompatActivity {
    @Override
    protected void onCreate(Bundle savedInstanceState) {
        super.onCreate(savedInstanceState);
        setContentView(R.layout.activity_main);
        ShortcutManager shortcutManager = getSystemService(ShortcutManager.class);
        ShortcutInfo shortcut = new ShortcutInfo.Builder(this,"id1")
                .setShortLabel("Google")
                .setLongLabel("Open Google")
               .setIcon(Icon.createWithResource(this, R.mipmap.ic_launcher))
                .setIntent(new Intent(Intent.ACTION_VIEW, Uri.parse("https://www.google.com")))
                .build();
        ShortcutInfo settingsShortcut = new ShortcutInfo.Builder(this,"id2")
                .setShortLabel("Settings")
                .setLongLabel("open Settings")
                .setIcon(Icon.createWithResource(this, R.mipmap.ic_launcher))
                .setIntents( new Intent[]{
                        new Intent(Intent.ACTION_MAIN, Uri.EMPTY, this, SettingsActivity.class)
                })
                .build();
        shortcutManager.setDynamicShortcuts(Arrays.asList(shortcut, settingsShortcut));
    }
}
Purpose
The user always loves to use the App Shortcuts because it reduces the number of taps to the user as well as time.
Limitations
Only allows us to create 5 App Shortcuts and it is highly recommended to use 4 App shortcuts.
Another limitation is the launcher, all the launchers do not support the App Shortcuts yet.
Testing
It is the last process that we need to do here to check the results of our work.
To test the App Shortcuts, please use the device which is running on the Android 7.1 version, with the supported launcher.
So, let’s run or build the app by clicking the Run button or use shift+F10 in Android studio.
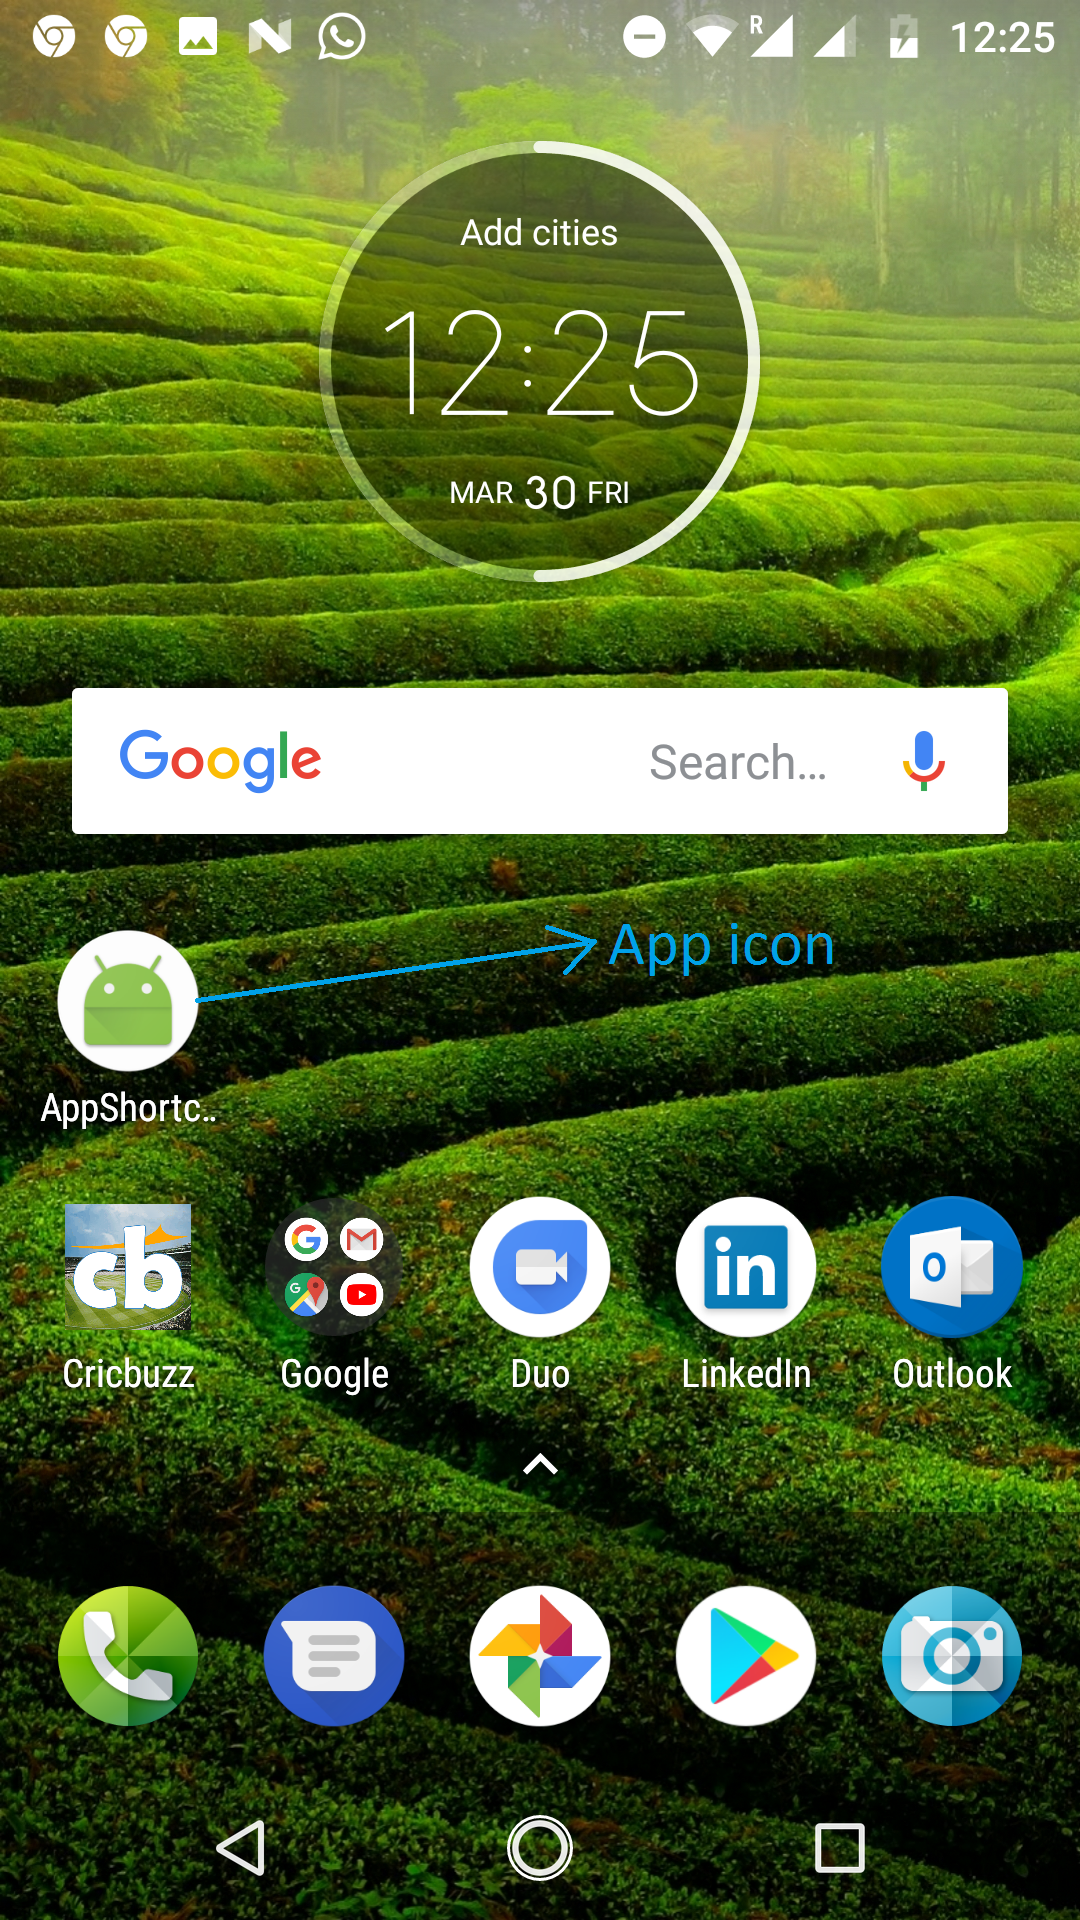
After running the app first, it will show the app icon as shown above.
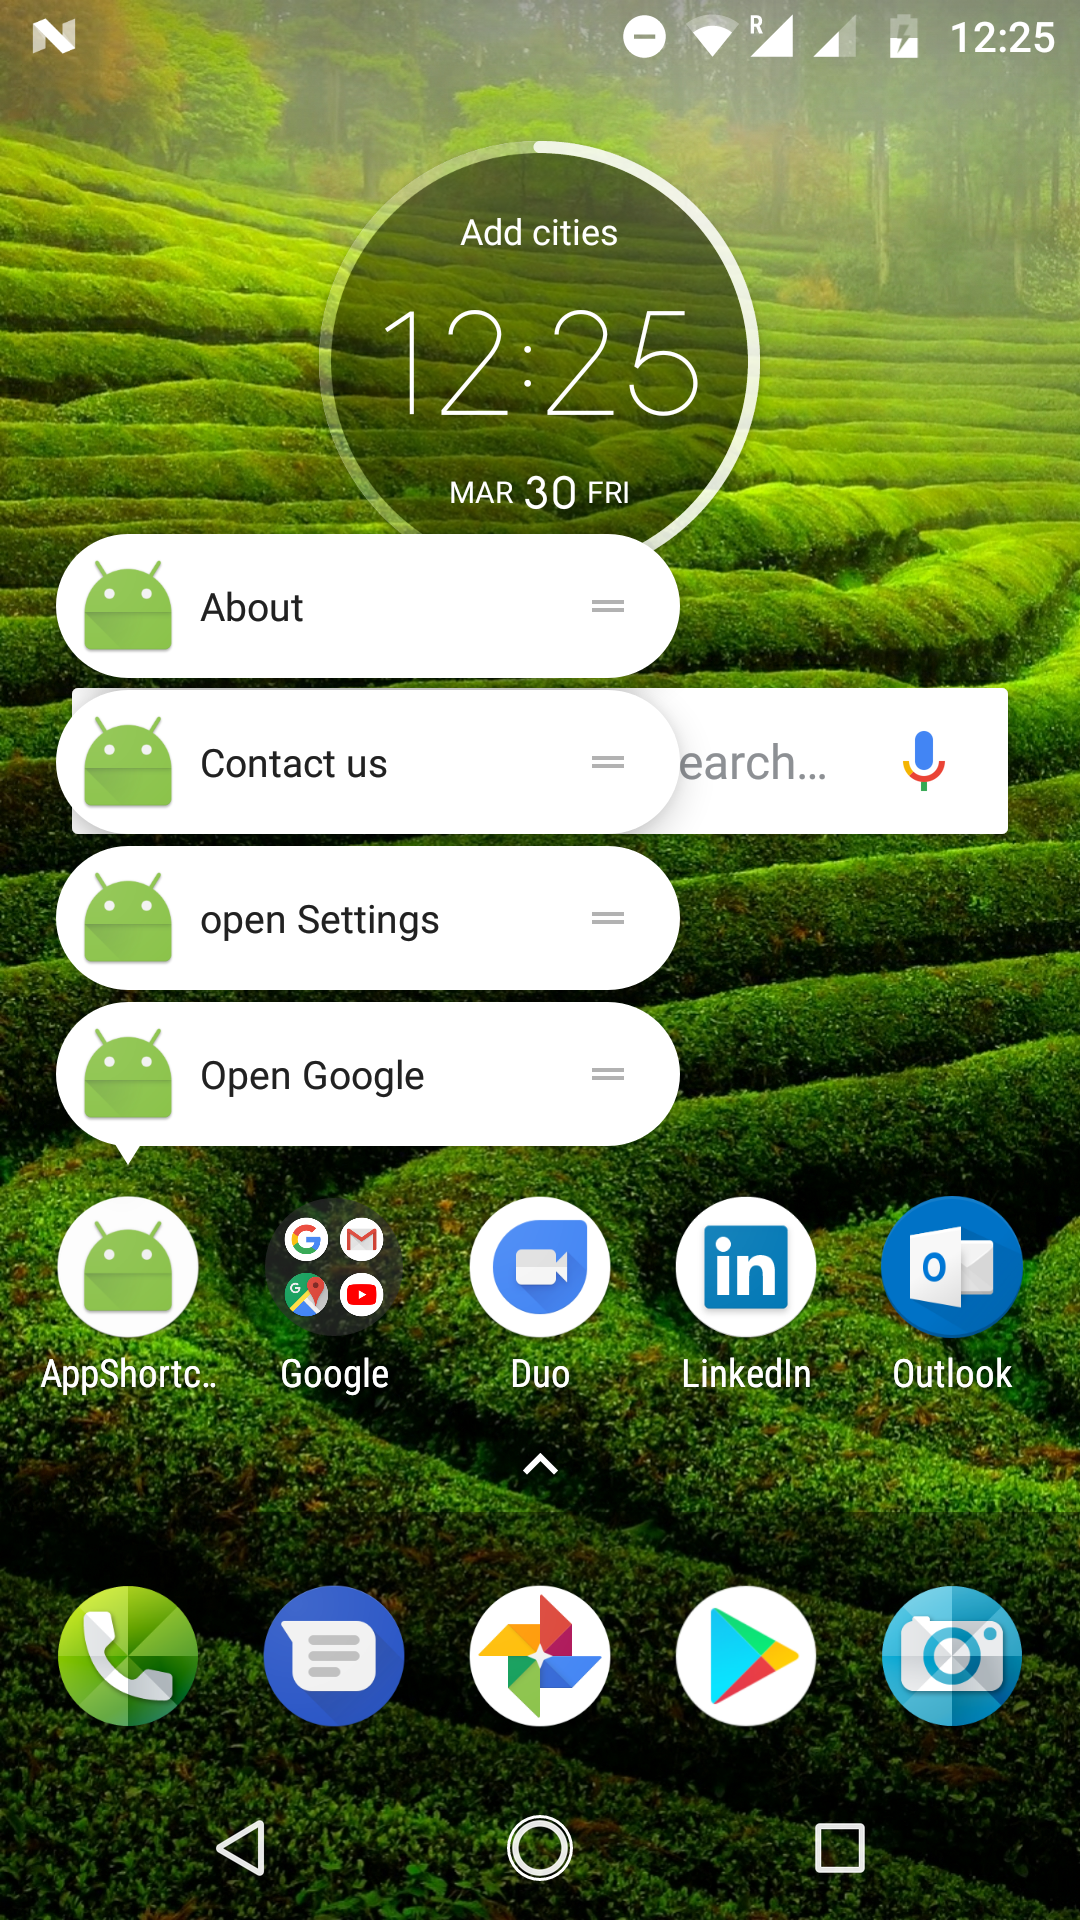
When we long press on the app icon, then it will open the App Shortcuts that we created in the app.
Of these four, two are dynamic and two are static App Shortcuts.
Moreover, if we click on the App shortcuts, it will take you to the respective Activity that we described at intent.
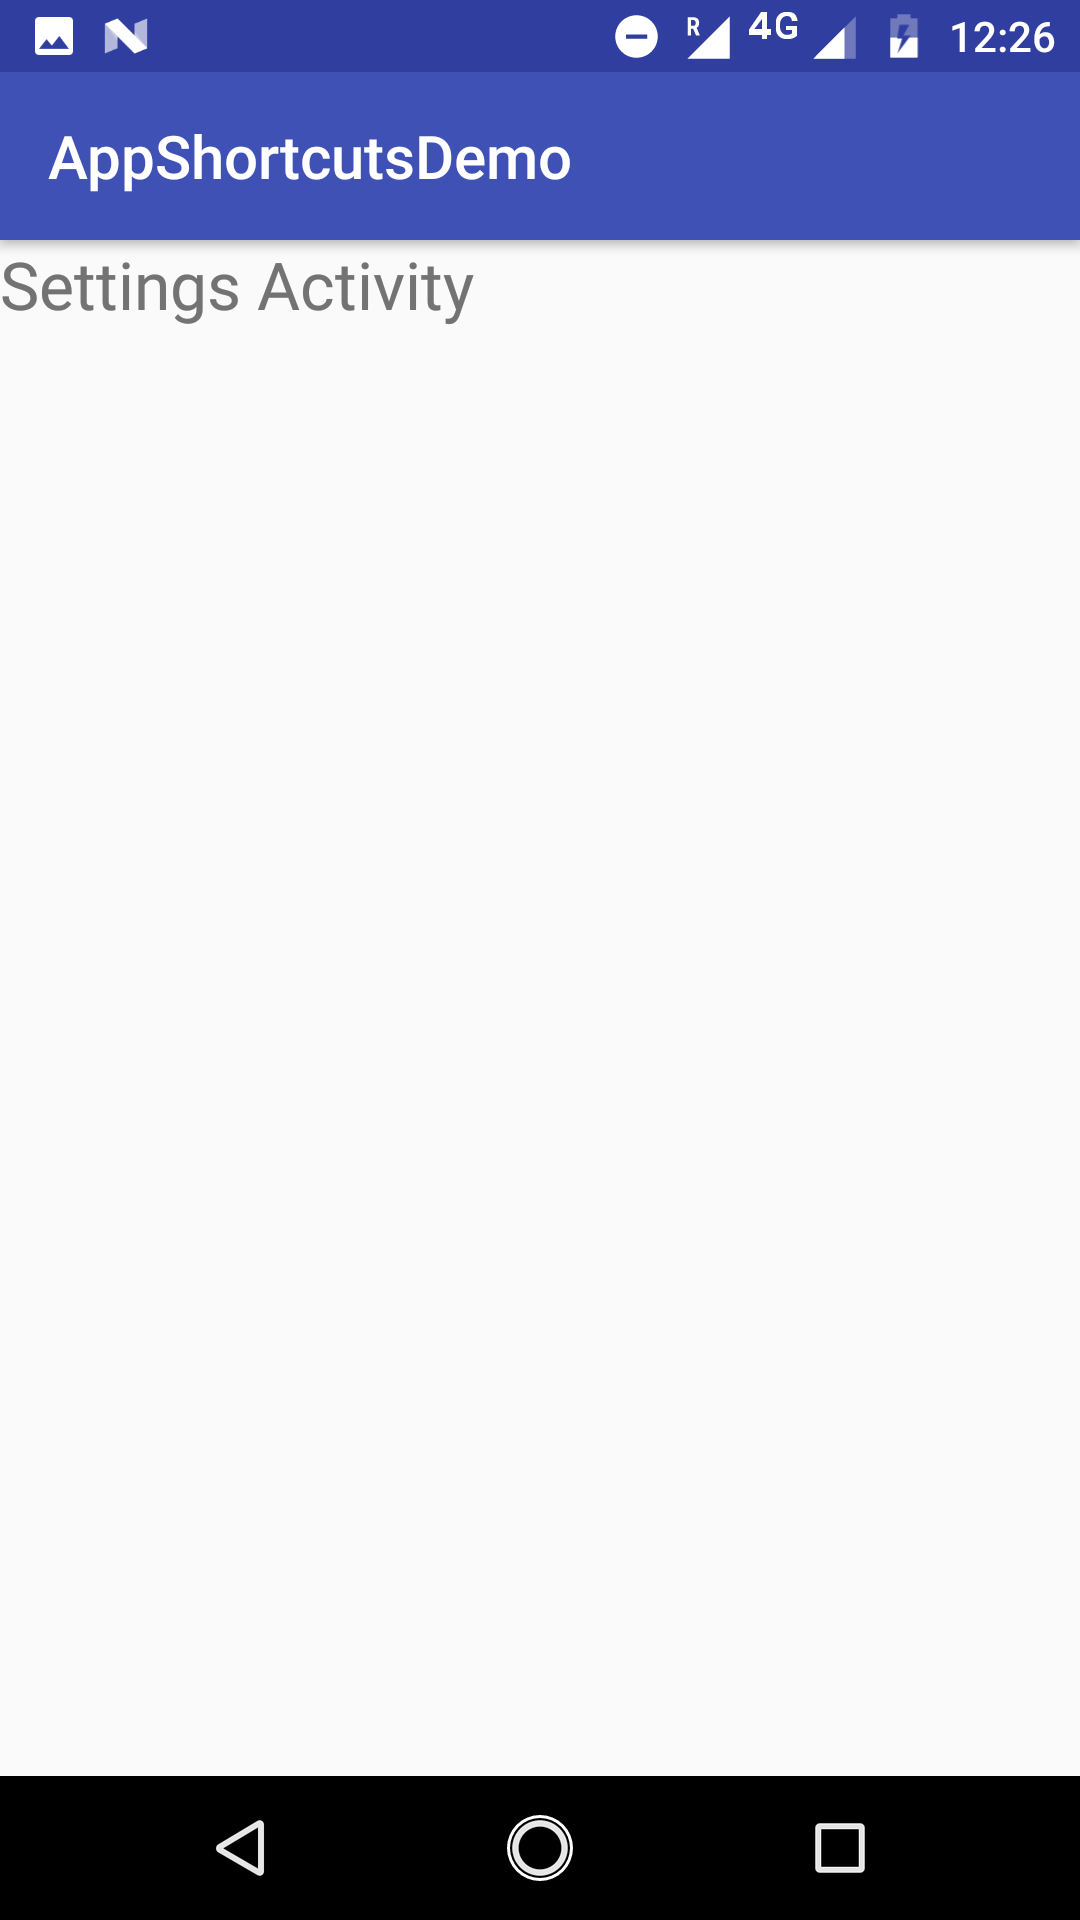
Suppose we click on the settings shortcut, then it will open the respective activity as shown above.
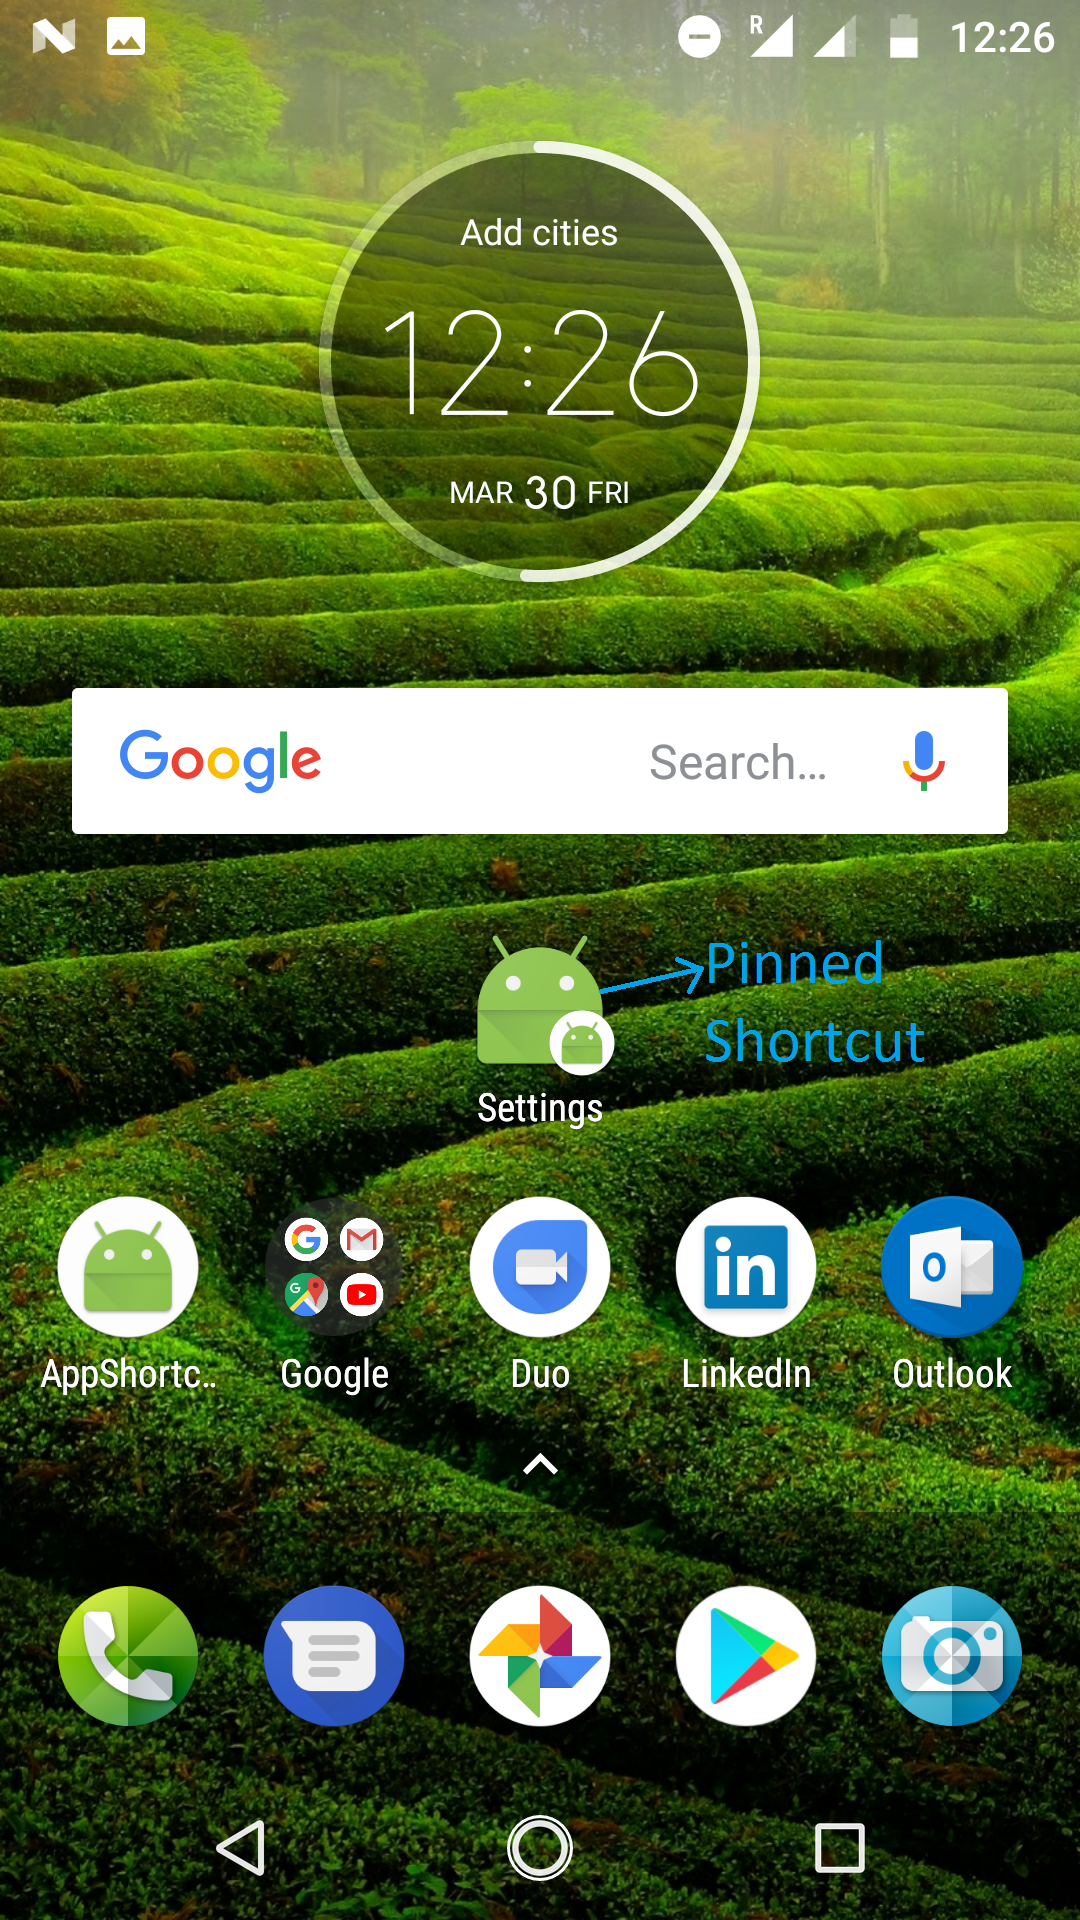
Here what we are seeing in the above image is Pinned Shortcut which is used for quick navigation to the Settings activity.
Conclusion
By now, you should know well enough to work with App Shortcuts in Android. If you have any queries, please feel free to drop your comments below. Thanks for keeping your enthusiasm to reach the end of this post.
- LinkedIn Scraper | LinkedIn Data Extractor Software Tool - February 22, 2021
- Is Web Scraping Legal? - February 15, 2021
- What Is Data Scraping? - February 10, 2021

