Hello Guys, in our previous blog we have learned a lot about creating table view and its uses. But here in this tutorial, we will be going to make a different kind of table view.
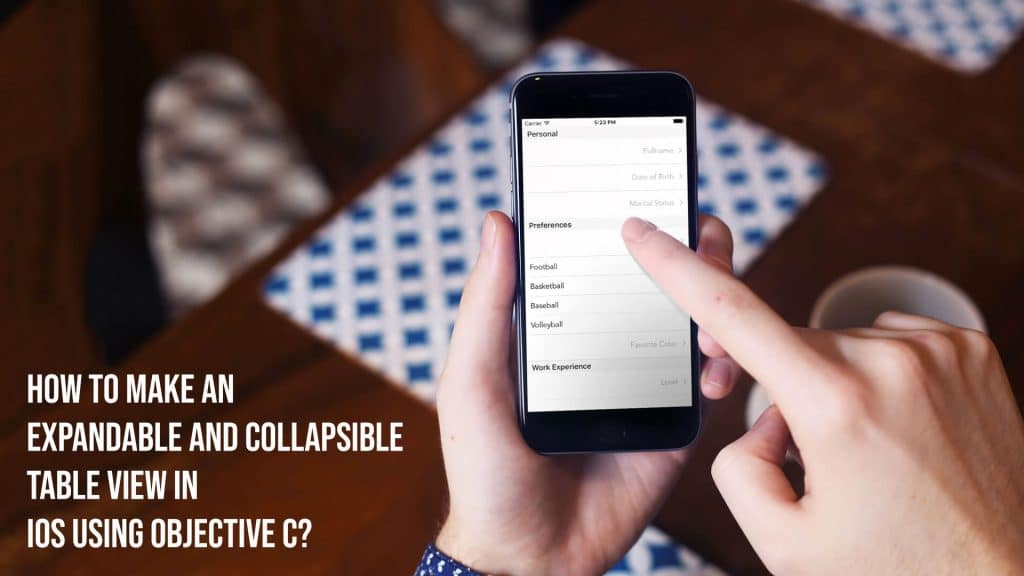
Yes, it will be an expandable and collapsible table view, which will show the data when user will select the particular cell object.
As we know that these days companies are using a different type of applications that will look different and contain some hidden features in them which make them different from other simple applications.
With this approach, we can easily make use of the Apple’s core features through which we can add some animation inside the table view like fade animation, etc in it.
Jump to Section
Initial Setup
First of all, we need to create the environment to make our own custom table view application. To do this, head into the XCode application and then click on create a new application.
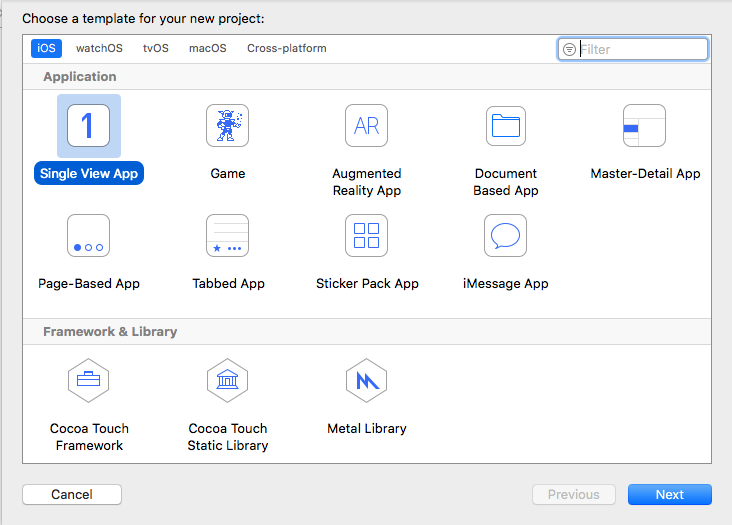
Later, after doing this select single view application from the list of different templates as shown below.
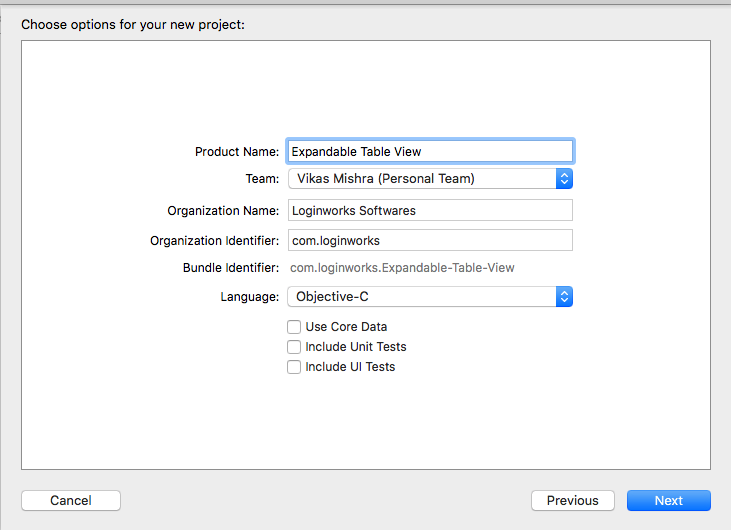
Now, in the next step give a name to your application to recognize it later. I am going to use “Expandable Table View” for my application as shown.
Designing the Table View
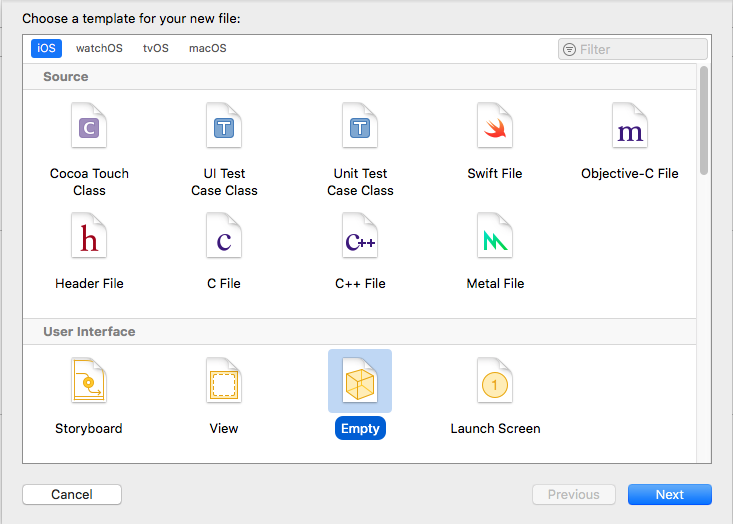
Now, we will be going to make use of the xib to create our custom table view, not with the usual storyboard method. So to create a custom xib file, head into the file section, from there enter the new file and then select empty from the user interface section and click next as shown.
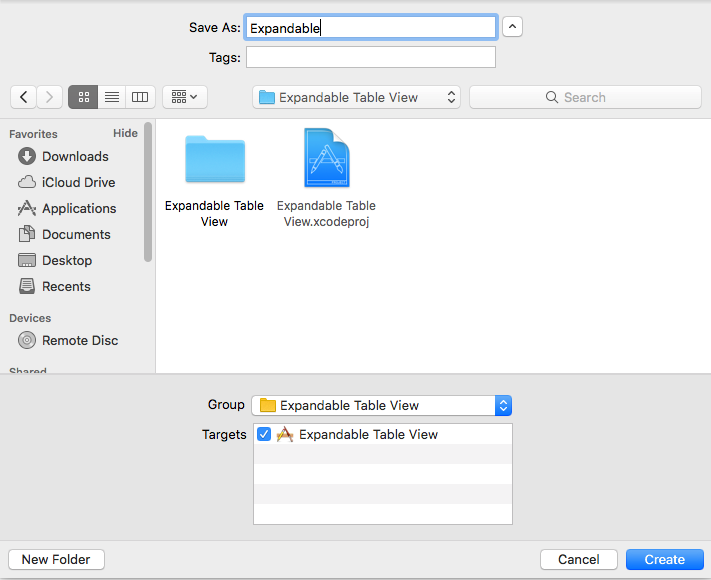
Here, give a name to your empty file as shown below and save it.
Now if you see on the left side of the file section, there will appear a .xib format file. Now this will be our custom table view cell inside which we will be going to add all the required fields later.
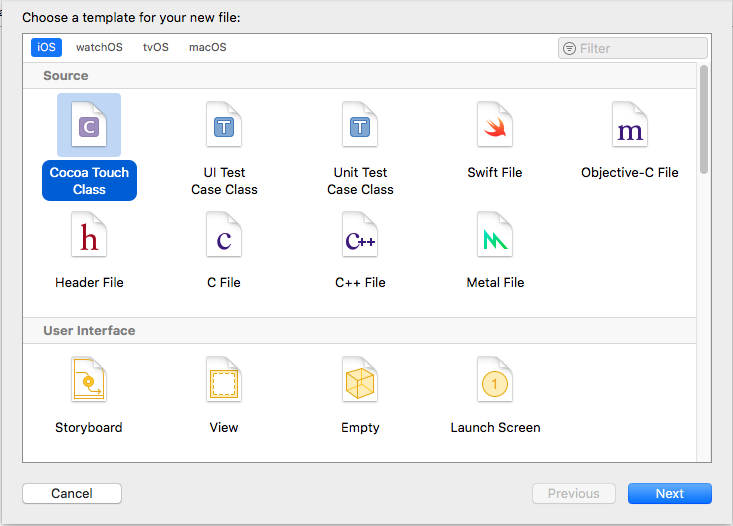
Assign a UITableViewCell class file to our custom cell. To do this we need to create it from the new file section select cocoa touch class as shown.
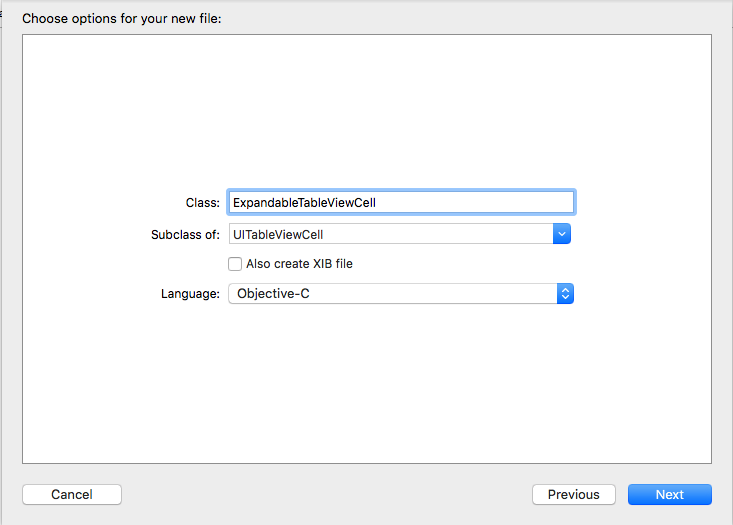
Now, we need to select UITableViewCell subclass and give a name to it as shown.
Creating Connection with Outlets and Objects
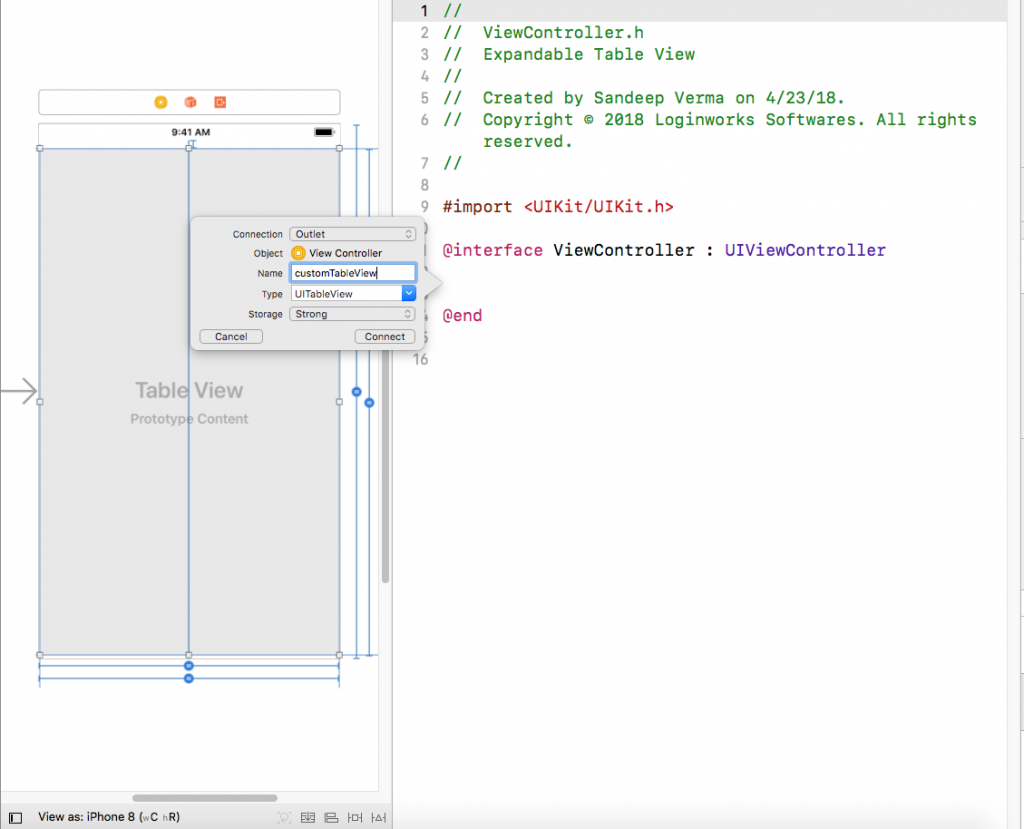
Now we need to create the connection with the objects and to do this head into the Main.Storyboard section and connect the table view element with the view controller as shown below.
If you take a look at the above image then you will find that I am using a custom name for the table view so that I can identify the table view name to connect it with the cell later as required by us.
Now, similar to the previous method we are going to add the remaining objects to the view controller which is ExpandableTableViewCell. Head into the ExpandableTableViewCell.h class and connect the following objects.
@property (strong, nonatomic) IBOutlet UILabel *rowCount;

@property (strong, nonatomic) IBOutlet UILabel *rowName;

@property (strong, nonatomic) IBOutlet UILabel *fruitName;

@property (strong, nonatomic) IBOutlet UILabel *fruitValue;
Through these labels, we are going to show all the values in our table view.
Adding Required Array for TableView
Let’s now add the required array so that we can load them into our table view later. To do this head into the ViewController.h file and add 3 arrays and an integer property to add the selected index count inside it as shown below.
@property (strong, nonatomic) IBOutlet UITableView *customTableView;

@property (strong,nonatomic) NSMutableArray *arrayTitle;

@property (strong,nonatomic) NSMutableArray *arraySecond;

@property (strong,nonatomic) NSMutableArray *arrayName;

@property int selectedIndex;
We also require to add the Delegate and data source of the table view in it.
@interface ViewController : UIViewController<UITableViewDelegate,UITableViewDataSource>
And finally, to call the objects of ExpandableTableViewCell class we need to import the file inside our view controller.h file.
#import "ExpandableTableViewCell.h"
Finally, after doing all the required things your view controller.h file will look like this:
#import <UIKit/UIKit.h>

#import "ExpandableTableViewCell.h"

@interface ViewController : UIViewController<UITableViewDelegate,UITableViewDataSource>

@property (strong, nonatomic) IBOutlet UITableView *customTableView;

@property (strong,nonatomic) NSMutableArray *arrayTitle;

@property (strong,nonatomic) NSMutableArray *arraySecond;

@property (strong,nonatomic) NSMutableArray *arrayName;

@property int selectedIndex;

@end
Initializing the Objects
Here, we are now going to initialize the objects which we are adding to table view later. First, let us add the selected index value to -1 so that initially the index will remain as required.
Now, after doing this initialize all the mutable array which we have added earlier and later add some data inside them according to your need.
Do all this stuff inside the viewDidLoad method as shown.
- (void)viewDidLoad {

    [super viewDidLoad];

    selectedIndex = -1;

    arrayTitle = [[NSMutableArray alloc]init];

       for (int ii; ii<=3; ii++) {

        NSString *name = [[NSString alloc]initWithFormat:@"Row %i",ii];

        [arrayTitle addObject:name];

   }

    arraySecond = [[NSMutableArray alloc]initWithObjects:@"Row Apple",@"Row Mango",@"Row Banana",@"Row cherry", nil];

     arrayName = [[NSMutableArray alloc]initWithObjects:@"Apple",@"Mango",@"Banana",@"cherry", nil];

}
Here, as you can see that I am adding objects inside the array and I am using a for loop to add the row value one by one in my arrayTitle to display them in table view later.
Adding required methods for the table view
Here, we need to add the required methods for table view to call the data in our application. As we know that there are two major things required inside a table view which is the data source and delegates methods. Through these two things, we can give life to our table view and further use it to show the data to a user in the application.
Add the following delegates and data source methods to your view controller file.
-(UITableViewCell *)tableView:(UITableView *)tableView cellForRowAtIndexPath:(NSIndexPath *)indexPath{

  }

-(NSInteger)numberOfSectionsInTableView:(UITableView *)tableView{

}

-(NSInteger)tableView:(UITableView *)tableView numberOfRowsInSection:(NSInteger)section{

}

-(CGFloat)tableView:(UITableView *)tableView heightForRowAtIndexPath:(NSIndexPath *)indexPath{

}

-(void)tableView:(UITableView *)tableView didSelectRowAtIndexPath:(NSIndexPath *)indexPath{

  }
These are the required methods we are going to use in our application.
Calling the Data
Finally its the time where we will be going to call the data inside our table view and remember we are using the xib file so the code could be different at this point.
First, Head to the numberOfSectionInRow method and add the return value to 1 as we need only one section for our table view. You can use as many as you want.
-(NSInteger)numberOfSectionsInTableView:(UITableView *)tableView{

    return 1;

}
Now, Add the numberOfRowsInSection required in the method as for this we will use our array as it will call the required rows according to the array.
-(NSInteger)tableView:(UITableView *)tableView numberOfRowsInSection:(NSInteger)section{

    return arrayTitle.count;

}
Now, we need to call the cellForRowAtIndexPath. Through this method we will tell the table view that which call to use in it.
First, call the custom table view and then add the reusable cell identifier name to it. After this, call your xib file which you have created earlier using the NSBundle Class.
Finally, assign the objects to the array.
-(UITableViewCell *)tableView:(UITableView *)tableView cellForRowAtIndexPath:(NSIndexPath *)indexPath{

    ExpandableTableViewCell *cell = (ExpandableTableViewCell * )[_customTableView dequeueReusableCellWithIdentifier:@"cell"];

    if (cell ==nil) {

        NSArray *nib = [[NSBundle mainBundle]loadNibNamed:@"Expandable" owner:self options:nil];

        cell = [nib objectAtIndex:0];

     }

    cell.rowCount.text = [arrayTitle objectAtIndex:indexPath.row];

    cell.rowName.text = [arraySecond objectAtIndex:indexPath.row];

    cell.fruitName.text = [arrayName objectAtIndex:indexPath.row];

    int   fruitCount = (indexPath.row  +1)* 15;

    cell.fruitValue.text = [NSString stringWithFormat:@"%i",fruitCount];

    return cell;

}
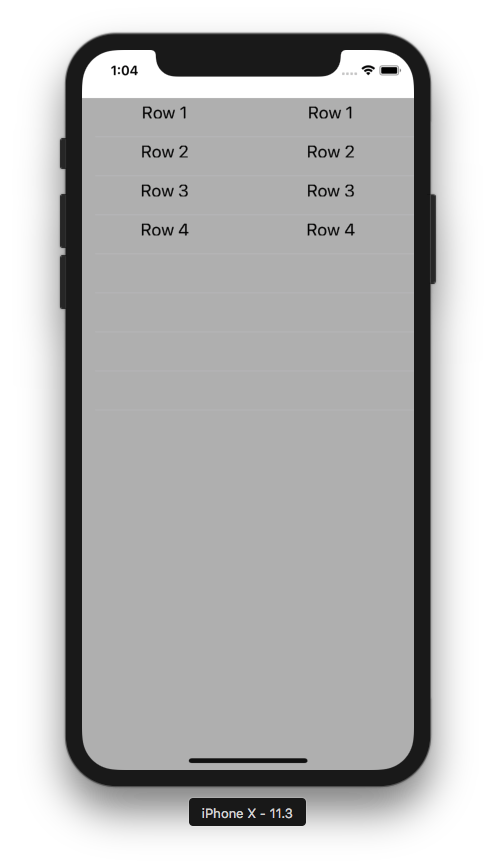
There, it now runs the application and you can have a look at your app. It will look similar to the image below.
Now, if you click on the cell object then nothing will be going to happen as we haven’t added the functionality to perform the action on row selection yet.
To handle this, head into the didSelectRowAtIndexPath method of the table view and create an if statement which can further run the particular code for row selection.
-(void)tableView:(UITableView *)tableView didSelectRowAtIndexPath:(NSIndexPath *)indexPath{

    if (selectedIndex == indexPath.row) {

        selectedIndex = -1;

        [_customTableView reloadRowsAtIndexPaths:[NSArray arrayWithObject:indexPath] withRowAnimation:UITableViewRowAnimationFade];

        return;

    }

    if (selectedIndex == -1) {

        NSIndexPath *previous = [NSIndexPath indexPathForRow:selectedIndex inSection:0];


        selectedIndex = indexPath.row;

        [_customTableView reloadRowsAtIndexPaths:[NSArray arrayWithObject:previous] withRowAnimation:UITableViewRowAnimationFade];

    }

    selectedIndex = indexPath.row;

    [_customTableView reloadRowsAtIndexPaths:[NSArray arrayWithObject:indexPath] withRowAnimation:UITableViewRowAnimationFade];

}
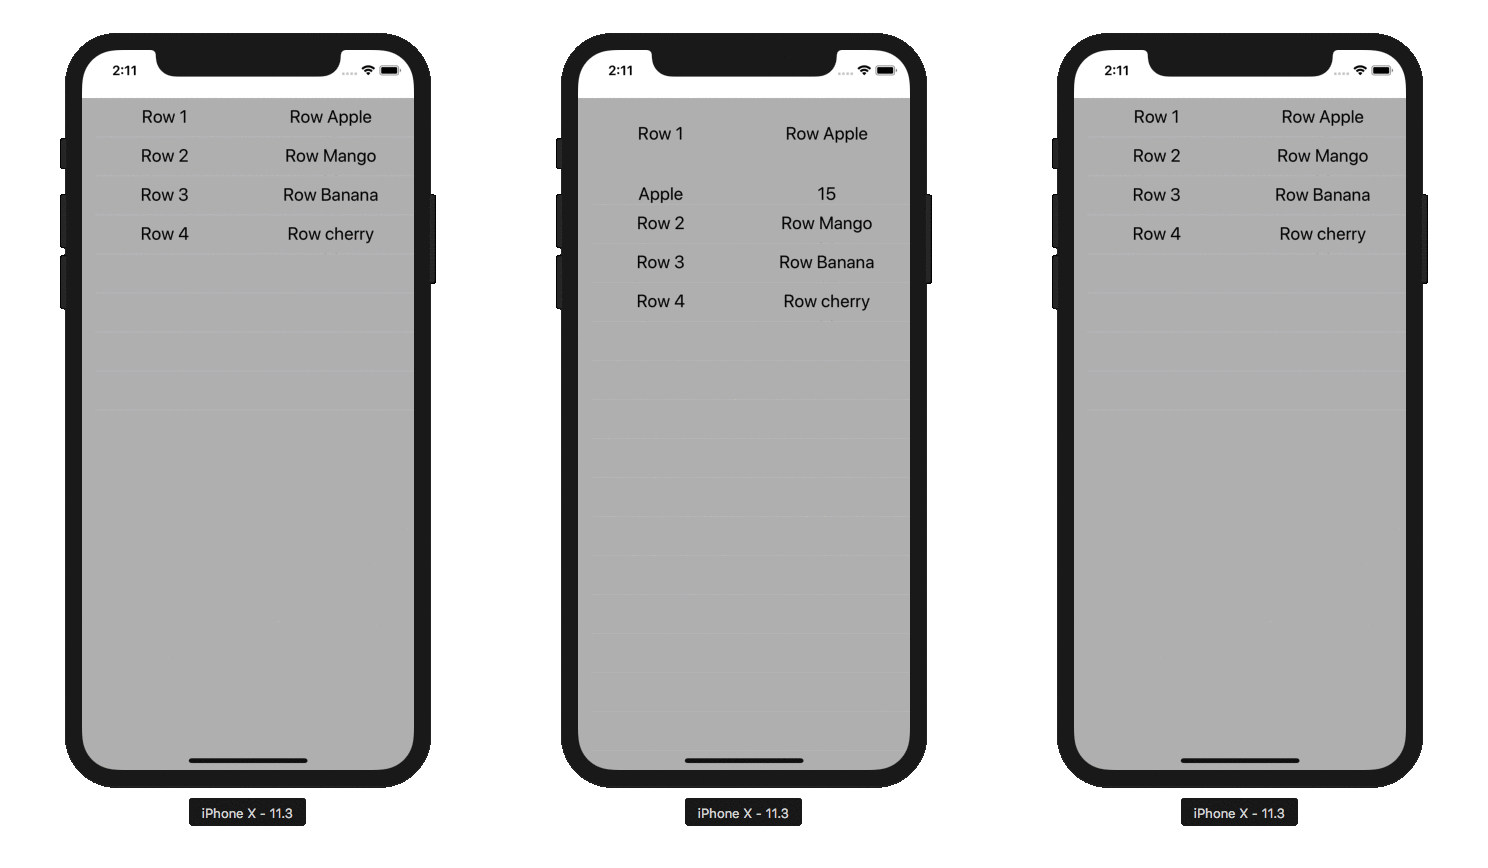
Now, if the user selects a particular row object then it will be going to expand the table view and will show the data attached to it as shown below in the snapshot.
That’s it we have successfully implemented the expand and collapse of the table view in our application.
Some Add-On Features
Now, let’s do one more thing which is redirecting the user to the second screen, only if the user selects a particular row element inside the expanded view.
To do this, first we need to create a new view controller, and a UIViewController class file for the same view controller as well.
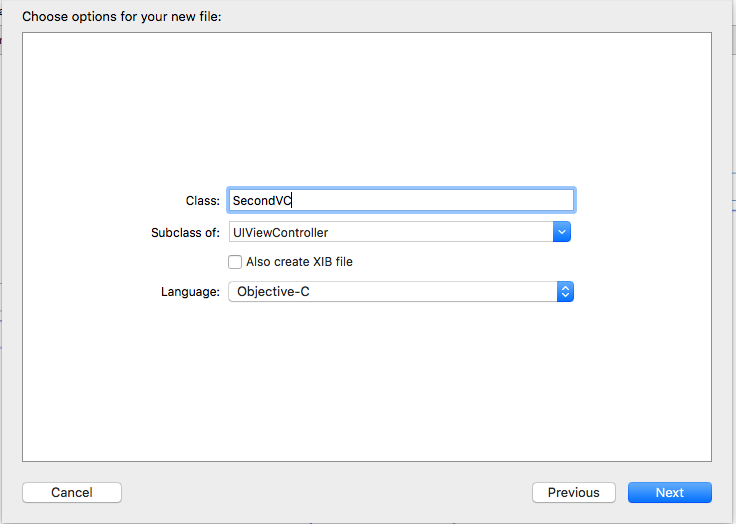
Go to file -> new file -> cocoa touch class and create a new view controller and name it as SecondVC as shown below.
Now, add an image view inside your SecondVC so that we can show the particular image assigned to the particular selected index. To do this head into your view controller.h file and add this code as shown below to it.
@property (strong, nonatomic) UIButton *buttonFruitName;
This property will be used to handle the button clicked on an index.
Now add a button to your expandable.xib file and set its connection with your ExpandableTableViewCell.h as shown.
@property (strong, nonatomic) IBOutlet UIButton *buttonAction;
Now again head to your viewcontroller.m file and inside your cellForRowAtIndexPath method add the code to get the tag of a button.
buttonFruitName = cell.buttonAction;

    buttonFruitName.tag = indexPath.row;
Adding Action To Button
Now, we need to add some action for the button and for this first create a method for button selector as shown below.
-(void)buttonImageName{

    SecondVC *vcSecond = [[UIStoryboard storyboardWithName:@"Main" bundle:nil]instantiateViewControllerWithIdentifier:@"SecondVC"];

    vcSecond.SelectedRowValue = buttonFruitName.tag;

    vcSecond.isFruitName = 1;

    [self.navigationController pushViewController:vcSecond animated:YES];

}
Remember to import your secondVC file before doing this and then add the storyboard name to it as shown in the code above.
Inside your didSelectRowAtIndexPath method add the following method for the button click:
[buttonFruitName addTarget:self action:@selector(buttonImageName) forControlEvents:UIControlEventTouchDown];
Now as we have completed the work for the button action we can now move further and add the data inside our SecondVC View.
For this first add the 4 different fruits images to show into your imageView which we have added in the SecondVC. Add the outlet to it as shown in your SecondVC.h file.
@property (strong, nonatomic) IBOutlet UIImageView *imageShowView;

@property int isFruitName;

@property (strong,nonatomic) NSMutableArray *fruitImages;

@property int SelectedRowValue;
This will handle the selected index and image selected for the particular path.
Now inside viewwillappear method add the image array as shown according to your images used.
-(void)viewWillAppear:(BOOL)animated{

    if (isFruitName ==1) {

        fruitImages =  [[NSMutableArray alloc]initWithObjects:@"Apple.jpeg",@"mango.jpg",@"banana.jpeg",@"cherry.jpg", nil];


        UIImage *images = [UIImage imageNamed:[fruitImages objectAtIndex:SelectedRowValue]];

        imageShowView.image = images;


    }

}
There it is now we are done adding our code. Run the application and see the action coming to you.
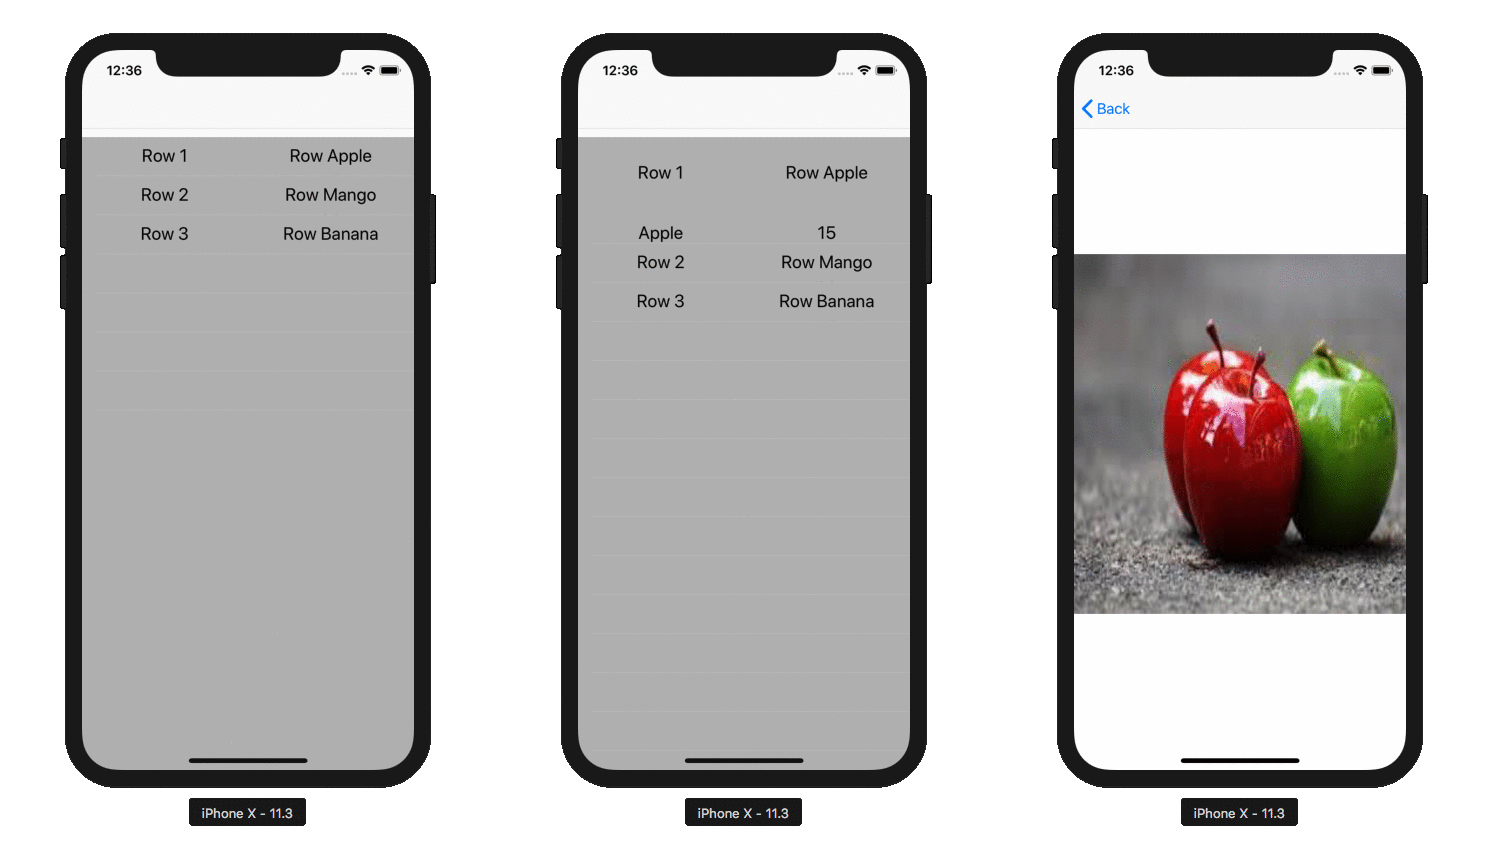
There it is, if you click on a row then it will expand and after the selection of the particular cell object, it will show the image attached to it.
Summing Up
That’s it we have completed this tutorial and I hope you will find it useful for your application too. As expanding table view is quite famous these days and it makes your application look pretty amazing. Thank You and keep Supporting!!
- LinkedIn Scraper | LinkedIn Data Extractor Software Tool - February 22, 2021
- Is Web Scraping Legal? - February 15, 2021
- What Is Data Scraping? - February 10, 2021

