Shopify is an e-commerce platform that allows anyone to set up their online store and sell their products.
Using their services, you can access easy to use admin panel where you add products, manage orders, and see the store data.
First and foremost, Shopify’s monthly subscription is $29/month, where you can build a fully functional online store that you can use to sell digital or physical goods. Moreover, Shopify offers a limited free trial. The Shopify trial version lasts for 14 days.
If you want to create an online store using Shopify, you’ve come to the right place.
In this post, we will tell you the best way to make a Shopify account so that you can start your very own online store at the earliest opportunity.
Ready? Create an online shop using Shopify total time taken ranges from 1 to 2 hours.
In this post, we will discuss the following points:
- Sign up with Shopify;
- Set up your online store;
- Choose a design for your store;
- Edit Shopify settings;
- Add your products;
- Launch your store.
Jump to Section
How to Create Your Account on Shopify
Firstly, you will need to sign up with Shopify. Starting your store couldn’t be any easier, and they even offer a 14-day free trial to get you going.
If you want to launch your Shopify store, let’s begin to sign up for an account.
Sign up with Shopify
Go to Shopify.com and use the input box to create an account. Enter your email and click the ‘Start free trial’ button.

After this screen, you’ll be asked for a few more personal details, including your username, address, country, and your contact number.
In case you are asked about what’s your aim, select to sell the products. If you’re checking how Shopify works, you can select the option “I’m just playing around” in the ‘Do you have products?’ from the dropdown menu and select ‘I’m not sure’ in the ‘What will you sell?’ dropdown section.
If complete, click ‘I’m Done.’
Set up Your Online Store
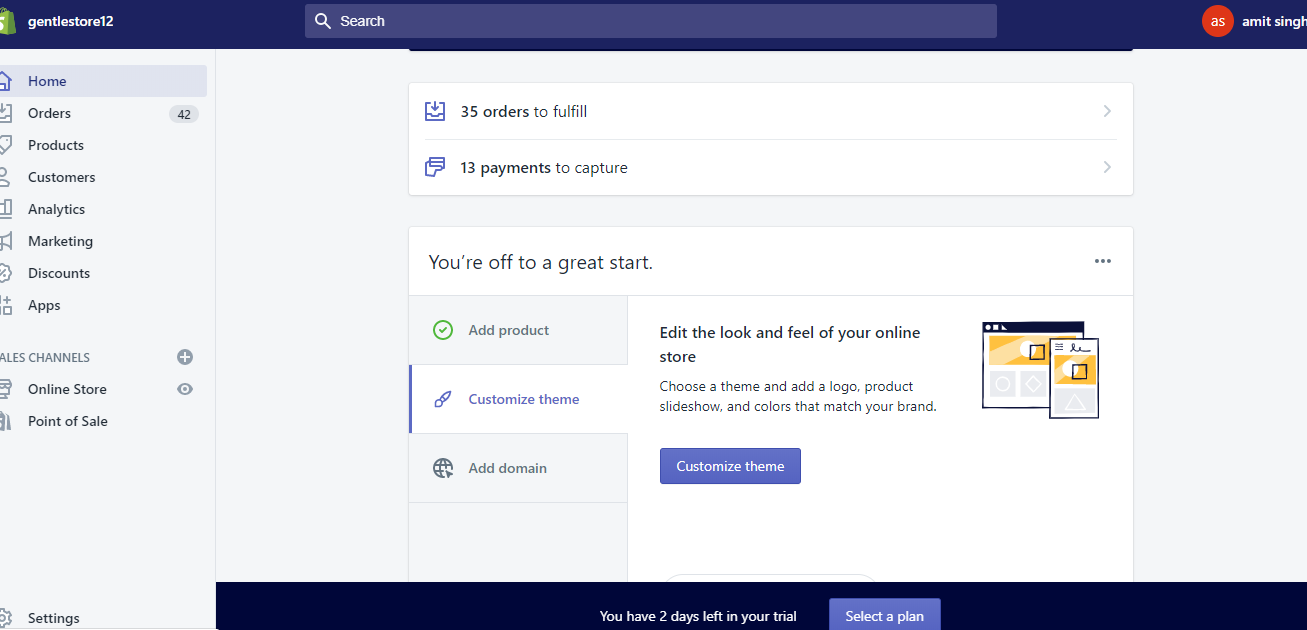
After you’ve signed up, you’ll be directed straight to your store admin screen. Now you are ready to start customizing your store, uploading products, and setting up payments and shipping.
Choose a Design for Your Store
Shopify has its official theme store. These themes are all guaranteed to have full support from the designers, so you know that your store is in good hands.
All themes come with a comprehensive list of modifications you can make without having to touch a line of code. The premium themes come with more modifications, but you can also achieve a great looking site with a free one. These changes are outlined in the next section.
Also, if you want to make wholesale changes to a theme, there are very few limitations on what can be achieved by accessing the HTML and CSS. Nevertheless, don’t worry if you haven’t got any coding experience. Above all, Shopify has an international team of design agencies they call ‘Shopify Experts’ that you can hire to fully customize your site.
We recommend the following:
Browse the Theme Store
Log into Shopify and visit the Shopify Theme Store at themes.shopify.com. You’ll find over 70 theme variations to choose from, including a good selection of free ones.
You could also find Shopify themes on other Marketplaces like TemplateMonster.
But, you need to choose, category, and features to pick your theme.
Check the Functionality and Reviews
Once you’ve found a theme you like, click on the theme’s sample image. You’ll be given more information about the theme, such as whether the theme is responsive/mobile ready, among other features.
Scroll down to read some reviews about what other e-retailers using the theme think of it.
Preview the Theme
To see the theme in action, click View Demo. You’ll see this below the green ‘Preview Theme in your Store’ button.
If the theme comes in a range of styles, you can also view demos of the different styles by clicking on them.
Get the Theme
Once you’ve found a theme you like, click the green button. Shopify will ask you to confirm that you want to install the theme.
Click Publish as my Shop’s Theme.
Don’t worry. If you’re not 100% sure it’s the right theme for you, you can always change your mind later.
After the theme has installed, Shopify will let you know and will give you the option to Go to your Theme Manager.
Edit Shopify Settings
The majority of Shopify themes allow you to make simple changes that can massively change the appearance of your store, so you can rest assured knowing you won’t end up with a website that looks like a clone of thousands of other stores.
Also, on your admin screen, select ‘Themes’ from the left navigation menu. On this page, you will see your live theme in a box at the top. In the top right corner of that box, there will be two buttons. Furthermore, the first one is of three dots, which gives you some basic settings changes. Hence, one of these allows you to duplicate the theme. We highly recommend you do this in case you make some changes you don’t like; you can delete the duplicate and start again.
The second button says ‘Customize Theme.’ If you click it, you will be taken to a page that controls all the basic functionalities of your store. This is an excellent time for you to have a thorough play with the settings and test out all the features so you can find out what your site is capable of.
The most common features will include:
- Uploading logos,
- Uploading slides to a homepage carousel,
- Adding related item functionality to product pages,
- Choosing how many items appear on each line of the collection pages,
- Color schemes,
- Font choices.
Add Your Products to the Store
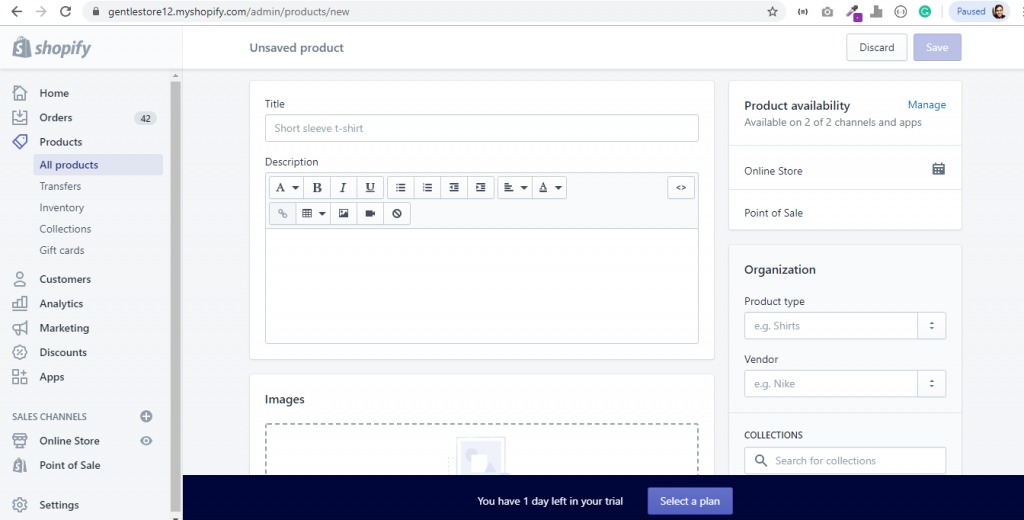
Navigate the bar on the left and select ‘Products.’ You will then see a blue ‘Add a product’ button in the middle of the page. Use the following screen to add as much detail as needed about your products. Specifically look at those that will help with SEO, such as name, description, and URL. Include as many details as possible to help inform the customers about your items.
Following, this is the screen where you upload product pictures. Once the image is uploaded, then you can rearrange them, so don’t worry about uploading them in any particular order.
Brand pictures can be sold, so make sure to show off your items to their fullest and highlight any specific or special features with close-up photos. We suggest that you keep all the photos of the same sizes to keep your store up-to-date unless you’re planning to make a Pinterest board lookalike with your collection pages.
Once all are filled out, always remember to click in the top and bottom right corners on the ‘Save file’ button.
Get Your Online Shop “LIVE”
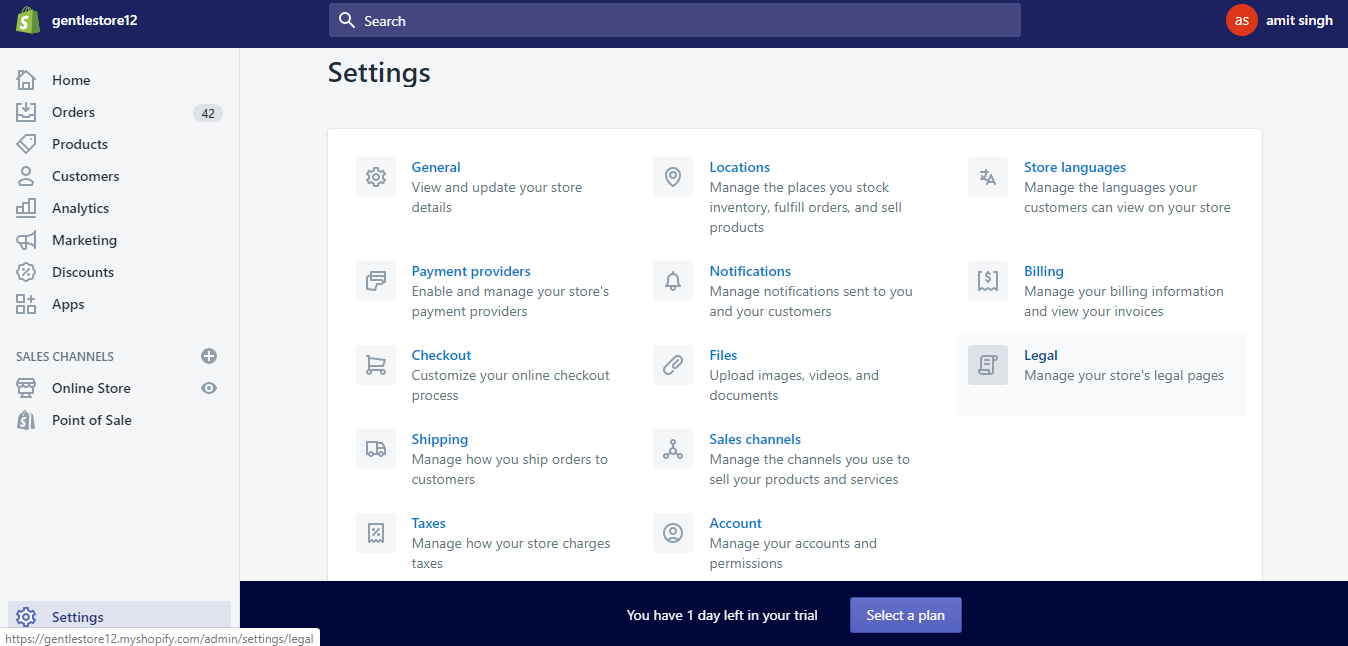
You need to add a few more specifics about your business and how you plan to produce and pay tax before your page can go live.
Congratulations, Your New Shopify Store is Ready!
Please feel free to share your feedback and your opinion about this blog in the comments section below. To know more about our services, please visit https://www.loginworks.com/
- What Is Big Data Visualization? - January 22, 2021
- Five Benefits of Big Data Analytics for E-commerce - July 9, 2020
- Google Data Studio Vs. Tableau: Which One is More Suitable for Your Business? - June 25, 2020


