
In software development, Import/Export is a technique to read and write data from files. We have multiple data file format to store our valuable data like png, jpg, xls, xlsx, pdf, txt, sql, etc, from where we need to read and write data. Every technology has its own technique to read and write data from files. Here, I am using the c# programming language to perform this task through ASP.NET MVC Web Application.
Jump to Section
Download Demo Application
Github link: Click here for download the demo application.
Github link: Click here for download Excel DLL
Create Application
Note: I am using visual studio 2013, Follow the steps to create your application for Import and export excel file data.
Step 1 :
- Open Visual Studio.
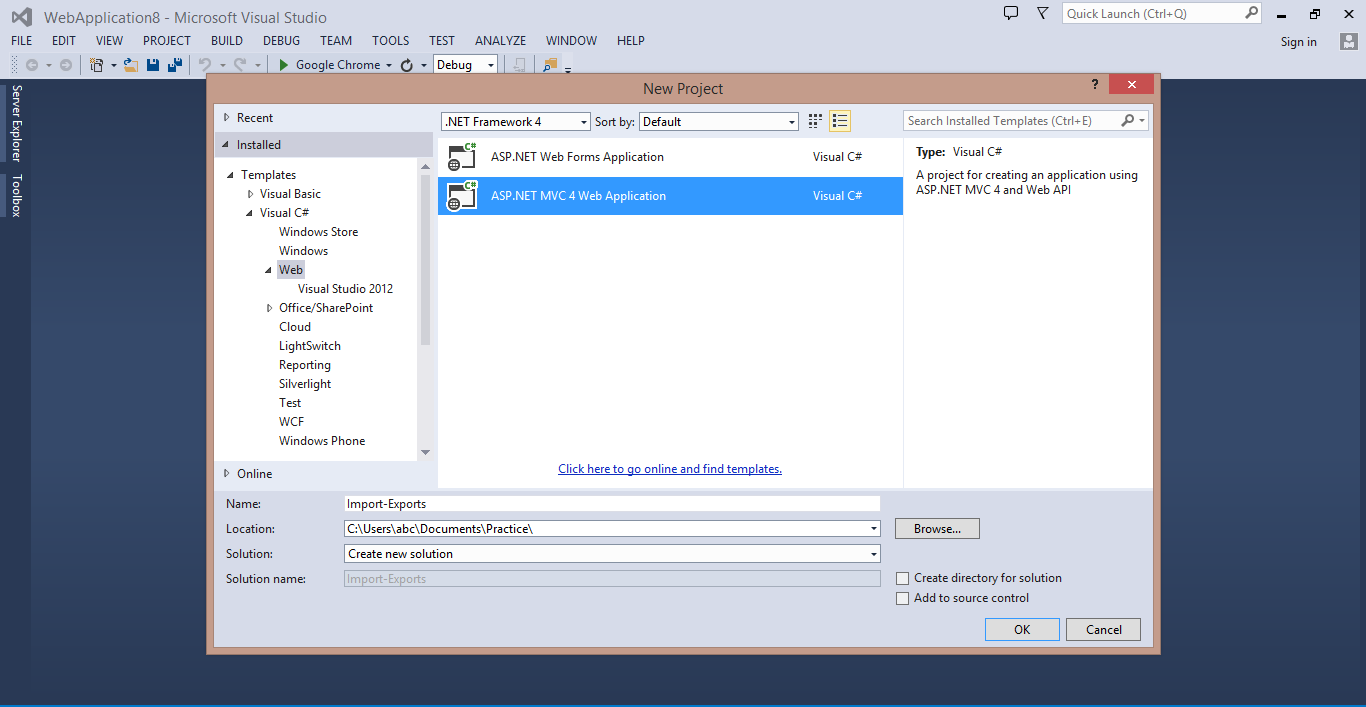
- Create a new application click on File > New > Project > Templates > Web > ASP.NET MVC 4 Web Application.
- Enter the project name in Name text box like “Import_Export“.
- Select the location from Location drop-down where you want to save your project.
- Select “Add to solution” from Solution drop-down.
- Click Ok.
Note: If a new window is open then select Empty then Click Ok.
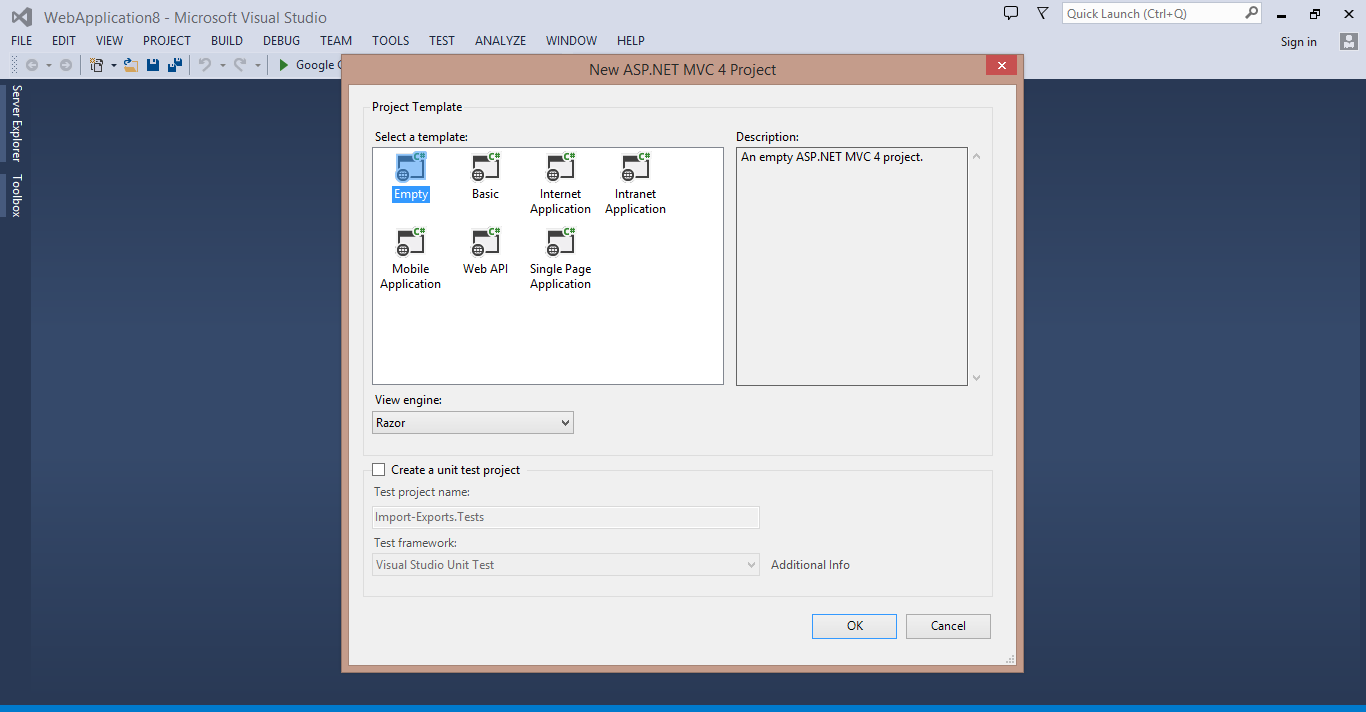
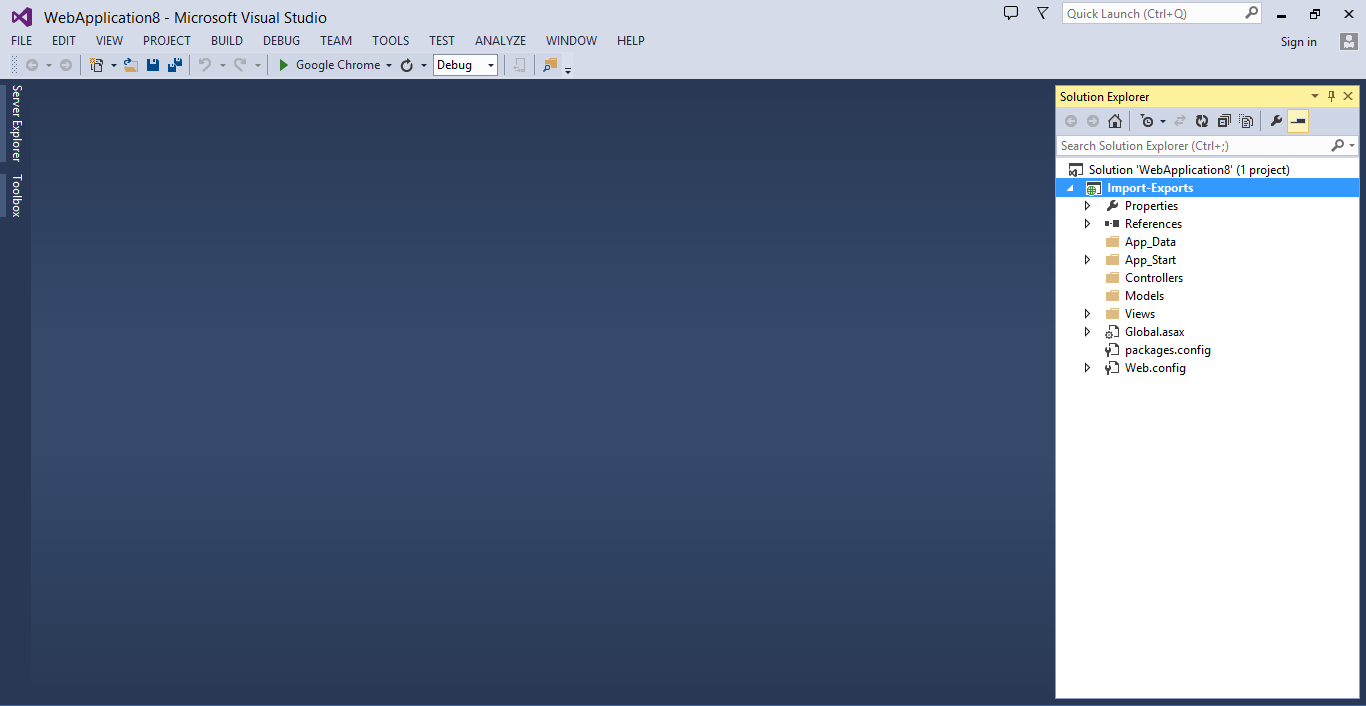
Now, new Empty MVC application is created successfully.
Step 2 :
- Add a Model class, Open solution explorer > Right click on Model folder > Add > Class
- Enter class name as “Employee.cs“.
- Add the following code to Employee.cs class.
 public int id { get; set; }
 public string Expectation { get; set; }
Step 3 :
- Add another class, Open solution explorer > Right click on Model folder > Add > Class
- Enter class name as “ExcelData.cs“.
- Click the Add button to add it to your project.
Step 4 :
- Open your Project within the Solution Explorer
- Right-click the References folder and Choose Add Reference.
- Find and select the Excel assembly that was contained within your download.
- Click the Ok button to add it to your Project.
You can easily find and include this library via NuGet within your application as well through the following steps:
- Right-click your Project within the Solution Explorer
- Choose the “Manage NuGet Packages” option that appears
- Search for “Excel Data Reader” within the search box
- Click “Install” on the first option that appears.
Both of these approaches will add the appropriate Excel assembly references to your application. Then when you actually need to execute a query within your code, you might use something like this:
// Reference to access the appropriate ExcelReader classes
using Excel;
Step 5 :
Add the following code to ExcelData.cs class.
string _path;
public ExcelData(string path)
{
_path = path;
}

public IExcelDataReader getExcelReader()
{
// ExcelDataReader works with the binary Excel file, so it needs a FileStream
// to get started. This is how we avoid dependencies on ACE or Interop:
FileStream stream = File.Open(_path, FileMode.Open, FileAccess.Read);
//
// We return the interface, so that
IExcelDataReader reader = null;
try
{
if (_path.EndsWith(".xls"))
{
reader = ExcelReaderFactory.CreateBinaryReader(stream);
}
if (_path.EndsWith(".xlsx"))
{
reader = ExcelReaderFactory.CreateOpenXmlReader(stream);
}
if (_path.EndsWith(".ods"))
{
reader = ExcelReaderFactory.CreateBinaryReader(stream);
}
return reader;
}
catch (Exception)
{

throw;
}
}
public IEnumerable getWorksheetNames()
{
var reader = this.getExcelReader();
var workbook = reader.AsDataSet();
var sheets = from DataTable sheet in workbook.Tables select sheet.TableName;
return sheets;
}
public IEnumerable getData(string sheet, bool firstRowIsColumnNames = true)
{
var reader = this.getExcelReader();
reader.IsFirstRowAsColumnNames = firstRowIsColumnNames;
//string SheetName = getWorksheetNames().FirstOrDefault();
var workSheet = reader.AsDataSet().Tables[sheet];
var filteredRows = workSheet.Rows.Cast().Where(row => row.ItemArray.Any(field => !(field is System.DBNull)));
// TTliteUtil.Util.WriteToEventLog("Sheet read: "+workSheet.ToString());
var rows = from DataRow a in filteredRows select a;
return rows;
}
Step 6 :
- Add a controller, Open solution explorer > Right click on Controllers folder > Add > Controller..
- Enter Controller name Like “HomeController“.
- Click on Add button.
Step 7 :
Reference to access the model classes
- Add the Models references to the controller.
using Export_Excel.Models;- And also add the following namespace for data and file communication.
using System.IO;
using System.Data;
- Replace the Index() ActionResult method with following code.
 public ActionResult Index()
 {
 ViewBag.EmployeeList = "";
 return View();
}- Add the following ActionResult method to the HomeController for Import/Export Excel file.
public ActionResult Import(FormCollection formCollection)
 {
 if (Request != null)
 {
 DataTable dt = new DataTable();
 HttpPostedFileBase file = Request.Files["UploadedFile"];
 if ((file != null) && (file.ContentLength > 0) && !string.IsNullOrEmpty(file.FileName))
 {
 string fileName = file.FileName;
 string path = Server.MapPath(System.Configuration.ConfigurationManager.AppSettings["XlsFilePath"] + fileName);
 file.SaveAs(path);
 if (!System.IO.Directory.Exists(Server.MapPath(System.Configuration.ConfigurationManager.AppSettings["XlsFilePath"])))
 {
 System.IO.Directory.CreateDirectory(Server.MapPath(System.Configuration.ConfigurationManager.AppSettings["XlsFilePath"]));
 }
 var excelData = new ExcelData(path);
 var sData = excelData.getData("Sheet1");
 List<Employee> list = new List<Employee>();
 dt = sData.CopyToDataTable();
 foreach (DataRow item in dt.Rows)
 {
 Employee emp = new Employee();
 emp.id = Convert.ToInt32(item["id"]);
 emp.Expectation = item["Expectation"].ToString();
 list.Add(emp);
 }
 ViewBag.EmployeeList = list;
 TempData["EmployeeList"] = list;
 }
 }
 return View("Index");
 }
public ActionResult Export()
{
List<Employee> emps = TempData["EmployeeList"] as List<Employee>;
var grid = new System.Web.UI.WebControls.GridView();
grid.DataSource = emps;
grid.DataBind();
Response.ClearContent();
Response.Buffer = true;
Response.AddHeader("content-disposition", "attachment; filename=Expectations.xls");
Response.ContentType = "application/ms-excel";
Response.Charset = "";
StringWriter sw = new StringWriter();
HtmlTextWriter htw = new HtmlTextWriter(sw);
grid.RenderControl(htw);
Response.Output.Write(sw.ToString());
Response.Flush();
Response.End();
ViewBag.EmployeeList = emps;
return View("Index");
}Step 8 :
- Add a view, Right click on Index method > Add view > Click Add button.
- Replace the Index.cshtml content with the following content.
@using Export_Excel.Models;@{
ViewBag.Title = "Index";
}
@using (Html.BeginForm("Import", "Home", FormMethod.Post, new { enctype = "multipart/form-data" }))
{
<table>
<tr>
<td>Select File : </td>
<td>
<input type="file" name="UploadedFile" />
</td>
</tr>
<tr>
<td>
Import Data :
</td>
<td>
<input type="submit" name="Import" value="Import from Excel" />
</td>
</tr>
</table>
}
<br />
@using (Html.BeginForm("Export", "Home"))
{
<table>
<tr>
<td>Export Data : </td>
<td>
<input type="submit" name="Export" value="Export to Excel" />
</td>
</tr>
</table>
}
<br />
@{var list = ViewBag.EmployeeList; }
<table id="tbl">
@foreach (var l in list)
{
<tr>
<td>@l.id</td>
<td>@l.Expectation</td>
</tr>
}
</table>Step 9 :
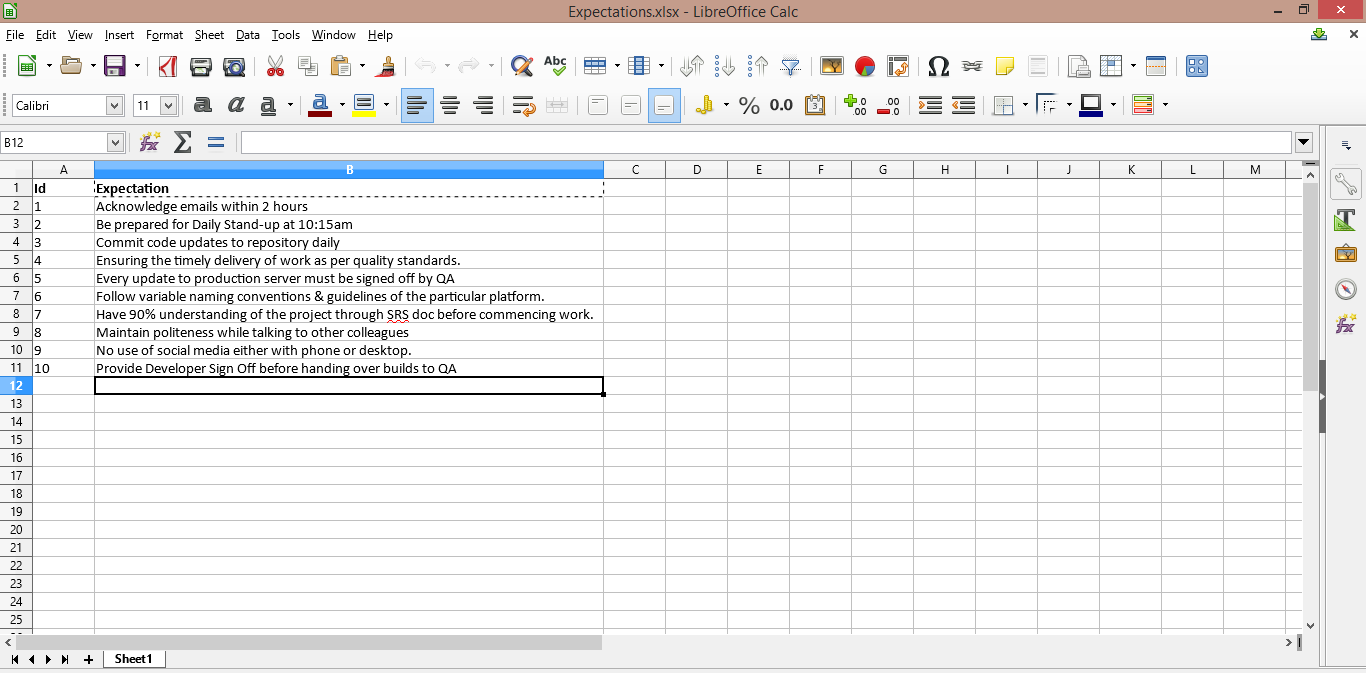
- Create an Excel file with two column “Id” and “Expectation“.
- Add some data in excel sheet.
| Id | Expectation |
| 1 | Acknowledge emails within 2 hours |
| 2 | Be prepared for Daily Stand-up at 10:15 am |
| 3 | Commit code updates to repository daily |
| 4 | Ensuring the timely delivery of work as per quality standards. |
| 5 | Every update to production server must be signed off by QA |
| 6 | Follow variable naming conventions & guidelines for the particular platform. |
| 7 | Have 90% understanding of the project through SRS doc before commencing work. |
| 8 | Maintain politeness while talking to other colleagues |
| 9 | No use of social media either with phone or desktop. |
| 10 | Provide Developer Sign Off before handing over builds to QA |
- Save excel sheet where you want to save.
Step 10 :
- Build your application.
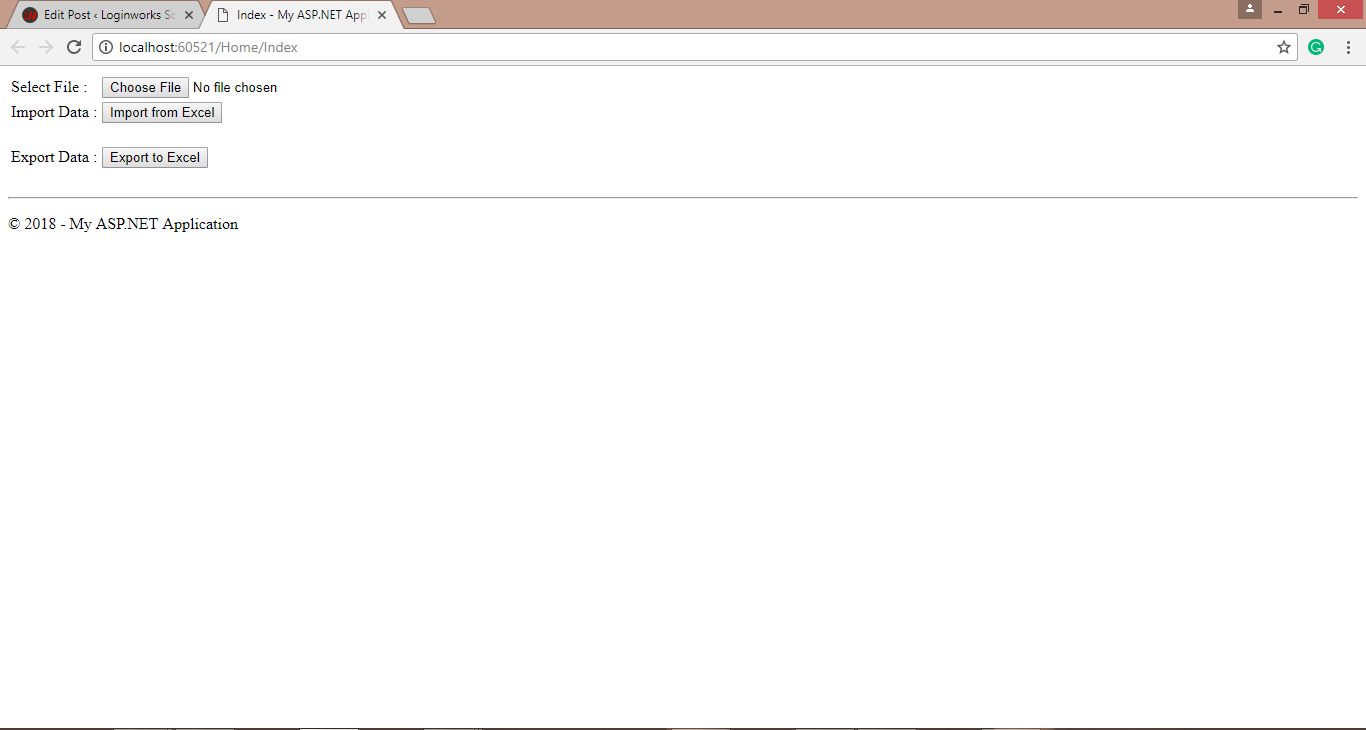
- Run the application.
- Your Index.cshtml user interface looks like the following result.
Step 11 :
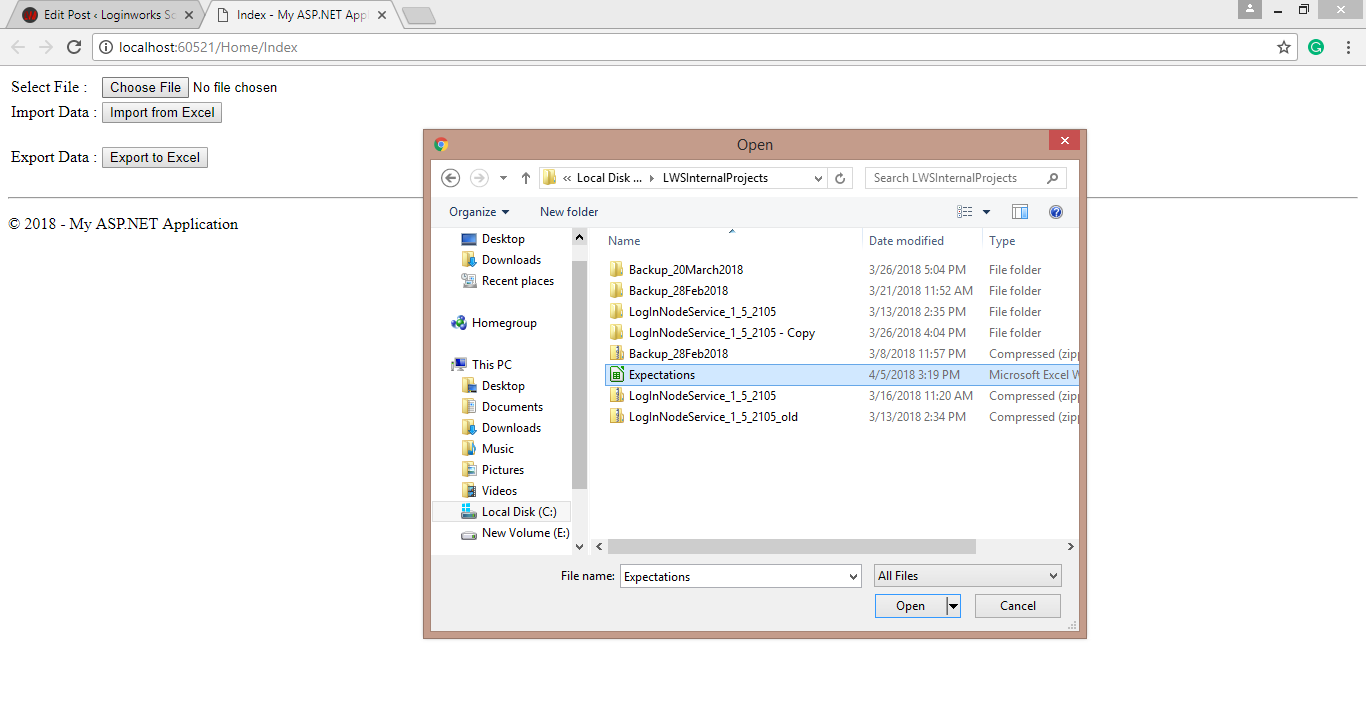
- Click “Choose file” button.
- Go to the file location where your excel file is saved.
- Select Excel file.
- Click ok.
Step 12 :
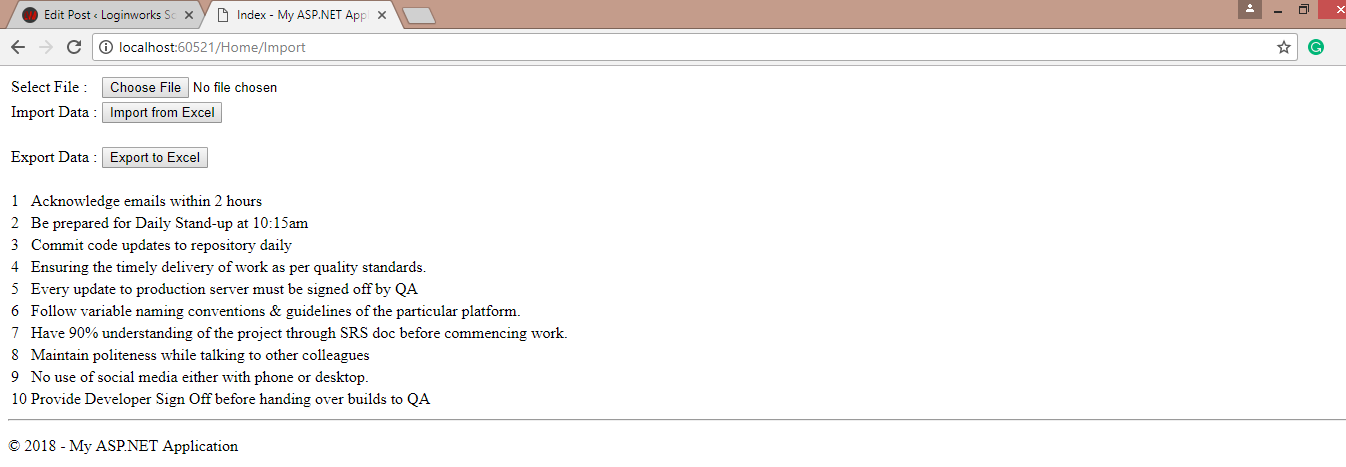
- Click Import from Excel button for import data from excel sheet and bind with HTML table.
- The following UI is shown, After clicking on Import from Excel button.
Step 13 :
- Click “Export to Excel” button for export data from HTML table.
- When you click on “Export to Excel” button excel sheet will automatically download to your system.
- Open your excel file and match your records from excel sheet to HTML table, data will be same.
- Enjoy! have a great day.
Summary
I hope, this article would help you to understand about Import and Export data from Excel or HTML. In the end, You are expert in managing data from Excel sheet in MVC Application.
Reference article:
- Input-Output File Stream: How to work with File Input/Output Stream classes?
- Encryption-Decryption: How to perform same Encryption and Decryption in C# and Node JS?
- Kendo-Grid: How to work with Kendo Grid using Jquery?
- Angular-CLI: How to work with Angular CLI (Command Line Interface)?
- What Is Big Data Visualization? - January 22, 2021
- Five Benefits of Big Data Analytics for E-commerce - July 9, 2020
- Google Data Studio Vs. Tableau: Which One is More Suitable for Your Business? - June 25, 2020
for V3 the line “reader.IsFirstRowAsColumnNames = firstRowIsColumnNames;”
needs to be updated to:
“reader.AsDataSet(new ExcelDataSetConfiguration() { ConfigureDataTable = (_) => new ExcelDataTableConfiguration() { UseHeaderRow = firstRowIsColumnNames } });”
Can you add code for reading images in same excel sheet’s next column .. like id, exception, screenshot